

You’ve seen the Pinterest pantries. Rows of matching jars. Perfectly labeled everything. Woven baskets that somehow never have a crumb in them. And your first thought is probably: “That’s nice, but I don’t have that kind of budget (or patience).”
Here’s the truth. A pantry organization aesthetic that actually works in real life doesn’t require a professional organizer, a label maker that costs more than your groceries, or a weekend trip to The Container Store. What it does require is a plan, the right containers, and a system that matches how your family actually uses the kitchen.
In this post, I’m breaking down the common mistakes that keep pantries messy, the real tricks behind those influencer-level setups, and how to pull off a full pantry makeover for under $40. Yes, really. And you can get it done in one weekend flat. If you’ve been wanting to finally tackle your fridge organization too, this is the perfect place to start building momentum.
Let’s get into it.
5 Pantry Organization Mistakes That Are Ruining Your Kitchen
Before you buy a single container, let’s talk about what’s probably going wrong right now. These five mistakes are the most common reasons pantries fall apart within weeks of being organized.
Buying Random Bins Without a Plan
This is the number one mistake, and almost everyone makes it. You see a cute set of bins at Target or Amazon, toss them in the cart, and hope for the best. But here’s the thing: if you haven’t measured your shelves or grouped your food items first, those bins are going to sit there half-empty or not fit at all.
According to professional organizers at Charleston Crafted, the smartest move is to group all your food items, figure out how they’re best stored, measure your shelf space, and only then buy containers that fit your actual needs. Strategic beats pretty every single time.
Organizing for Instagram Instead of Real Life
A pantry that looks perfect in photos but doesn’t match your family’s daily habits will fall apart fast. If your kids grab snacks every day after school, that snack zone needs to be at their eye level, not tucked on a top shelf for the aesthetic. Set your pantry up around real routines, not a photo op.
Ignoring Vertical Space
Most pantries come with shelves spaced way too far apart. That’s a huge waste of room. Shelf risers, stackable bins, and tiered organizers can double your usable space without adding a single extra shelf. Professional organizer Barbara Oldham points out in Homes & Gardens that adding height with risers and using the inside of pantry doors is one of the simplest fixes for small pantry organization.
Skipping the Declutter Step
Organizing on top of clutter is like putting makeup on a mess. It’s still a mess. Professional organizer Kayleen Kelly (featured on Good Morning America and Real Simple) told LivingEtc that failing to purge expired food every six months is one of the biggest pantry mistakes. Decluttering always comes before organizing. Always.
Not Creating Zones
If your snacks are mixed in with your baking supplies and your breakfast items are scattered across three shelves, you’re going to waste time every single morning. Zoning means grouping like items together: breakfast, snacks, baking, canned goods, oils and sauces. It’s the same logic behind a good closet organization system. When everything has a home, it’s easy for anyone in the family to find what they need and put it back.
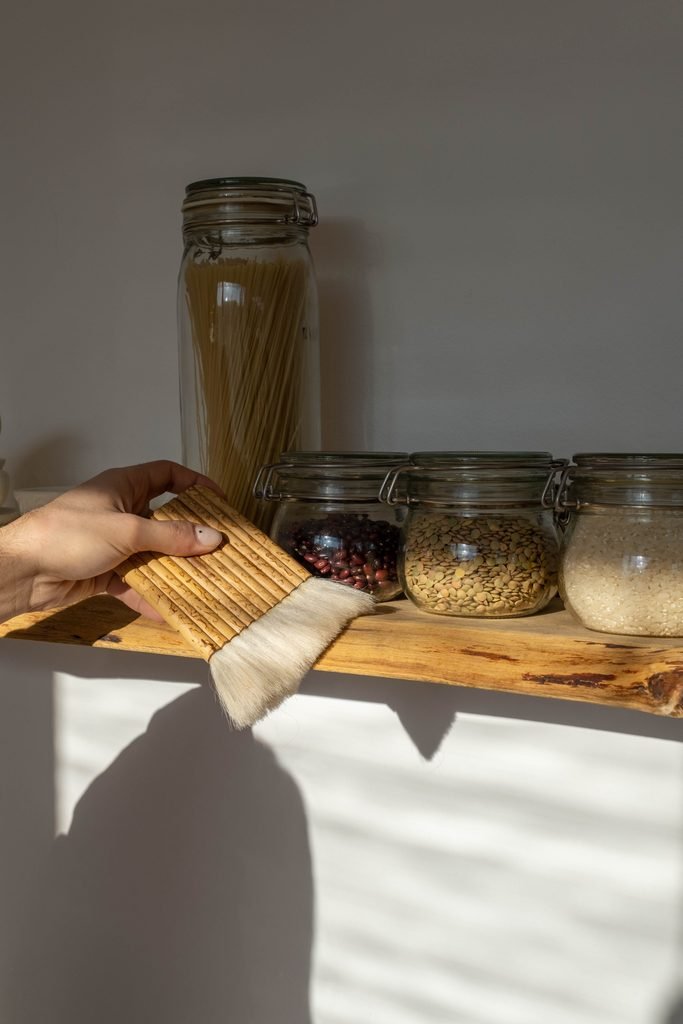
What’s the Real Secret to Pantry Organization Aesthetic?
So what separates a pantry that looks amazing for a week from one that stays organized for months? It comes down to three things.
Start With Function, Then Add the Pretty
The influencer trick that nobody talks about? They all start with function. The pretty containers come last. First, you figure out what goes where based on how often you use it. Daily-use items go at eye level. Bulk backstock goes up high. Heavy cans and bottles go low. Once the layout makes sense for your life, then you add the matching jars and labels.
The Zone System That Keeps Everything in Place
Zones are the backbone of every good pantry organization idea. Think of your pantry like a small grocery store. Group items by category: baking supplies, grains and pasta, snacks, breakfast, canned goods, sauces and oils. This system works whether you have a massive walk-in or a tiny cabinet pantry.
The beauty of zones is that they accommodate different packaging without looking messy. Bottles, boxes, bags, and cans can sit together and still look intentional when they all belong to the same category. It’s a farmhouse pantry organization approach that works in any style home.
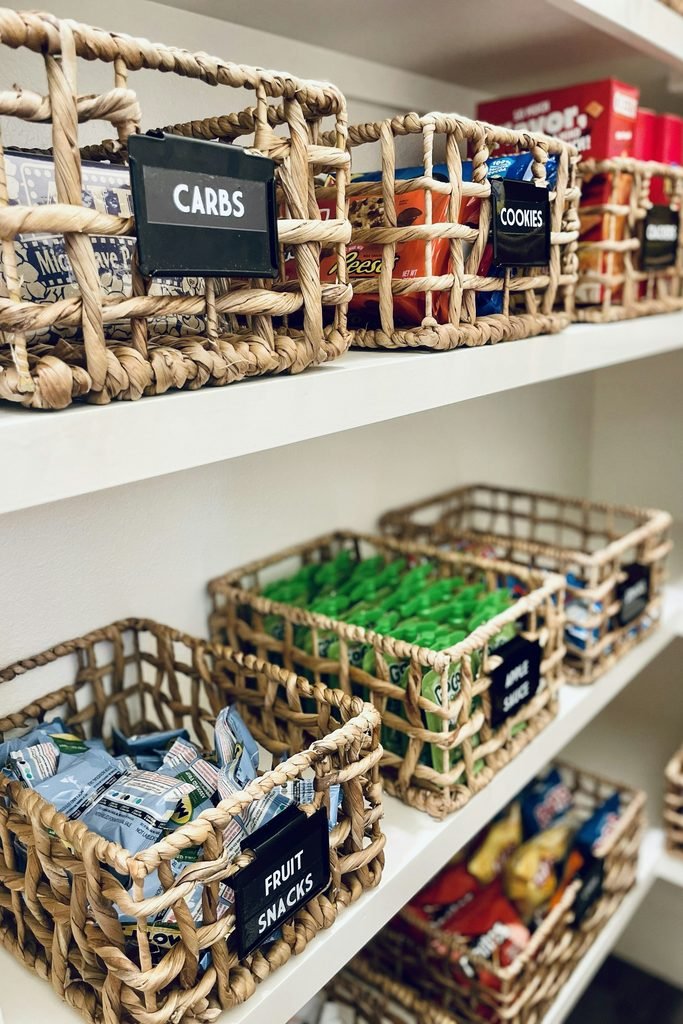
Photo by Cabri Caldwell on Unsplash
Why Consistent Containers Matter More Than Expensive Ones
You don’t need the most expensive containers on the market. You need containers that match each other. That’s it. A row of identical $3 glass jars from the dollar store looks just as good (sometimes better) than a row of mismatched $15 designer canisters.
Visual uniformity is the real secret. When your containers are the same shape, size, and material, your pantry instantly looks put-together. This is the core principle behind pantry storage ideas that actually last.
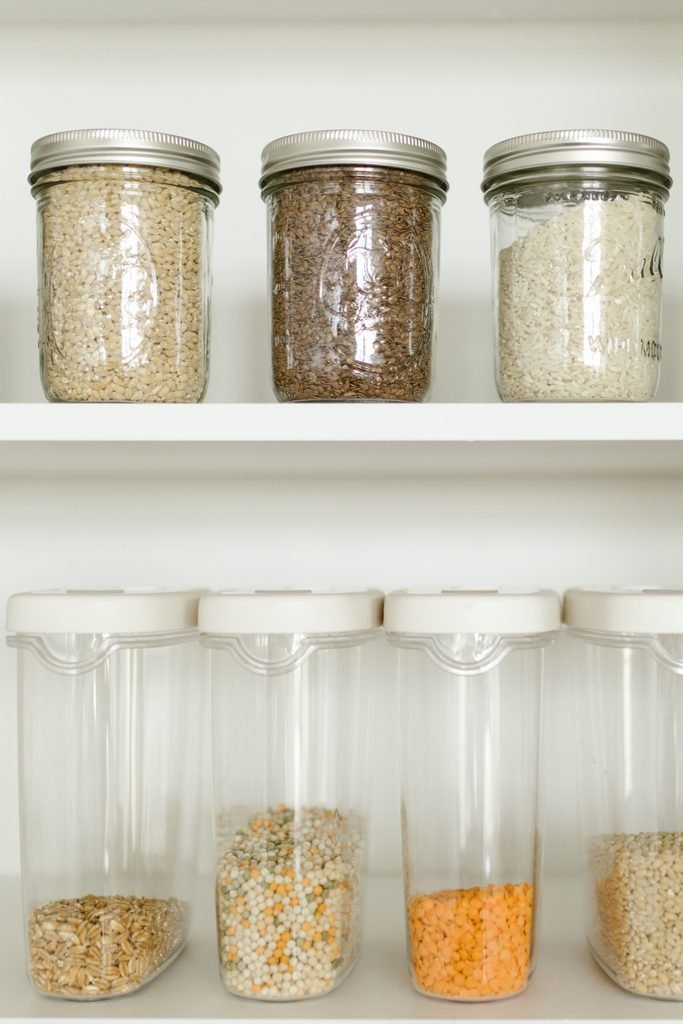
Photo by RDNE Stock project on Pexels
Which Containers Actually Nail the Pantry Organization Aesthetic?
Not all containers are created equal. Here’s what works best for different pantry zones, and why.
Clear Airtight Jars With Bamboo Lids
These are the workhorses of any aesthetic pantry. Clear glass or BPA-free plastic jars with bamboo or wooden lids give you that warm, clean look while keeping food fresh. Use them for flour, sugar, rice, pasta, oats, and any dry goods you reach for regularly.
The key benefit? You can see exactly what’s inside and how much is left. According to HGTV’s pantry guide, placing shorter jars toward the front and taller ones toward the back keeps everything visible and within reach.
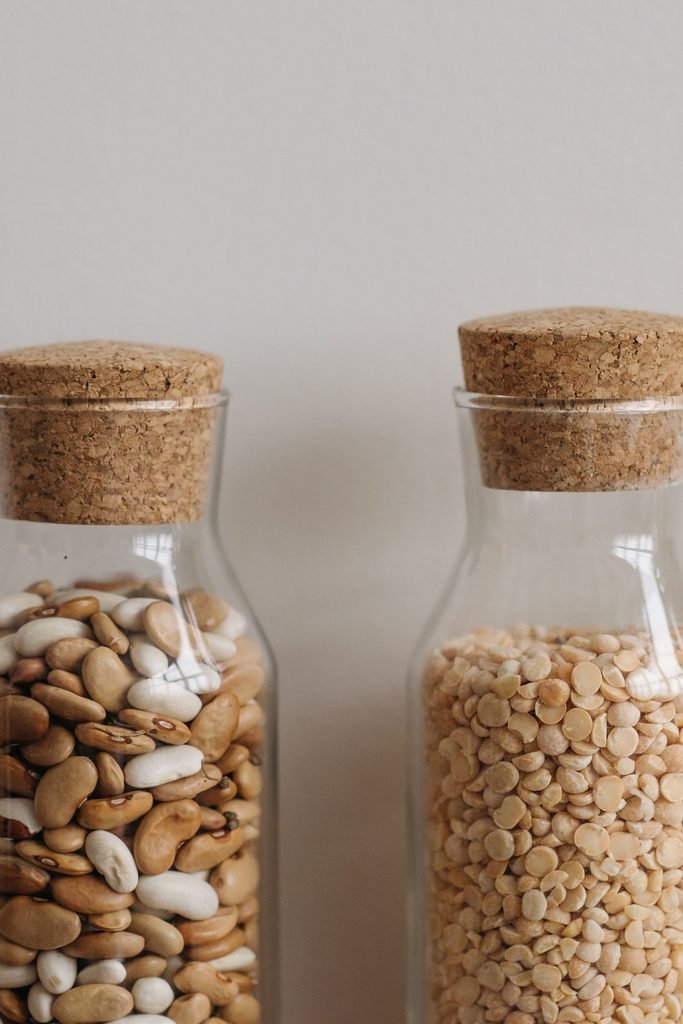
Photo by Pavel Danilyuk on Pexels
Woven Baskets and Wooden Crates for Texture
Clear jars alone can make a pantry feel sterile. That’s where baskets and crates come in. Woven seagrass baskets, rattan bins, and small wooden crates add warmth and texture while hiding the items that don’t look great on display (think: chip bags, snack wrappers, and random packets).
Home organizer Holly Blakey told Crate & Barrel that baskets let you toss things in without worrying about how they look, which is a win for busy families. They’re also perfect for grab-and-go categories like baking supplies: pull out one basket and you have everything you need.
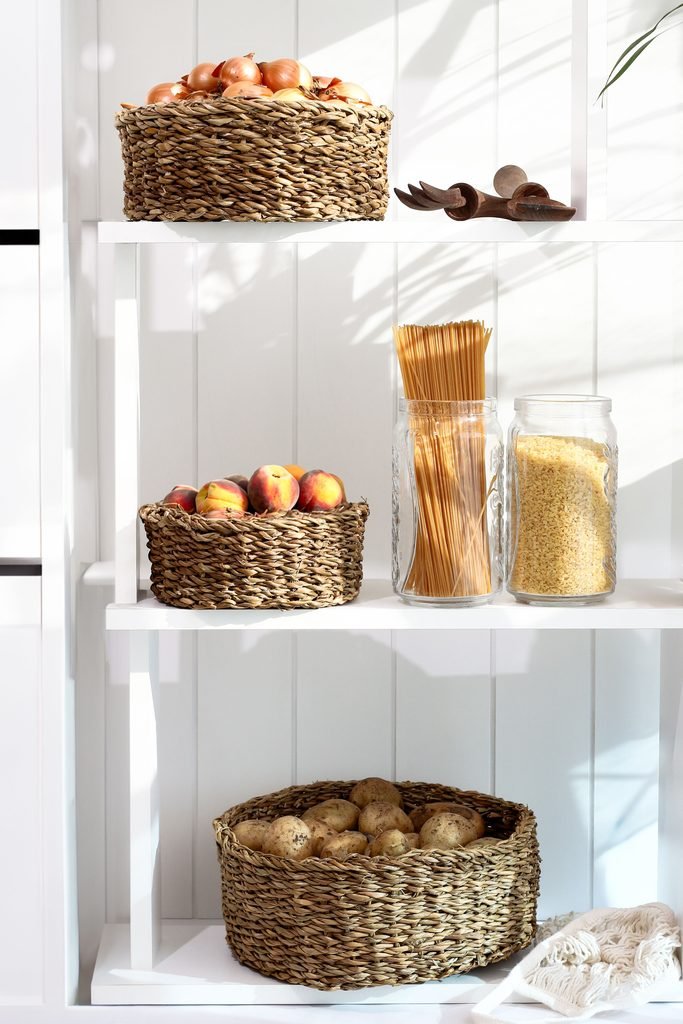
Photo by Kader D. Kahraman on Pexels
Clear Bins and Lazy Susans for Deep Shelves
Deep pantry shelves are notorious for swallowing items whole. Clear pull-out bins and lazy susans fix this immediately. Use clear bins for grouping smaller items (spice packets, tea bags, snack bars) and lazy susans for bottles, oils, and sauces that are hard to reach in the back.
If you’re working on a kitchen cabinet setup, these same tools work beautifully inside cabinets too.
How to Get a Pantry Organization Aesthetic Under $40 (No Fancy Labels Needed)
Here’s where it gets fun. You absolutely do not need to spend a fortune to get a beautiful pantry. Here’s how to keep the total under $40.
Dollar Store and Budget-Friendly Finds
Dollar stores are goldmines for pantry organization containers. Clear acrylic bins, small baskets, and basic glass jars can all be found for $1 to $3 each. They’re sturdy enough for daily use and easy to replace if they wear out.
One blogger at Bless’er House found clear containers at the dollar store that performed just as well as $10 versions from bigger retailers. She also wrapped cardboard boxes in craft paper to make matching pantry crates for just $8 total for ten boxes. That’s the kind of budget-friendly creativity that makes a real difference.
DIY Label Ideas That Look Good Without the Price Tag
Fancy labels are nice, but they’re not necessary for a pantry labels aesthetic that looks polished. Here are some free or nearly free alternatives:
Write directly on jars with a chalk marker (easy to wipe off and redo). Cut labels from brown kraft paper and attach with twine. Use painter’s tape and a permanent marker for a clean, minimal look. Print free label templates from Pinterest and glue them on.
The point is: labels help everyone in the house find (and return) things to the right spot. They don’t need to be fancy to do their job well.
Repurposing What You Already Have
Before you buy anything new, look around your kitchen. Glass jars from pasta sauce, jam, or candles make great storage containers. Takeout containers (the clear quart-sized ones) are perfect for smaller dry goods. As the team at Food52 points out, collecting clear vessels over time is a smart way to build a complete pantry system without spending a dime.
Old shoe boxes wrapped in contact paper, tin cans cleaned and painted, and even small wooden crates from craft stores work as shelf organizers. Get creative with what you have before spending money on new stuff.
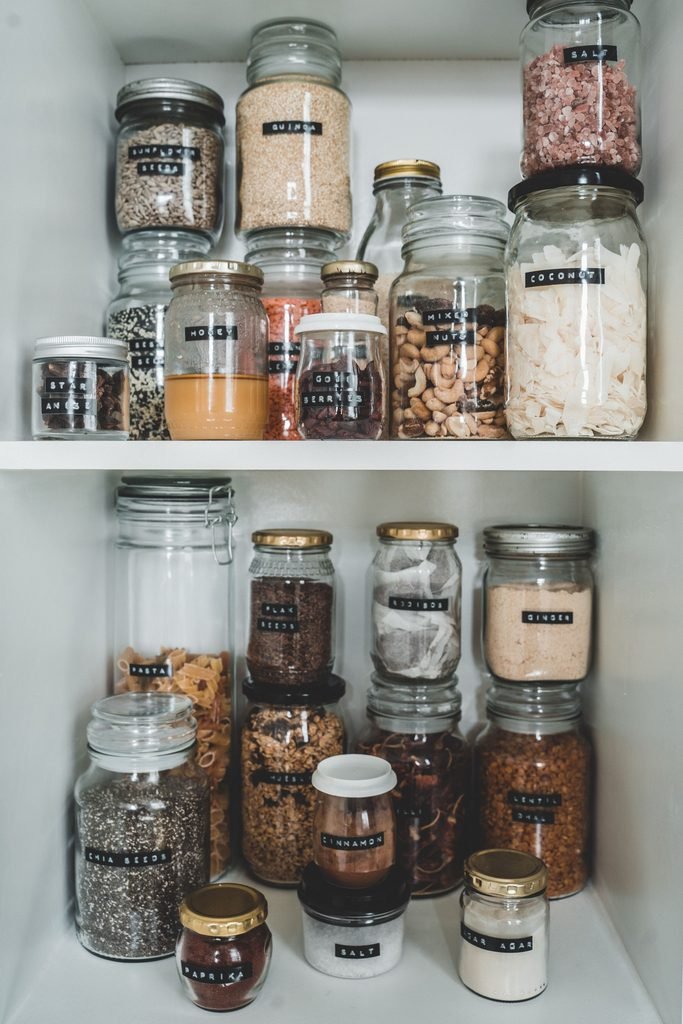
Photo by Taryn Elliott on Pexels
How to Do a Full Aesthetic Pantry Makeover in One Weekend
You don’t need weeks to get this done. Here’s the weekend game plan.
Saturday: Empty, Declutter, Clean, and Measure
Pull everything out. Yes, everything. Toss anything expired. Be honest about what your family actually eats (those specialty rice noodles from 2023 can go). Wipe down every shelf with a damp cloth and mild cleaner. Then measure each shelf’s width, depth, and the space between shelves. Write it down. These numbers are your shopping list foundation.
This step pairs perfectly with a Sunday reset routine if you want to make it part of a bigger home refresh.
Sunday: Set Up Zones, Decant, and Style
Now it’s time to build. Start by assigning zones to each shelf based on what you use most. Eye-level shelves get daily items. Top shelves get backstock and rarely used items. Bottom shelves get heavy things like bulk bags and large bottles.
Place your containers, fill them, and add labels. Stand back and adjust. Move things that feel awkward to reach. Make sure kids can grab their own snacks. The goal is a system that works on autopilot.
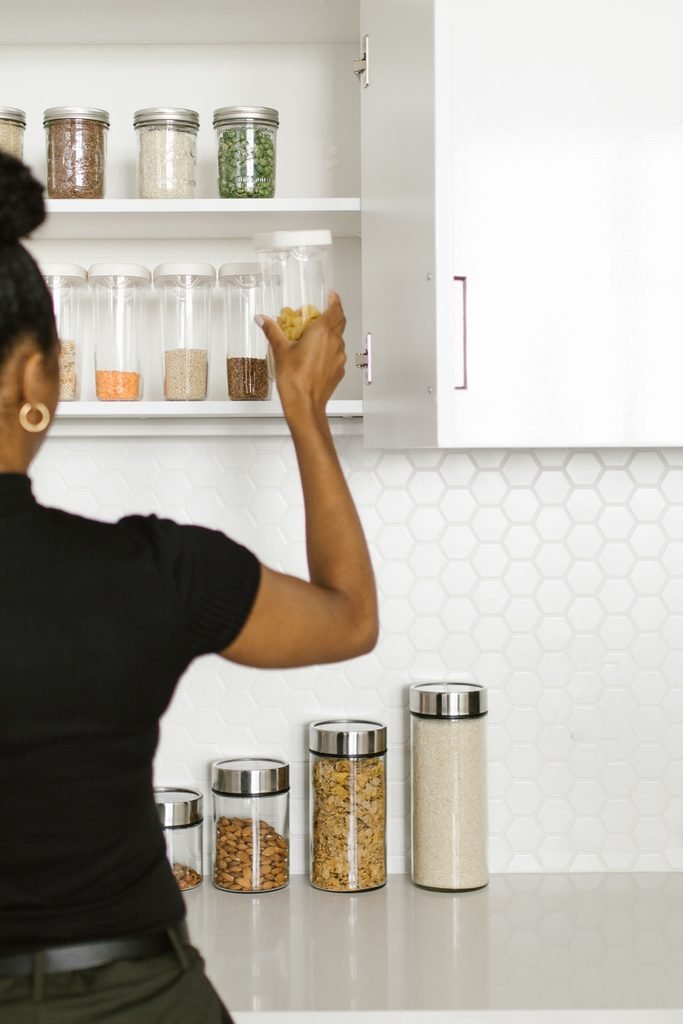
Photo by RDNE Stock project on Pexels
The Pantry Decanting Cheat Sheet: What to Decant and What to Leave
Here’s where people go overboard. You do not need to decant everything. According to food storage experts at Mess Brands, the 80/20 rule works best: focus your decanting on the 20% of items that cause 80% of the mess. That typically includes flour, sugar, rice, oats, cereal, crackers, and pasta.
Items that are fine to leave in their original packaging: canned goods, boxed meals, individually wrapped snacks, and anything you go through quickly. Don’t stress about making every single item match. A mix of decanted jars and neatly organized original packaging in baskets looks just as good (and is way more realistic for pantry decanting ideas that you’ll actually maintain).
Home organizer perspectives shared through Crate & Barrel confirm that decanting helps with organization, storage space, and visual appeal all at once. But it only works when you’re selective about it.
Your Aesthetic Pantry Is Closer Than You Think
Getting a pantry that looks and works the way you want it to doesn’t take a huge budget or a professional. It takes a clear plan, consistent containers, and a system built around how your family actually lives.
Start this weekend. Even if it’s just one shelf. One zone. One set of matching jars. Progress beats perfection, and once you see that first organized shelf, you’ll want to keep going.
And once you’re done with the pantry, keep the momentum rolling with your laundry room organization. Your whole home will thank you.
Save this post, share it with a friend who needs a pantry reset, and drop a comment if you’ve done your own pantry makeover. I’d love to hear what worked for you.



Leave a Reply