

Painting a plain mug or bowl takes an afternoon, a few dollars of supplies and zero art training. That’s what makes it such a good offline hobby: you start with a blank white piece, and an hour later you have something nobody else owns. Below are the ceramic painting ideas that work best for beginners, plus the prep and sealing steps that decide whether your design survives its first wash.
A thrifted mug can turn into a matcha cup, a plain saucer into a ring dish for your nightstand. The painting is the fun part. The steps around it are what make it last.
How to start ceramic painting without any experience
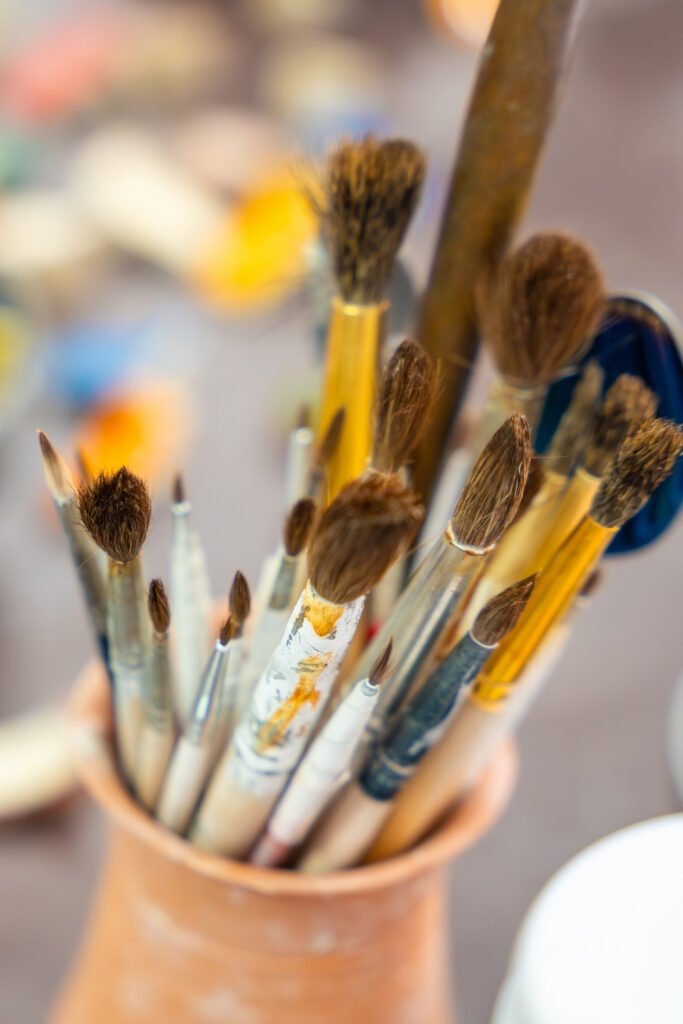
Hand-painted bowls on Pinterest look wildly different from each other, but they all start from the same place: a surface the paint can actually grip. Get that right, and the painting itself is far more forgiving than you’d expect.
An easy mistake to make is grabbing a glossy mug from the kitchen cabinet and painting straight onto the glaze. The paint has nothing to hold on to, so it slides around while you work and chips off a day later. Acrylic paint needs a porous surface. Unglazed bisque pottery, the matte, chalky kind sold at craft stores, is the easiest and most durable place to start.
You need three things to get going: an unglazed ceramic piece, a set of acrylic craft paints, and a few soft brushes in different sizes. If your hand isn’t steady with a brush, try acrylic paint pens instead of traditional brushes. They handle like a marker, so fine lines and dots are much easier.
Run your fingers over the piece before you paint. Bisque often has small bumps from production. A light pass with fine-grit sandpaper smooths them out, and the brush stops catching on every little ridge.
Do I need a kiln to paint ceramics at home?
No. Air-dry acrylics and oven-bake craft paints work fine for decorative pieces like vases, planters and trinket dishes. A kiln only comes in when you use traditional glazes, which are fired at very high temperatures to make dishes food-safe.
So the kitchen table is enough. If you’re collecting quiet hobbies for your evenings, this one sits nicely next to junk journaling.
Ceramic painting mistakes that are easy to avoid
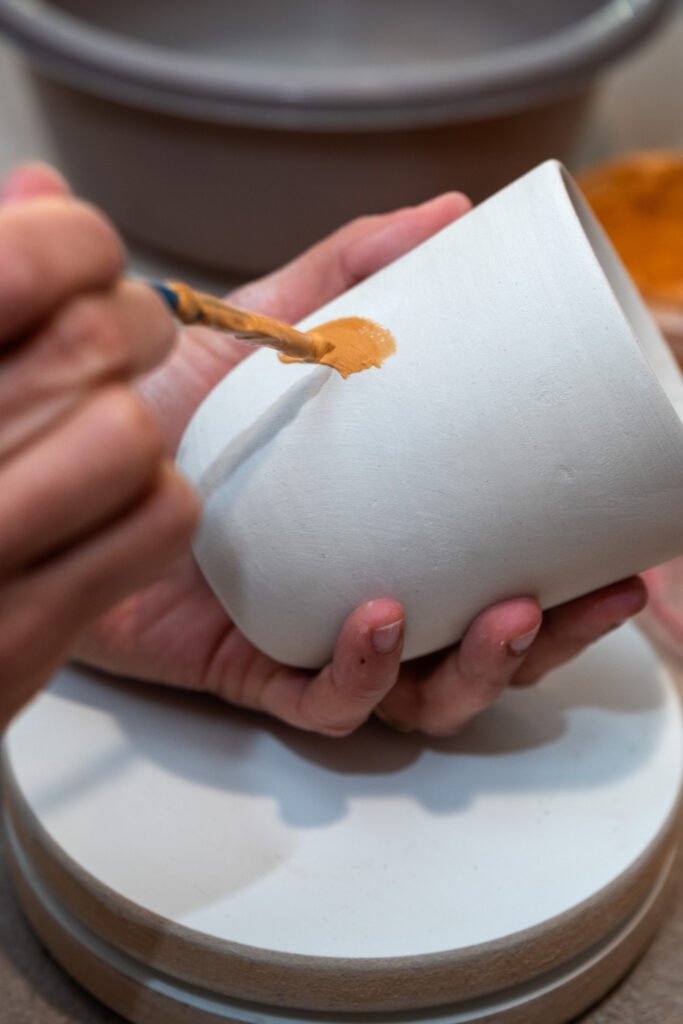
A messy result usually has nothing to do with talent. It comes from skipped prep. Wash the piece, let it dry completely, then wipe it with rubbing alcohol. Fingerprints and dust leave a thin film that paint won’t stick to, and it’s invisible until the paint starts lifting.
Three thin coats beat one thick one. A heavily loaded brush leaves paint that bubbles and cracks as it dries, while thin layers bond with the ceramic and stay smooth. Yes, it takes longer. The finish shows the difference.
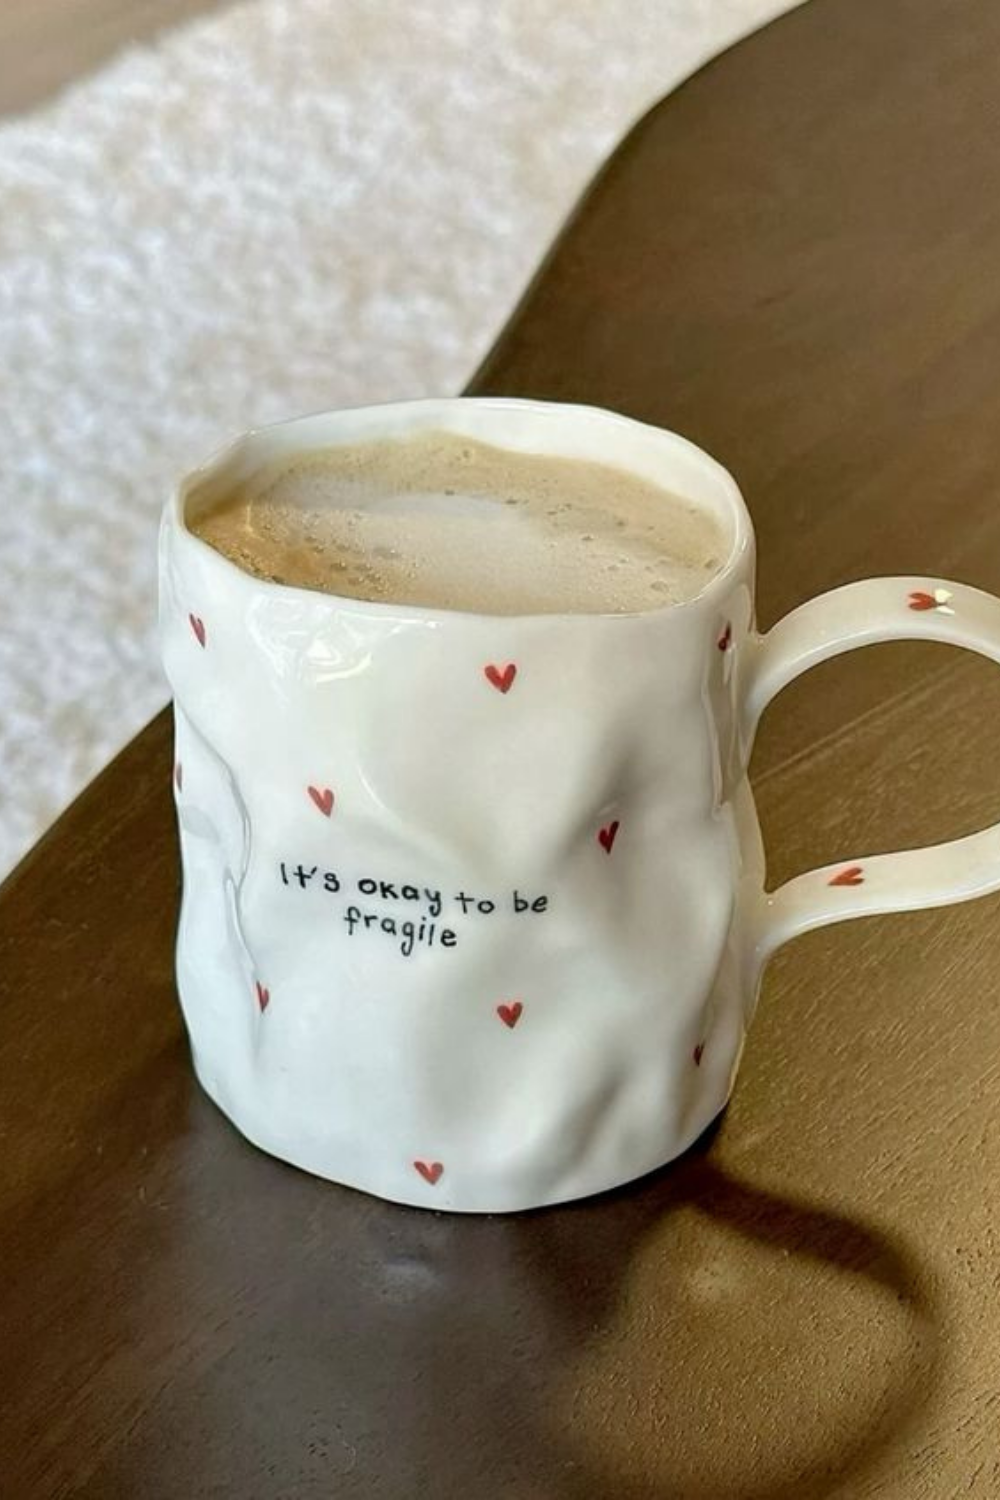
Can you drink from a mug painted with craft acrylics? No. As pottery experts constantly remind beginners, regular acrylic paint isn’t food-safe. On anything you’ll use, paint the outside only and leave the rim and the inside bare.
Patience between layers matters too. A yellow daisy turns muddy orange the moment you add a wet center dot to wet petals. Acrylics feel dry fast, but give each layer 10–15 minutes before you paint over it.
7 easy ceramic painting ideas beginners can try tonight
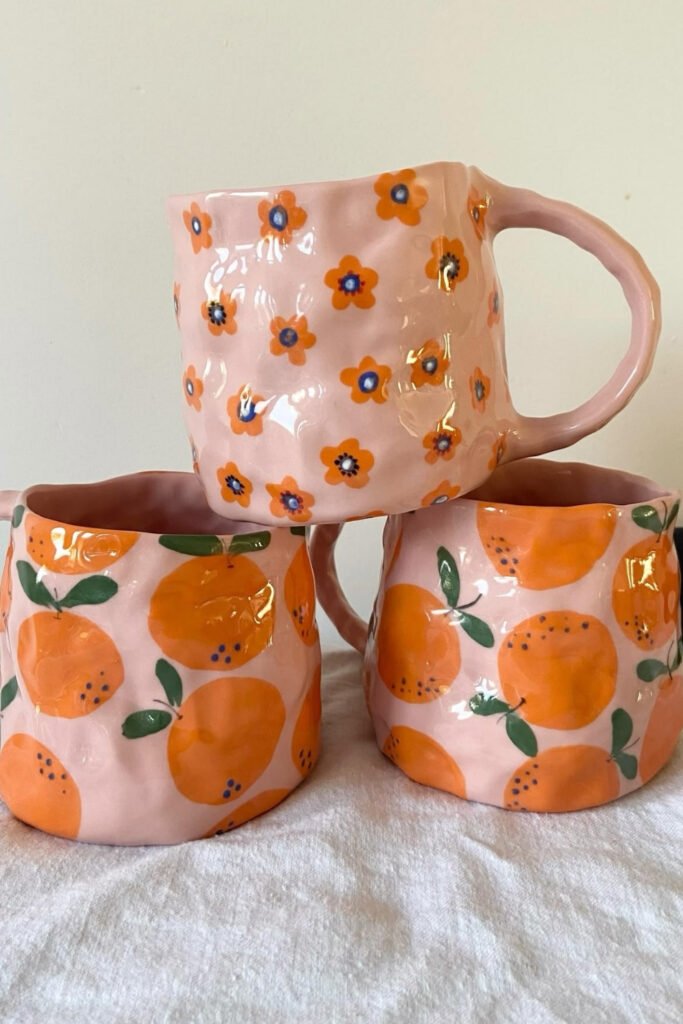
None of these need fine-art skills. They’re built on simple shapes and a few tricks, and fruit motifs like oranges or lemons are a good sign of how far one repeated shape can go. Pick the idea that fits your kitchen and clear some table space.
1. The splatter technique
Splatter is one of the easiest ceramic bowl painting ideas, because it looks intentional without needing any precision. Thin your acrylic with a little water, dip a stiff brush, and flick the bristles with your thumb. You get a speckled finish that suits plain, earthy colors especially well.
Put the bowl inside a large cardboard box before you start flicking. The box catches the overspray, and your walls stay the color they were.
2. Checkerboard patterns
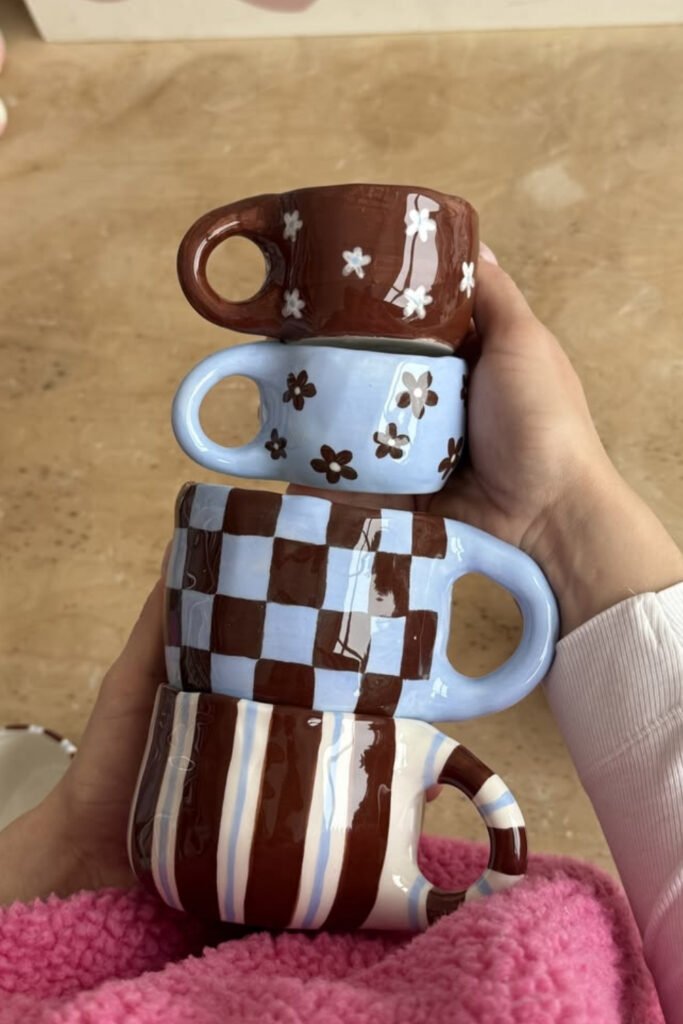
Freehanding a neat grid sounds miserable. Painter’s tape makes it mechanical: lay thin strips into a grid, paint every other square, and you have a checkerboard. It’s one of those ceramic mug painting ideas that looks complicated and isn’t.
Peel the tape while the paint is still slightly tacky. If you wait until it’s fully dry, the tape can pull flakes of the design off with it. Mixing checks with stripes or dots on a set of mugs is a fun way to make them look related without being identical.
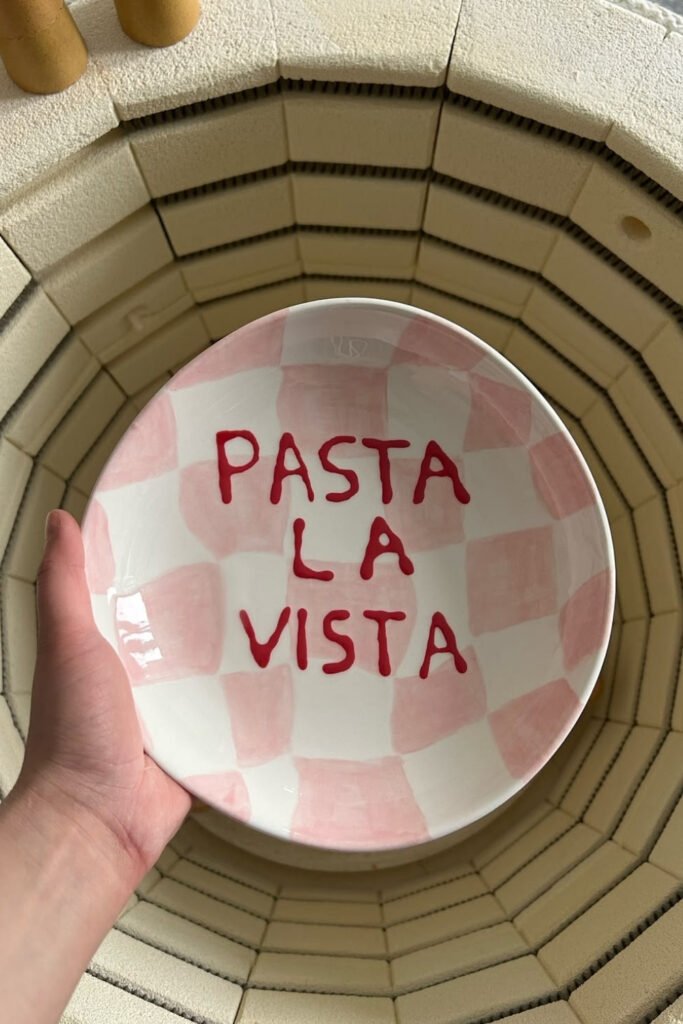
Checks also work on bowls and pasta plates, and a short hand-lettered word on the bottom turns a plain dish into a gift. Slightly uneven lines are part of the look. The checkered pieces in pricey home boutiques are rarely flawless either, so don’t chase precision.
3. Scalloped edges
Instead of covering the whole piece, paint a thick scalloped border around the rim. It’s one of the most effective ceramic painting ideas for plates and serving dishes, because the plain center keeps it calm.
To keep the scallops even, trace half-circles along the edge with a coin or a bottle cap and a pencil. Fill them in with a solid color like sage green or terracotta for a retro feel.
4. Minimalist abstract shapes
Two or three large, organic shapes often look better than a detailed scene. A rust-colored arch with a mustard circle overlapping it, and you’re done. This one is very hard to get wrong.
If the color looks streaky after the first pass, let it dry and add a second coat. Acrylic paints work brilliantly on unglazed surfaces when they go on in a few thin layers rather than one thick one.
5. Polka dots and daisies
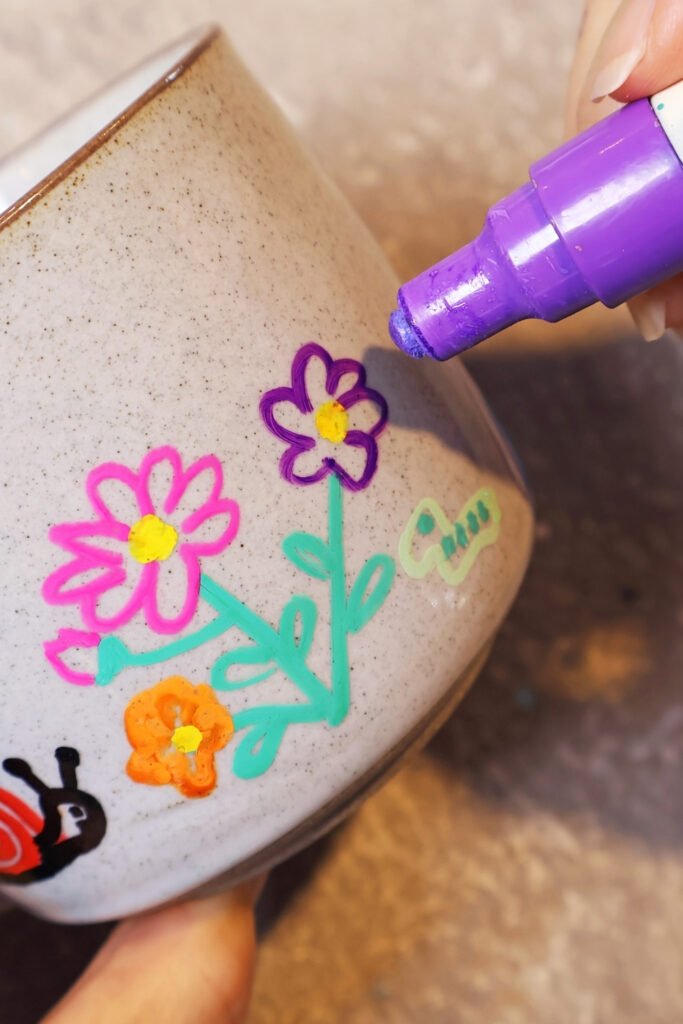
If you can make a dot, you can paint a daisy. Dip the back end of your brush handle in paint and stamp it onto the surface: five white dots in a circle for the petals, one yellow dot in the middle. A paint pen works for the same idea if you’d rather draw loose, colorful flowers by hand.
A plain white planter covered in tiny daisies takes under twenty minutes with the stamping method, and it brightens a shelf before the plant even goes in.
6. The watercolor wash effect
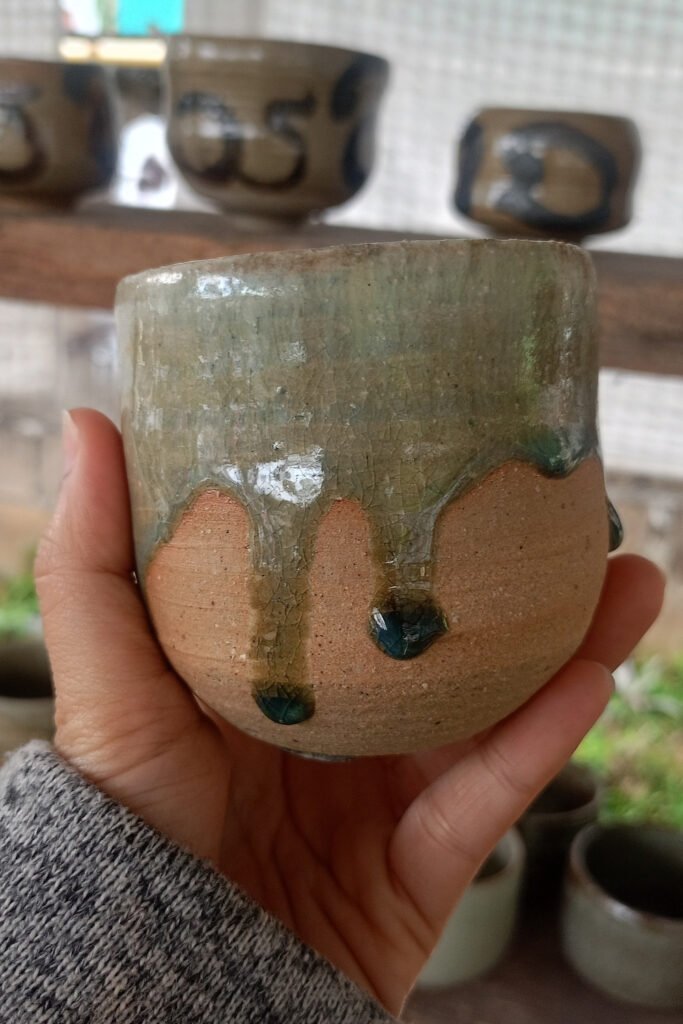
For a soft look instead of bold graphics, mix a tiny drop of acrylic with a lot of water until it’s a sheer tint. Brush it on and let it run and pool on its own. Drips running down from the rim give that relaxed, handmade feel.
Work quickly while the surface is wet. Bisque soaks up water fast and leaves a stained effect behind. It’s forgiving, and no two pieces turn out the same.
7. Stripes and the two-tone dipped look
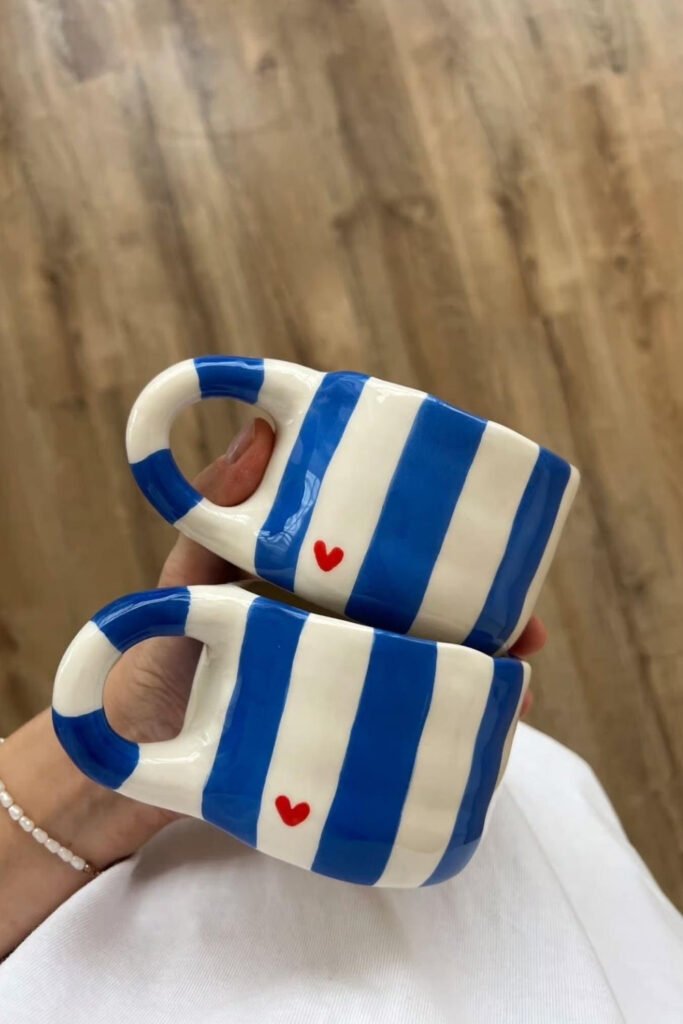
Straight lines freehand are nearly impossible, so let tape do the work again. Tape off the bottom third of a mug or vase, paint the exposed part in a dark color like navy or forest green, then peel. The crisp edge looks like the piece was dipped. The same taping trick gives you bold vertical stripes.
This works well for matching sets: a stack of cheap bowls with the same dipped treatment in a few related colors makes a custom set for open shelving. If you like personalizing things like tote bags, this will feel familiar.
Tired of boring ceramic painting results?
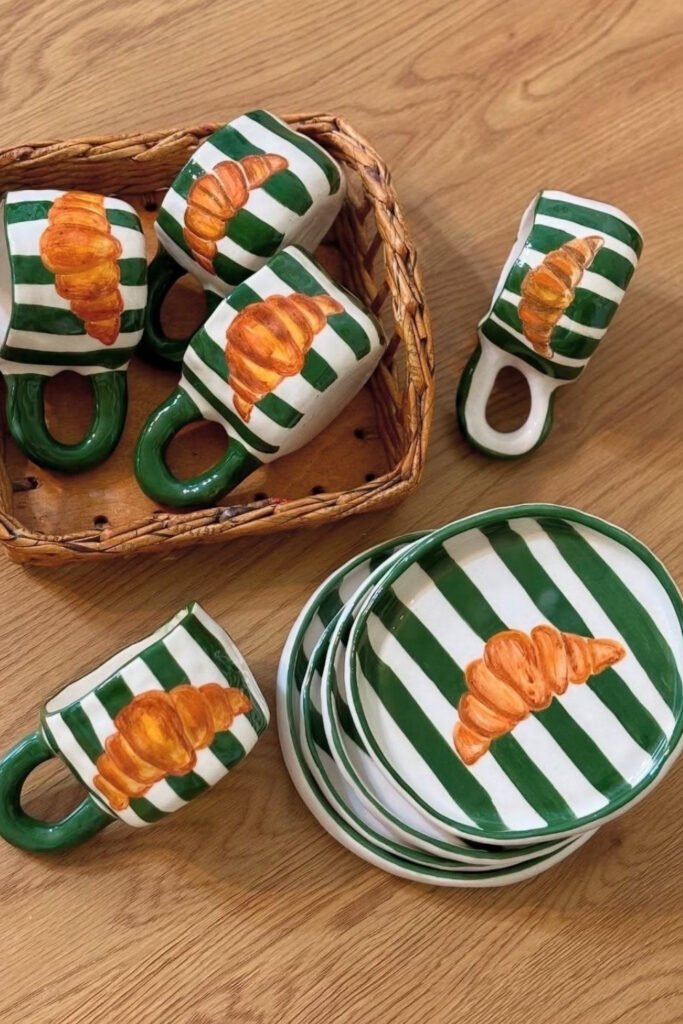
Look at the painted pieces that stop you mid-scroll: they rarely use paint straight from the bottle. Mixing your own colors is the fastest way to make DIY pottery look grown-up. A touch of white or brown softens a primary color into something more muted.
If you’re painting lemons, skip the neon yellow. Mix in a speck of orange and a little white for a warm, buttery shade. As color experts recommend for ceramic surfaces, test your mixes on scrap paper before they touch the piece. A theme repeated across mugs and plates, like the same stripe and motif, makes a set look planned.
Always mix more than you think you’ll need. Matching a custom shade a second time is close to impossible. Keep leftovers in a small airtight container so they don’t dry out while you work.
What kind of paint do you use on ceramic plates?
For plates you’ll eat from, regular craft acrylic isn’t enough. Use non-toxic, food-safe ceramic paints that are baked, or traditional underglazes fired in a kiln. For purely decorative plates, standard acrylics are fine.
In short: keep craft paint away from food. If you want acrylics on tableware anyway, stick to the rim or the underside.
How to make ceramic painting ideas look professional
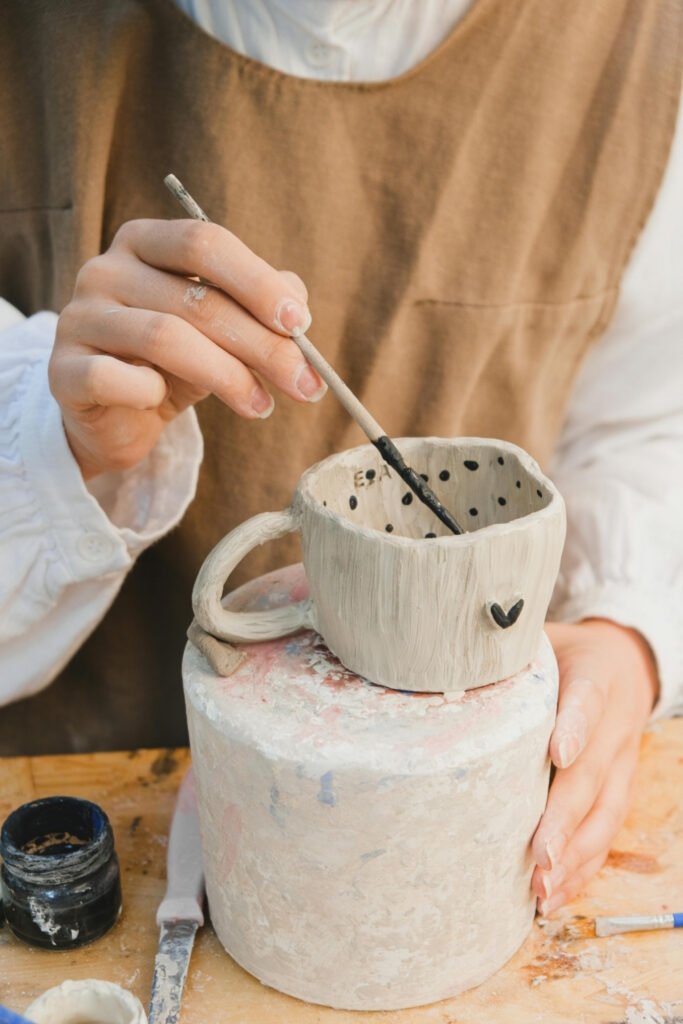
A design that took an hour can chip off in the sink two days later. What separates a craft from a piece that lasts is the sealant. Raw acrylic doesn’t hold up to water and daily rubbing, so seal it.
A clear topcoat locks the design in and gives it a store-bought sheen. A brush-on gloss medium or a spray acrylic sealer both work. Let the paint dry completely first, because sealer brushed over damp paint smears it right away.
How do you seal acrylic paint on pottery?
For decorative pieces, a high-quality acrylic polymer varnish protects the paint well. For mugs that will only be hand-washed, a dishwasher-safe Mod Podge formula works, with a full 28-day cure before use.
Some oven-bake ceramic paints are set in the oven before sealing. Follow the temperature and time on your paint’s label, put the piece into a cold oven, and let it cool down inside the oven afterward. Sudden temperature changes can crack the ceramic.
Paint often dries a little chalky on bisque. A glossy sealant brings the color back, almost like a magnifying glass. Practicing it on a small mug is a smart move before bigger projects like colorful mosaic garden art.
Wash finished pieces gently by hand. The dishwasher is too harsh for DIY acrylics, whatever the sealant bottle promises.
That’s the gist of it: unglazed bisque, clean surface, thin layers, enough drying time, and a good seal. Everyone’s first polka dot comes out a little wonky. Pick one idea from this list, grab an inexpensive mug, and give it a go this weekend.

Leave a Reply