

Baseball nails are no longer just for die-hard fans sitting in the front row. They’ve become one of the most-saved nail art categories on Pinterest, and 2026 is shaping up to be their biggest year yet. Whether you’re a baseball mom cheering from the bleachers, a girlfriend supporting your partner’s team, or someone who simply loves a bold red, white, and blue nail set, these designs are calling your name.
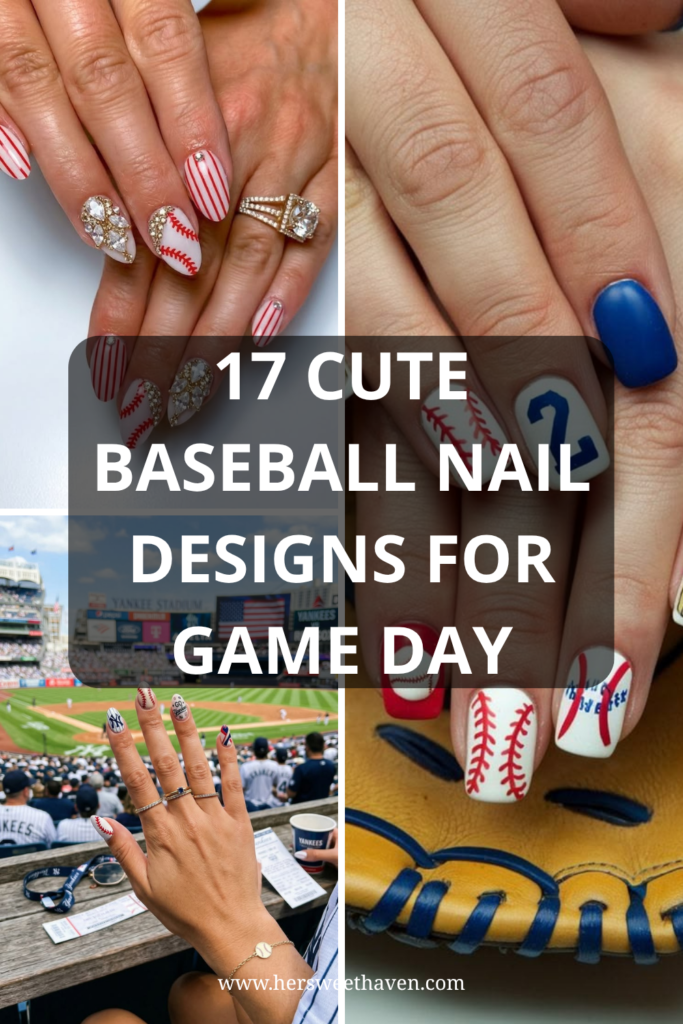
The classic baseball stitch pattern (those curved red lines over white) reads perfectly even as a tiny Pinterest thumbnail. That’s exactly why it keeps going viral. And the best part? You don’t need salon-level skills to pull most of these off.
This post breaks down the best baseball nails trending on Pinterest right now. You’ll find cute game day looks, minimalist designs for beginners, common mistakes that ruin your hard work, and a full DIY tutorial you can do at home in about 10 minutes. Grab your base coat and your team colors. Let’s get into it.
Why Baseball Nails Are Taking Over Pinterest in 2026
The Red, White, and Blue Palette That Works Every Time
There’s something about the red, white, and blue color combo that just works. It’s bold without being overwhelming. It’s sporty without losing its feminine edge. And it taps into that nostalgic, all-American vibe that resonates with pretty much everyone.
The baseball stitch pattern itself is one of the most recognizable motifs in nail art. Two curved red lines with small diagonal tick marks across a white base. Simple. Clean. Instantly identifiable. That visual clarity is what makes baseball nail designs perform so well on Pinterest, where strong graphics and clear patterns drive the highest save rates.
From the Bleachers to the Salon: Who’s Wearing Them
This trend isn’t limited to one type of person. Baseball moms are pairing their mom baseball themed nails with their favorite baseball game outfit ideas for a complete game day look. College students are rocking team-color sets for rivalry weekends. And nail artists on TikTok and Instagram are pushing the designs into more creative territory with glitter, chrome, and 3D elements.
Pinterest search data shows that baseball nail art saves spike hard during spring training and stay high through the regular MLB season. The trend crosses age groups and skill levels, which is exactly why it keeps growing year after year.
17 Cute Baseball Nail Designs You Need to See for Game Day
Not all baseball nails look the same, and that’s the fun of it. Here are the styles getting the most attention on Pinterest right now.
Classic Baseball Stitch Nails
This is the foundation. A clean white base with two curved red stitch lines painted in the signature baseball arc. It’s the most pinned baseball nail design year after year, and it works on every nail shape, from short squares to long almonds. If you’re only going to try one look from this list, start here.
The stitch pattern looks best when the lines are thin and precise. Thick, heavy-handed stitches tend to look messy. A fine liner brush gives you the control you need to keep those curves clean.
Team Color Accent Nails
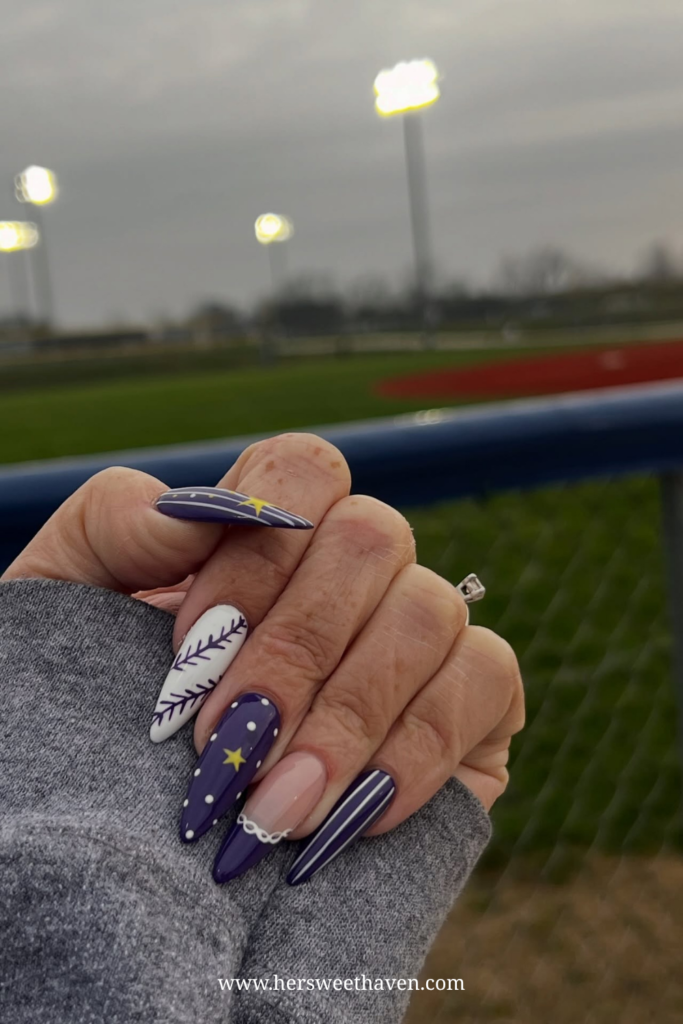
Replace the standard white base with your team’s primary color (navy, red, green, whatever represents your squad) and paint the stitch detail in a contrasting tone. Add a jersey number on one accent nail using a thin detail brush or a nail stamp, and you’ve got a set that feels personal.
This style is especially popular with fans who want their baseball nail designs to tell a story. It’s not just generic baseball art. It’s your team, your player, your season. If your team rocks a blue and white palette, you’ll love pairing this with ideas from blue and white nail designs too.
Glitter and Rhinestone Baseball Nails
Want to take it up a notch? Add a glitter accent nail alongside your stitch nails. A white or nude base paired with holographic or silver glitter polish keeps the baseball theme intact while adding some sparkle that catches the light in photos and videos.
Small flat-back rhinestones placed at the stitch intersection points are another way to make a basic baseball stitch nail look like you spent hours at the salon. This is one of those nails ideas that performs incredibly well on Pinterest because of the texture contrast.
Baseball Mom Nails With a Personal Touch
Baseball mom nails are their own subcategory at this point. These sets often mix the classic stitch pattern with team colors, a player’s jersey number, and sometimes even small baseball bat or glove accents on one or two nails. The mix-and-match approach keeps things interesting without going overboard.
You can keep it simple with a stitch accent nail and solid team-color nails on the rest. Or go all out with a different design on each finger. Both styles get love on Pinterest.
The Baseball Nail Trend Everyone’s Wearing to Games
How This Trend Went From Niche to Mainstream
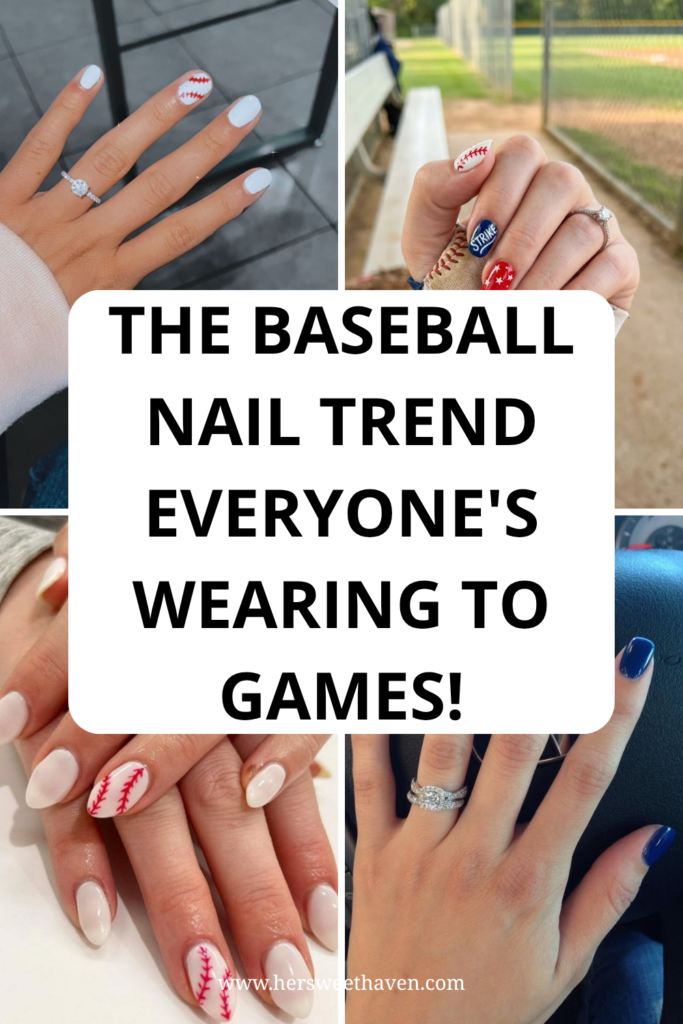
Baseball nails started as a niche sports-fan thing. You’d see them on a few dedicated fans at the ballpark, usually hand-painted with whatever polish they had at home. But social media changed everything.
Instagram and Pinterest turned these designs into shareable content. Nail artists started posting tutorials, fans started saving and recreating them, and the trend snowballed. Now, baseball nail art shows up alongside mainstream nails 2026 trends on Pinterest’s own trend reports. It’s not a niche anymore. It’s a full-blown category with its own design language, color rules, and seasonal cycle.
What Makes Baseball Nail Art So Pinnable
Two things: visual clarity and emotional connection. The stitch pattern reads instantly, even at the smallest thumbnail size. And because the designs are tied to a specific sport, season, and sense of community, they carry meaning beyond just looking good.
That combination (strong graphic plus personal connection) is what drives the highest engagement on Pinterest. People don’t just scroll past baseball nails. They save them, share them, and actually recreate them. That’s the difference between a design that trends for a week and one that comes back every single season.
5 Minimalist Baseball Nails Even Beginners Can Do
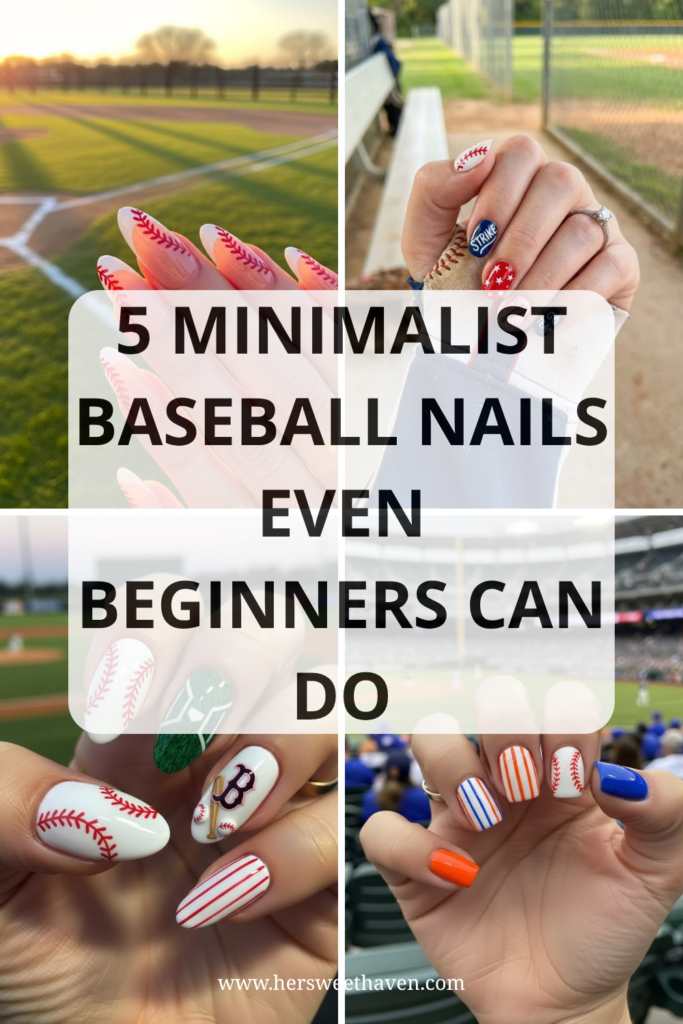
Not everyone wants a full art set, and not everyone has the steady hand for detailed stitch work. These minimalist options are perfect if you’re new to baseball nail art or just prefer a cleaner look.
Single Stitch Accent Nail
Paint all your nails in a soft nude or white. On your ring finger, add a single curved stitch line in red. That’s it. One nail, one design element, and it still reads as baseball. This is the most beginner-friendly option because it requires the fewest strokes and looks great even if your lines aren’t perfectly straight.
If you’re into the almond nail designs trend, this minimalist stitch looks especially good on that shape because the curve of the almond tip mirrors the curve of the stitch line.
Nude Base With Red French Tips
Skip the classic white French tips and go red instead. Paint a nude or sheer pink base and add bold red tips to each nail. You can add a small stitch detail on one or two accent nails if you want, but the red tips alone give enough of a baseball nod to be recognizable.
This is a great nails design option for women who want something wearable beyond game day. It works at the office, at brunch, and at the ballpark without looking out of place anywhere.
Simple Red and White Color Block
Alternate red and white nails across both hands. No stitch work, no detail brushes, no stress. The color combination itself does the heavy lifting. You can add a glossy top coat for a polished finish or go matte for a more modern vibe.
This approach works on every nail length and shape, making it one of the most accessible nails ideas for anyone who wants to show team spirit without spending hours on their manicure.
3 Baseball Nail Art Mistakes That Smudge in Minutes
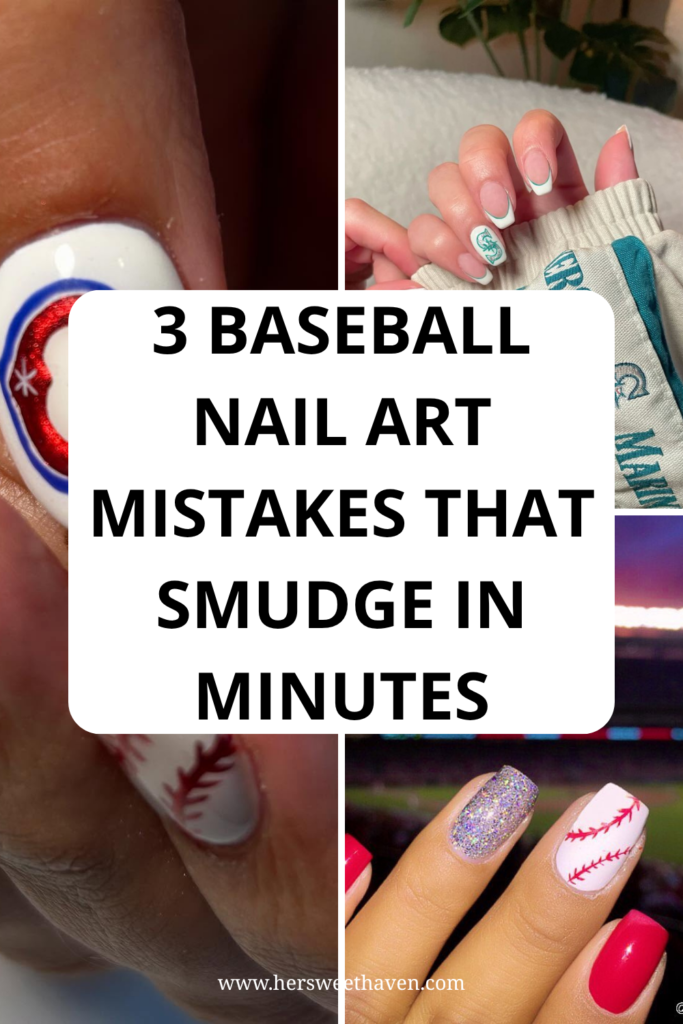
You spent 20 minutes getting those stitch lines just right. Then you touched something too soon and the whole thing smeared. Sound familiar? Here are the three biggest mistakes people make with baseball nail art, and how to avoid them.
Painting Over Wet Layers
This is the number one reason baseball nails get ruined. If you start adding red stitch details before your white base is fully dry (or fully cured, if you’re using gel), the colors will bleed together. You’ll end up with muddy pink lines instead of crisp red stitches.
The fix is simple but requires patience. Let each layer dry completely before moving to the next. For regular polish, that means waiting at least two to three minutes between coats. For gel, make sure you cure the white base to full hardness before picking up your liner brush. According to nail art experts, addressing mistakes immediately while the polish is still wet (rather than layering over them) produces much better results.
Using the Wrong Brush for Stitch Lines
A standard nail polish brush is way too thick for stitch details. It will give you chunky, uneven lines that look sloppy instead of sporty. The beauty of baseball stitch nail art comes from precision: thin, delicate curves with small, neatly spaced tick marks.
Invest in a fine liner brush or a striping brush. These tools give you far more control and allow you to create the thin, consistent lines that make baseball nails look professional. Quality brushes with fine bristles make a noticeable difference in the finished result, even for beginners.
Skipping the Base Coat
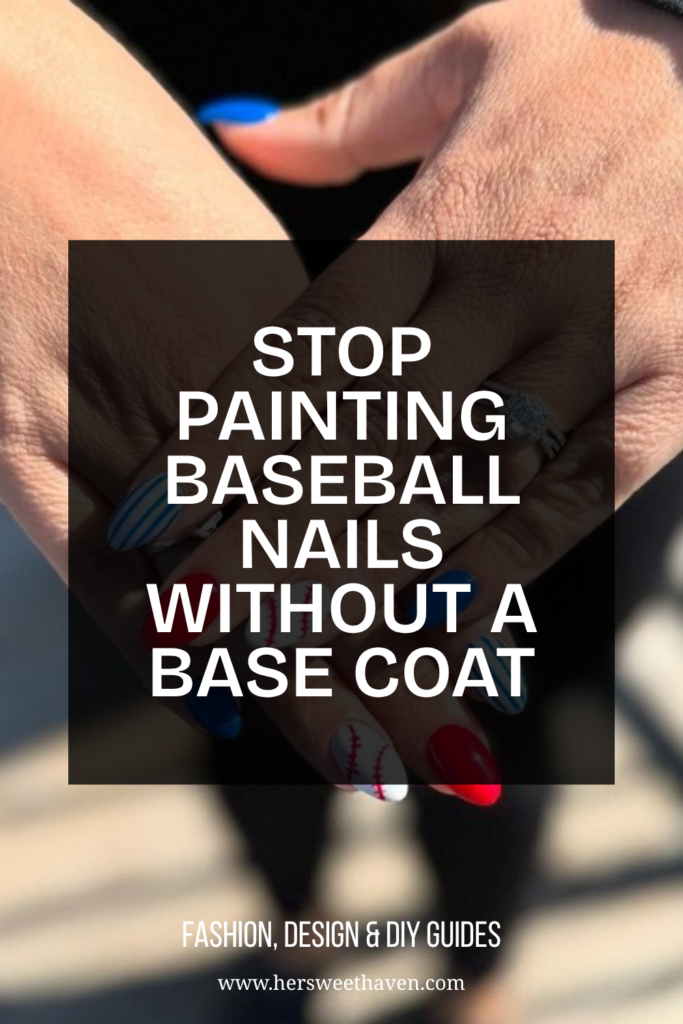
Here’s the thing: a base coat isn’t optional. Without one, your white polish won’t adhere properly, it’ll stain your nails, and the whole manicure will chip faster. A thin layer of base coat creates a smooth surface that helps every layer on top last longer.
Professional nail techs consistently list skipping the base coat as one of the most common reasons manicures fail early. It takes 30 seconds to apply and can double the life of your baseball nails. There’s no good reason to skip it.
How to Make Baseball Nails at Home in 10 Minutes (No Salon Needed)
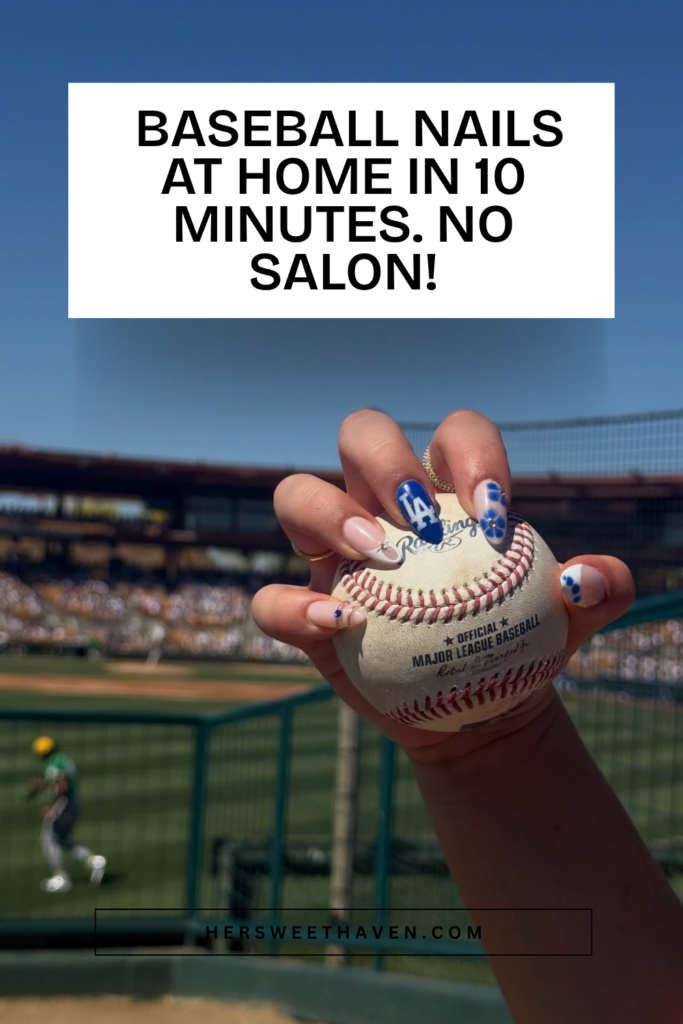
You don’t need a salon appointment to get great-looking baseball nails. This DIY method works with regular polish, and the whole process takes about 10 minutes once you get the hang of it.
What You Need: Tools and Polish
Keep it minimal. You need a white nail polish (opaque, not sheer), a red nail polish, a fine liner or striping brush, a base coat, and a glossy top coat. If you want to add team colors, grab one extra polish in your team’s shade. That’s it. No fancy tools required.
If you don’t have a striping brush, a toothpick works in a pinch. It won’t give you the same precision, but for a first attempt, it gets the job done.
Step-by-Step Stitch Technique
Start with your base coat and let it dry. Apply two thin coats of white polish, drying between each one. Then dip your liner brush into the red polish and draw two slightly curved lines across the nail, arcing from one corner toward the opposite side. Add four to six small diagonal tick marks along each curve to create the stitch effect.
The key is light pressure. Less pressure on the brush produces cleaner, finer lines. If you press too hard, the lines will be thick and uneven. Practice the curve on a piece of paper first if you’re not confident. The motion becomes natural after a few tries.
Seal It Right So It Lasts
Once your stitch art is completely dry, apply a thin layer of glossy top coat over the entire nail. Make sure to cap the free edge (the tip of the nail) to prevent early chipping. This final seal is what keeps your design looking fresh for days instead of hours.
One important note: if you’re using gel, opt for a no-wipe top coat. Standard gel top coats require wiping with alcohol after curing, and that wiping step will smear freshly applied stitch art. A no-wipe formula cures hard without any post-cure cleanup.
Want Baseball Nails That Last the Whole Season?
Gel vs. Regular Polish for Baseball Nail Art
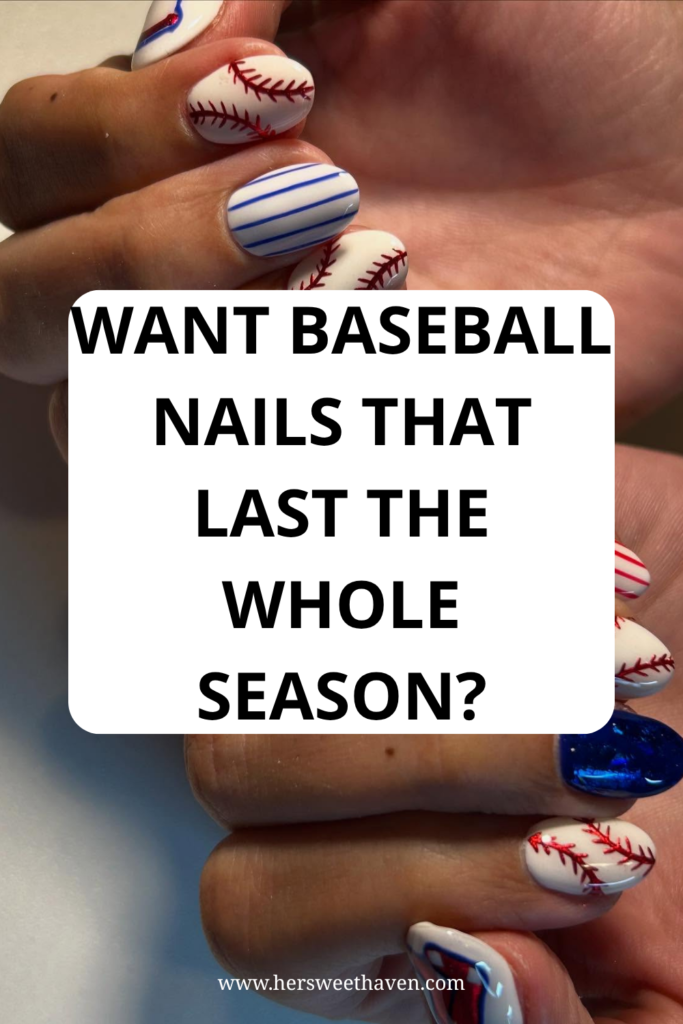
If longevity is your priority, gel polish is the way to go. A gel baseball manicure can last two to three weeks without chipping, which means you can get your nails done at the start of a homestand and they’ll still look sharp by the end of it.
Regular polish gives you more flexibility (easier to change, no lamp required, faster removal), but you’ll typically get three to five days before the first chip. For a single game day, regular polish is fine. For a full series or a tournament weekend, gel is the smarter choice.
Top Coat Tips That Actually Work
Not all top coats are created equal. A quick-dry top coat will cut your drying time significantly with regular polish and reduce the risk of smudging your stitch work. Apply it in thin, even strokes and avoid going back over areas you’ve already coated.
For nails acrylic sets, ask your nail tech to use a high-shine gel top coat that won’t yellow over time. This keeps the white base looking bright and clean, which is important because a yellowed white base kills the crisp baseball look.
Baseball Nail Art That Actually Looks Pro
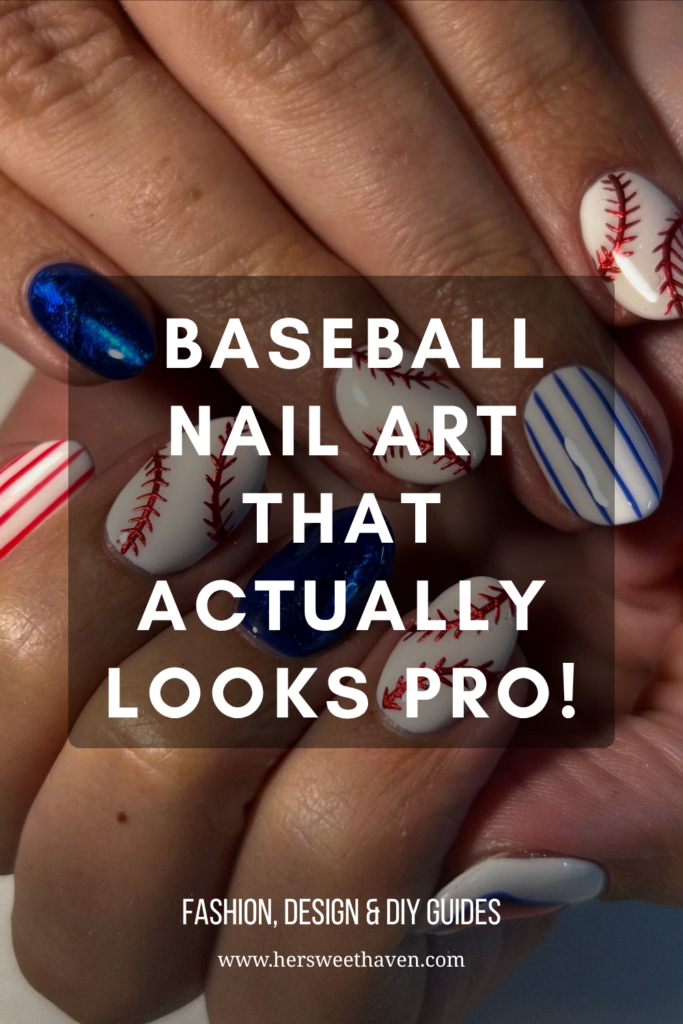
Why Thin Lines Make All the Difference
The single biggest difference between amateur and professional-looking baseball nails is line thickness. Pro nail artists use ultra-fine liner brushes and apply minimal pressure to create stitch lines that are thin, even, and precisely spaced. When you look at the best baseball nail sets on Pinterest, the stitches almost look like they were printed on.
If your lines are coming out thick or blobby, you’re either using too much polish on the brush or pressing too hard. Wipe the excess off your brush before each stroke. Thin, controlled passes will always look better than one heavy stroke.
Mixing Matte and Glossy Finishes
Here’s a trick that instantly makes any baseball nails design look more sophisticated: use a matte top coat on your solid team-color nails and a glossy top coat on your stitch nails. The texture contrast between matte and gloss creates visual depth that photographs beautifully and makes the set look like it came from a top-tier nail artist.
This technique works well with the mix-and-match approach too. If you’re combining polka dot nail looks or cat-eye nail trends with your baseball set, the matte-gloss contrast helps each design element stand out instead of blending together.
Your Next Game Day Manicure Starts Here
Baseball nails are one of those rare trends that look good on everyone, work at every skill level, and actually mean something to the person wearing them. Whether you go full team-color with rhinestones and jersey numbers or keep it minimal with a single stitch on one accent nail, you’re showing up to the game with style.
The key takeaways: use a base coat every time, keep your stitch lines thin, and let each layer dry before adding the next. Those three things alone will take your baseball nail art from smudgy to sharp.
Save this post for your next game day manicure, share it with your baseball crew, and tag us when you try one of these looks. Which design are you going for first? Drop it in the comments.
Leave a Reply