

You have permission to stop scrolling through 12,000 photos on your phone and actually do something with them. Seriously. The photos from last summer’s road trip, the candid shots from your best friend’s wedding, the blurry but precious first steps of your baby: they deserve more than a camera roll that you swipe past ten times a day without really seeing. Photo book and album ideas are everywhere right now, from minimalist digital designs to handmade scrapbook-style albums filled with ticket stubs and handwritten notes.
The beauty of a photo book is that there’s no wrong way to make one. You can order a polished hardcover from a printing service in an afternoon, or you can spend a weekend with scissors, glue, and stickers creating something entirely by hand. What matters is that your photos leave the screen and become something you can hold, flip through, and pass around the table. This guide covers creative themes, layout tips, common mistakes, and practical advice for getting started, even if you have zero graphic design experience.
9 Creative Photo Book Ideas That Feel Personal and Special
The best photo books aren’t just collections of pretty pictures. They tell a story, follow a theme, or capture a specific slice of your life in a way that feels intentional. These are the photo book ideas that people actually finish, gift, and come back to again and again.
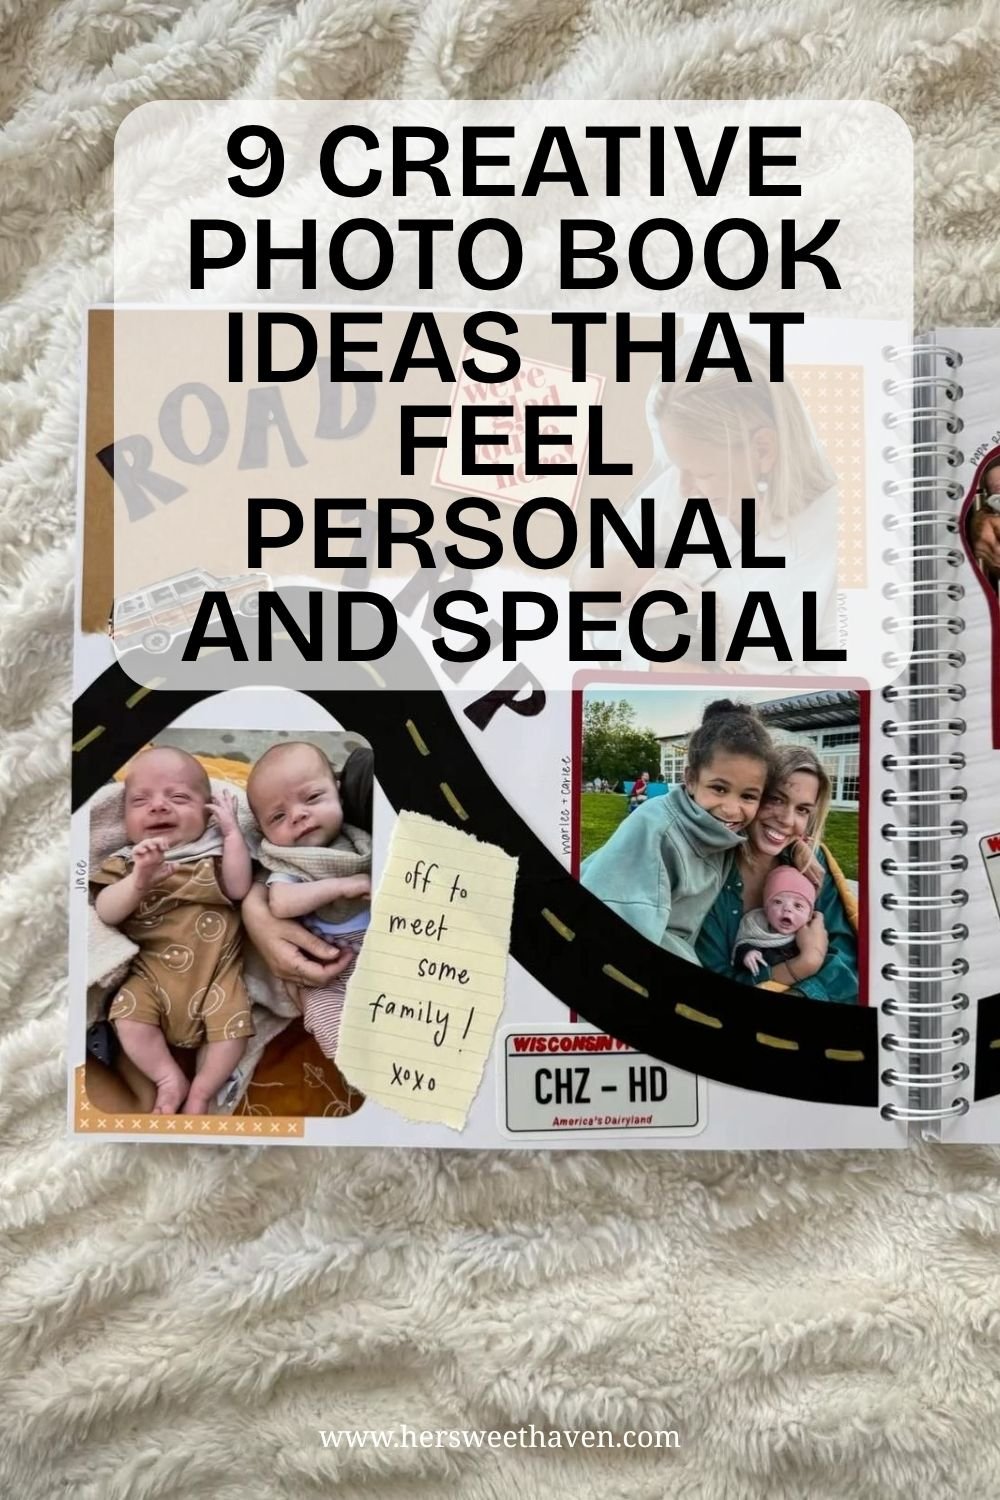
Family Road Trip and Travel Albums
A travel photo book works because it has a natural beginning, middle, and end. You left home, you went somewhere, and you came back with memories. Organize the photos chronologically, include a few shots of maps, road signs, or restaurant receipts alongside the scenic photos, and add handwritten notes about what happened at each stop.
Artifact Uprising’s photo book ideas suggest creating the same style of book for every trip so you build a matching collection over time. A spiral-bound book with a road-themed cover, printed photos, and small journaling notes (like “off to meet some family! xoxo”) creates a keepsake that captures not just the sights but the feeling of the trip.
Baby’s First Year Month-by-Month
Documenting a baby’s first year in a photo book is one of the most popular uses for a reason: babies change so much between months that each page feels like a different child. Take one photo per month in the same spot or same outfit to show growth, and fill the surrounding pages with candid shots, milestone notes, and details like first words or favorite foods.
Shutterfly’s photo book guide recommends choosing a template early and sticking with it so the book has visual consistency from cover to cover. A hardcover format gives these books durability since they’ll be handled often, and layflat pages prevent photos from getting lost in the spine.
Wedding and Anniversary Scrapbook-Style Books
A wedding photo book doesn’t have to be a formal album of professional shots. Some of the most meaningful versions mix professional photos with candid phone shots, handwritten vows, pressed flowers from the bouquet, and notes from guests. Mixbook’s collection of unique photo book ideas includes anniversary editions that couples update each year, adding new memories alongside the originals.
The scrapbook approach (printed photos layered with stickers, washi tape, and decorative frames) gives wedding books a handmade quality that feels warmer than a standard photo album. If you enjoy this kind of creative work, these memory box ideas pair well with a wedding photo book as a companion keepsake.
Stop Making These Photo Book Layout Mistakes
A photo book can hold the most beautiful photos in the world and still feel flat if the layout is off. These are the design mistakes that make the difference between a photo book that sits on the coffee table and one that stays in a drawer.
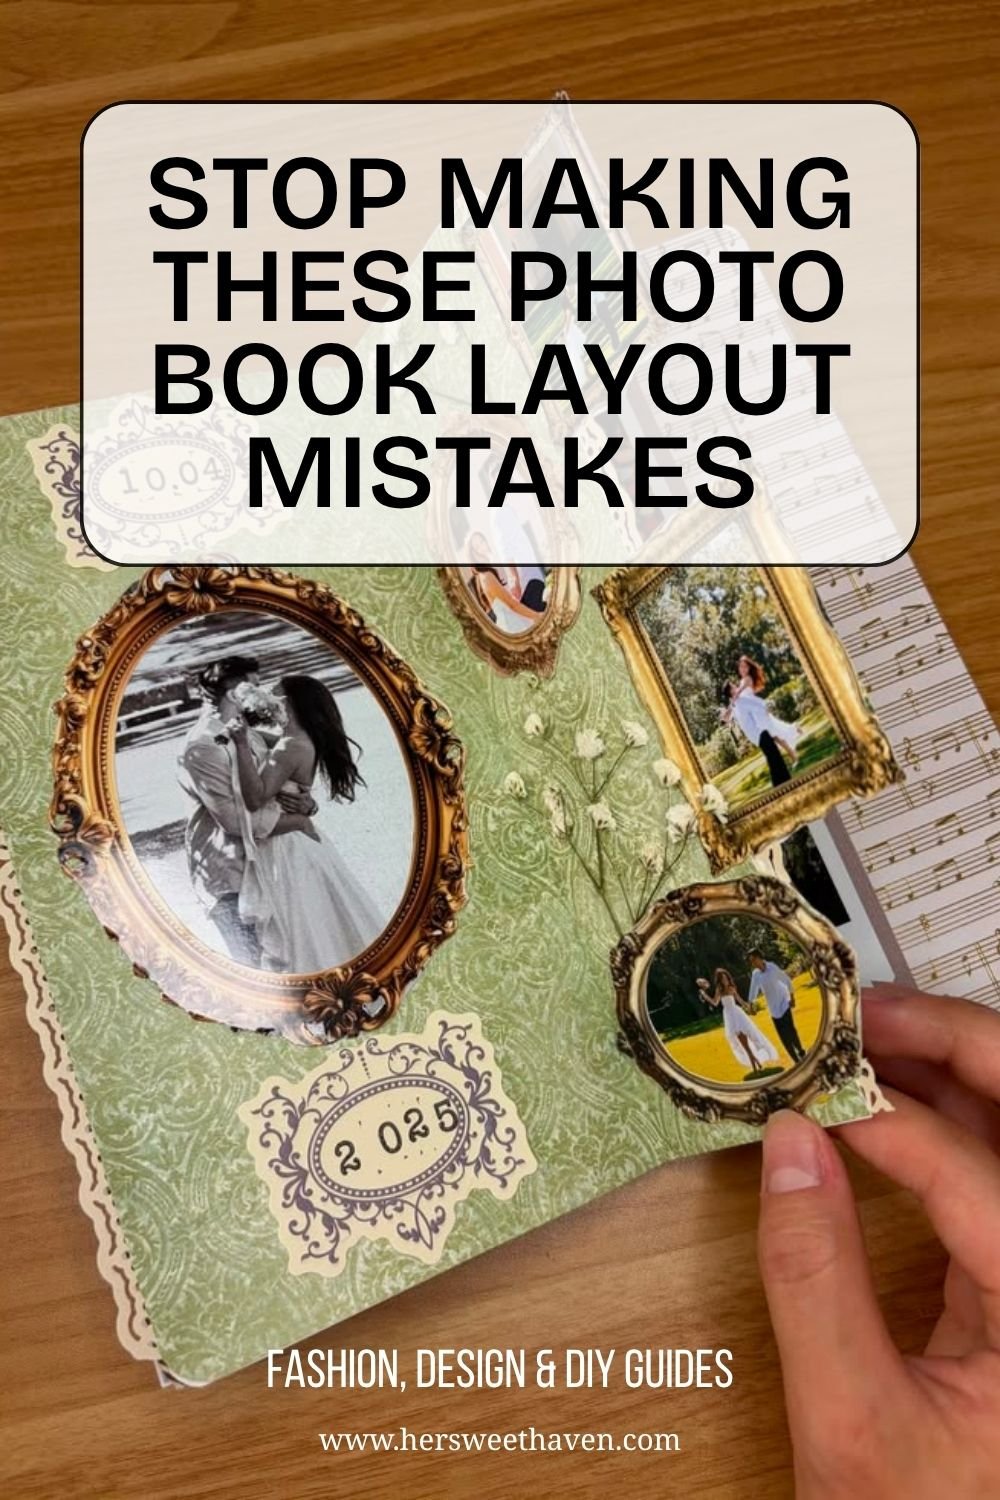
Cramming Too Many Photos on One Page
This is the most common mistake, especially for first-time photo book makers. When every page has six or eight photos crammed together with no breathing room, nothing stands out. The eye doesn’t know where to look, and the individual photos lose their impact.
Layout experts at Artifact Uprising recommend mixing page densities: a full-bleed single photo on one page, followed by a spread with two or three smaller images on the next. White space around your photos is your friend. It keeps things clean, draws attention to the images that matter, and makes the whole book feel more polished.
Using Every Photo You Have
The editing process is where most people struggle. You have 300 photos from the vacation but your book only needs 40 to 60. Choosing which photos to cut feels painful, but photo book design guides confirm that removing duplicates, blurry shots, and photos that don’t add to the story is what separates a memorable book from a bloated one.
A good rule: if two photos tell the same story (two nearly identical sunset shots, three versions of the same group pose), pick the best one and let the others go. The photos you keep will have more room to breathe and more visual impact on the page.
Ignoring the Flow and Narrative
Dropping photos randomly onto pages without thinking about order creates a disjointed reading experience. Even a casual photo book benefits from a basic structure: an opening (where, when, who), a middle (the main events, the key moments), and a close (a favorite group shot, a reflection, or a look-ahead).
Shutterfly’s guide suggests organizing photos chronologically as the simplest approach, but you can also group by theme (food moments on one spread, adventure shots on the next) or by person. The point is having some kind of intentional order that guides the reader through the book rather than leaving them flipping randomly.
Photo Book Ideas That Actually Make People Cry
The photo books that get the biggest emotional reactions aren’t the fanciest ones. They’re the ones with small, unexpected personal touches that show the maker was thinking about the reader the whole time.
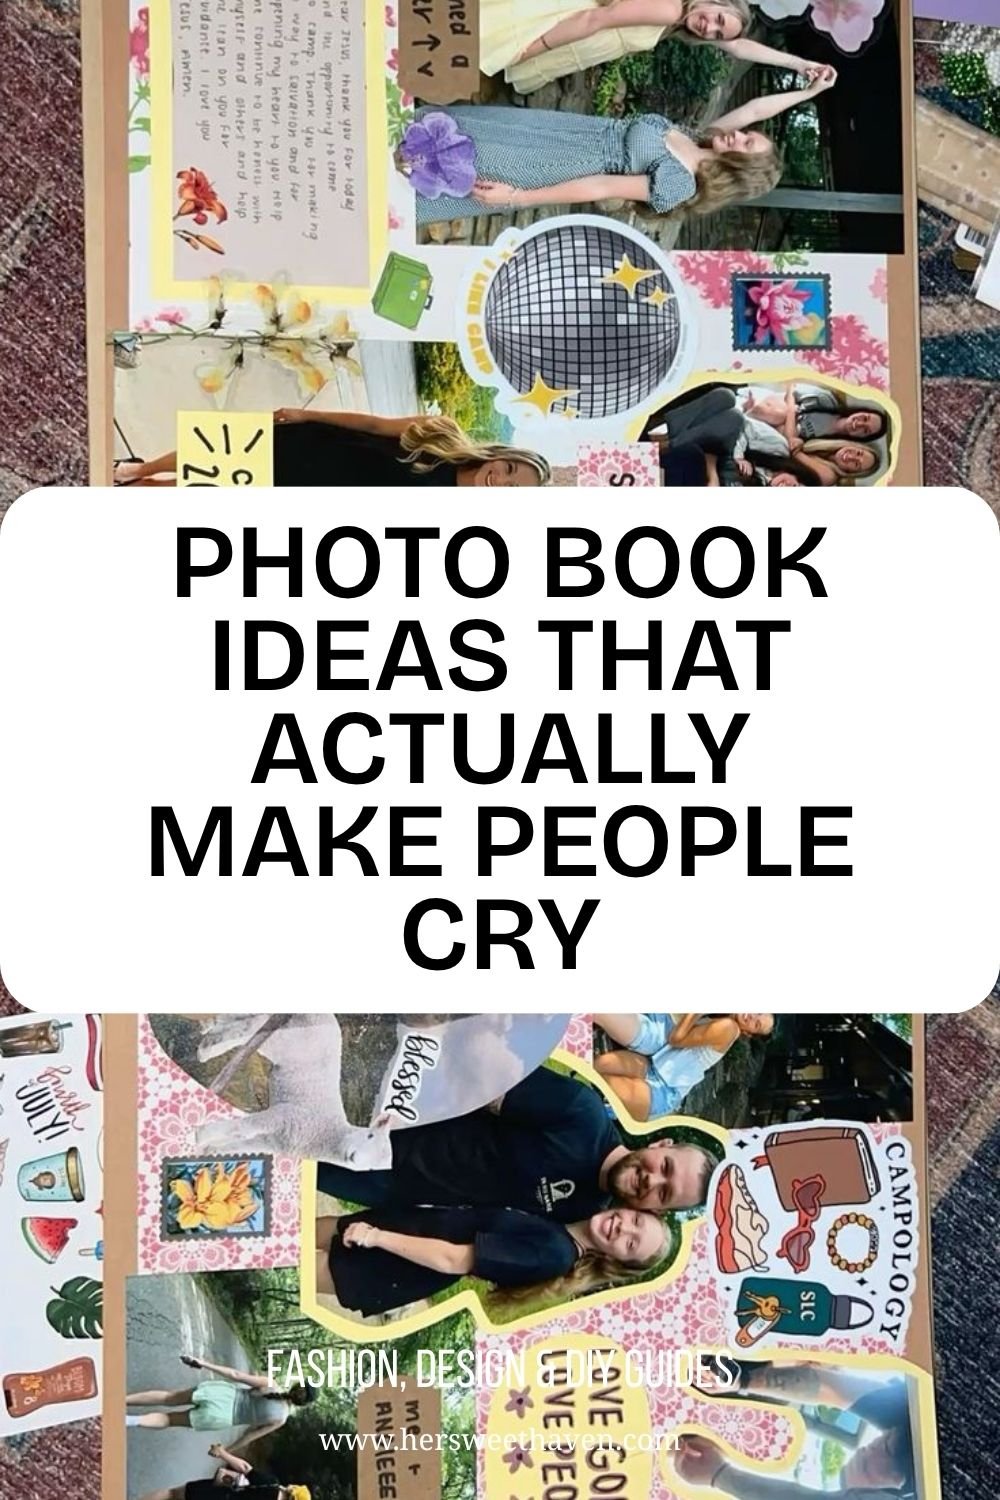
Handwritten Notes and Letters Between Pages
Adding handwritten captions, letters, or memory notes between the photos is the single most effective way to make a photo book feel personal. A printed caption says “Beach Day 2025.” A handwritten note says “This was the day you finally went underwater without your floaties and screamed about it for twenty minutes.”
Artifact Uprising recommends their Superfine matte paper option when you plan to write directly in the book, since glossy pages don’t hold ink as well. You can also write notes on separate paper, photograph them, and include the images alongside the original photos for a mixed-media feel.
Friendship and Best Friend Photo Books
A photo book for a best friend hits differently than a generic gift because it proves you remember the specific moments that mattered. Camp photos, road trip selfies, screenshots of inside jokes, photos from college, and current-day snapshots all mixed together with stickers, handwritten quotes, and dates create a timeline of a friendship.
These make incredible birthday and going-away gifts. Include small details like ticket stubs, dried flowers, or printed text message screenshots tucked between the pages. The messier and more personal it looks, the more meaningful it feels to the person receiving it.
Year-in-Review Family Albums
A year-in-review book captures an entire year of a family’s life in one album. Organize it by month or by season, and include a mix of milestone moments (birthdays, holidays, first days of school) alongside everyday moments (Tuesday night dinner, the dog sleeping in a weird position, a kitchen disaster that turned into a funny story).
Photo book creators suggest limiting year-in-review books to 30 to 40 pages to keep them focused and finishable. One or two strong photos per month, plus a few “bonus” candid shots scattered throughout, gives you enough content without making the project feel overwhelming.
Overwhelmed by Too Many Photos for Your Photo Book?
If you’ve been putting off making a photo book because you have thousands of photos and don’t know where to start, you’re not alone. This is the most common reason people never finish (or never start) a photo book project.
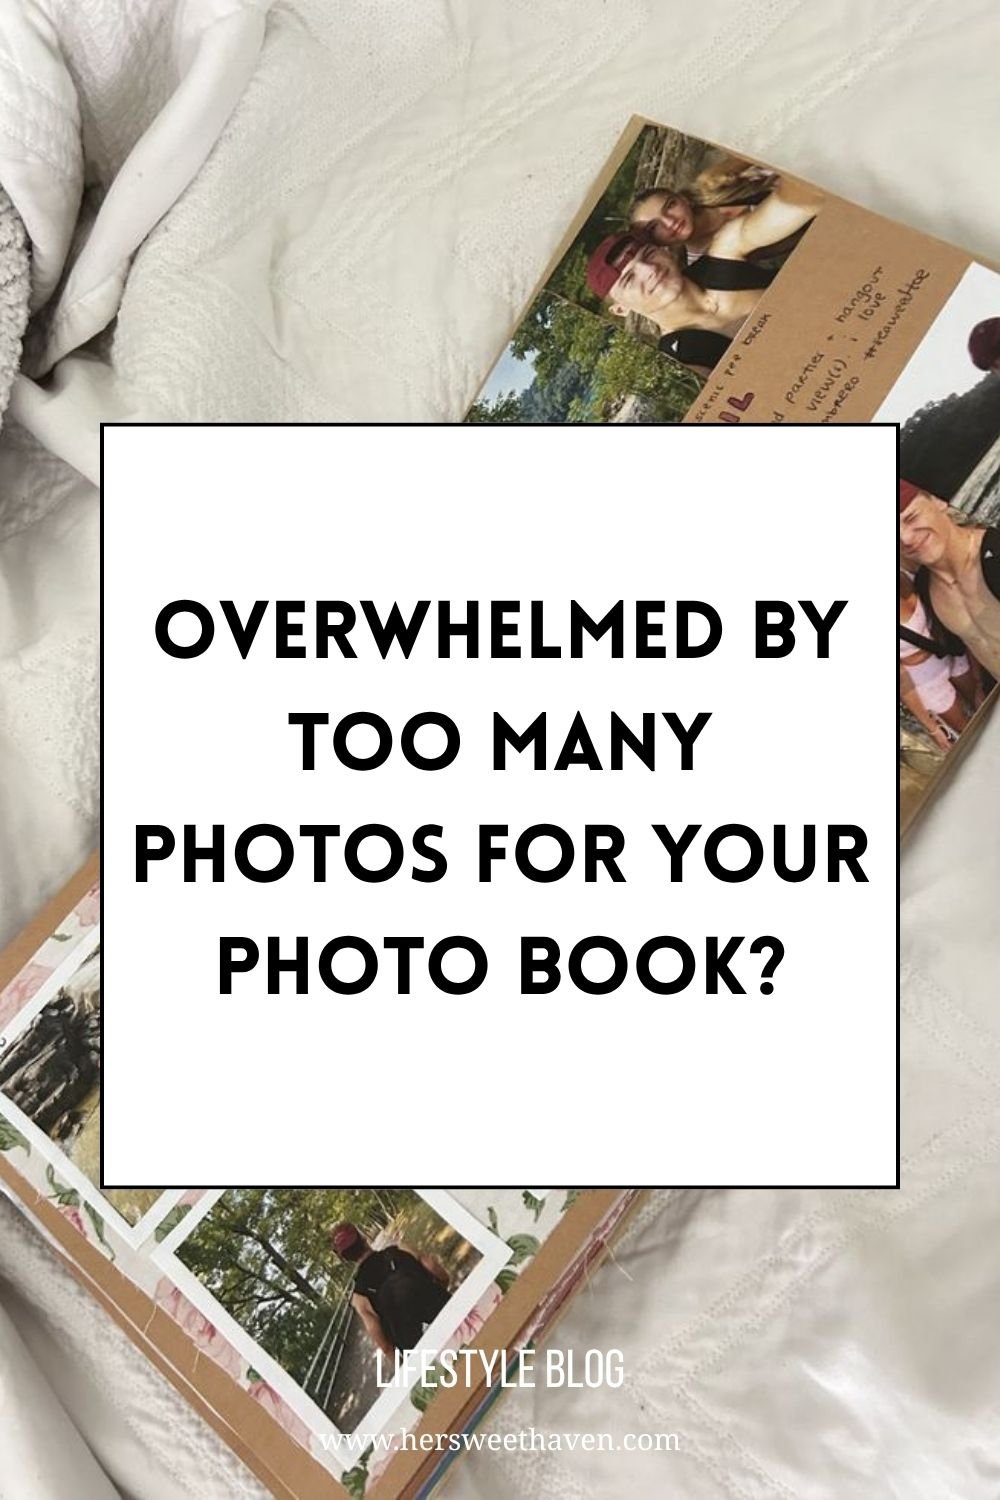
The 50-Photo Rule
Here’s a practical framework that works: limit yourself to 50 photos maximum for a standard photo book. That’s enough for a 20 to 30 page book with a mix of single-photo pages and multi-image spreads. Starting with a hard cap forces you to be selective, and the editing process becomes less overwhelming when you have a clear target number.
Beginner photo book guides recommend creating a separate folder on your phone or computer for “photo book candidates” and adding photos to it over a few days. Don’t try to select everything in one sitting. Come back to the folder with fresh eyes, remove anything that doesn’t make you feel something, and you’ll naturally land at a manageable number.
Sorting by Story, Not by Date
Instead of scrolling chronologically through every photo from the year, try sorting by story first. What are the five or six “chapters” of this period? Maybe it’s “the camping trip,” “birthday parties,” “random Tuesday nights,” “the garden project,” and “holiday season.” Create a folder for each chapter, move your best photos into them, and then arrange each chapter in order.
This approach turns a shapeless pile of 3,000 photos into five manageable batches of 30 to 50 each. You can build one chapter at a time without feeling like you need to tackle the entire year at once. For couple photo ideas that make great additions to a shared photo book, that guide covers posing and composition tips worth revisiting.
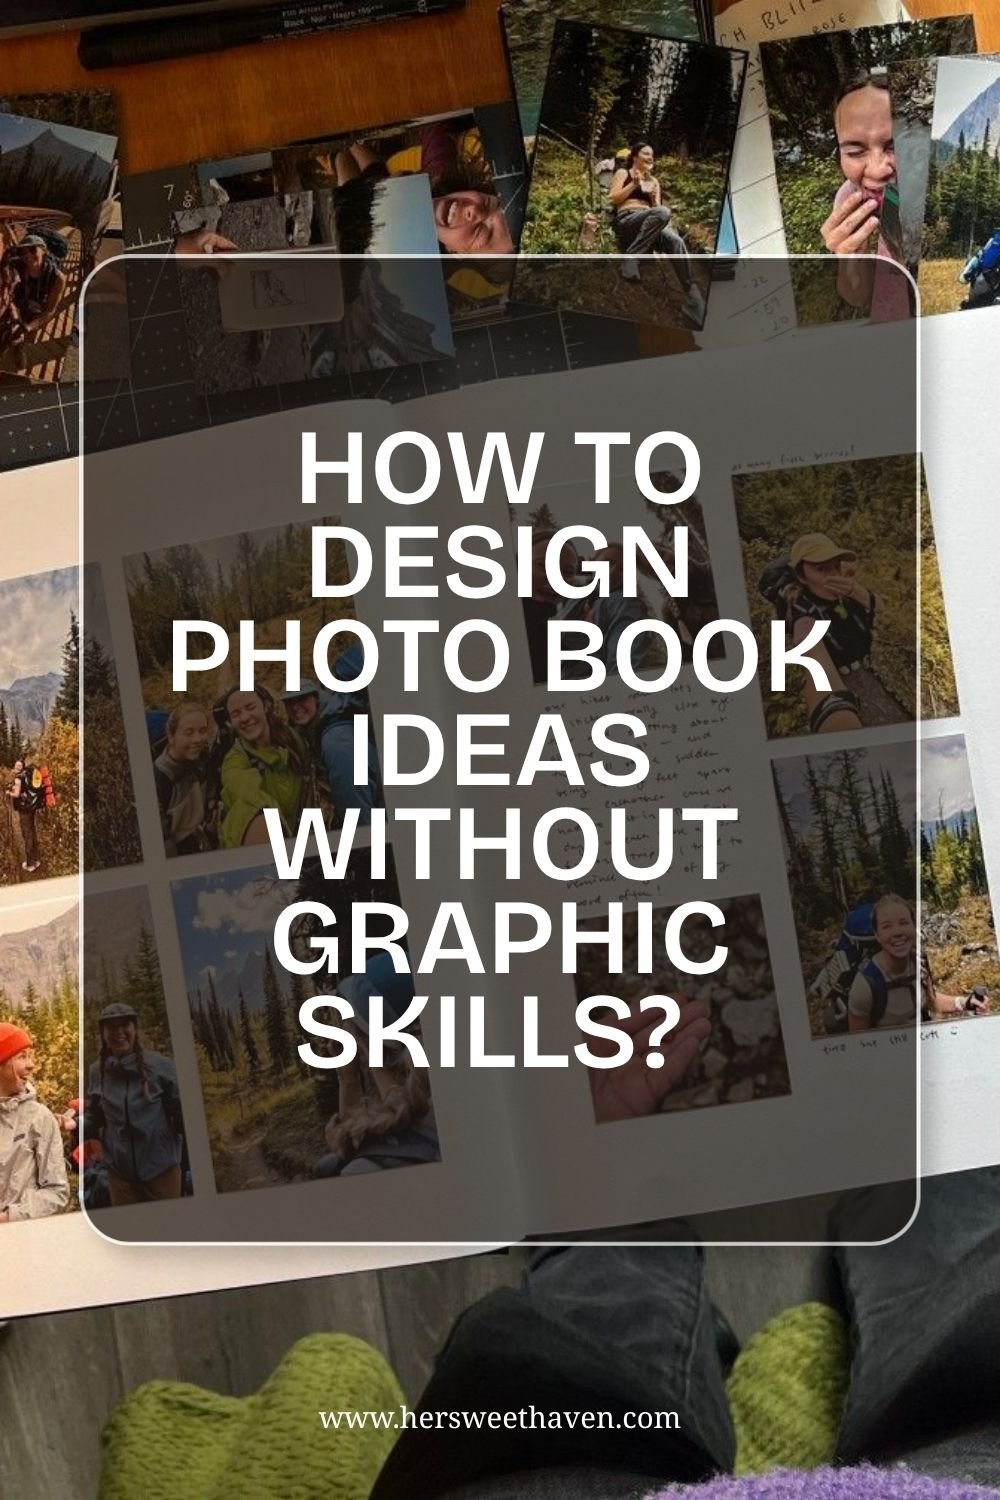
How to Design Photo Book Ideas Without Graphic Skills
You don’t need to know anything about design to make a photo book that looks great. The tools and templates available today do most of the heavy lifting. Here’s how to get professional-looking results without any training.
Using Templates and Pre-Made Layouts
Every major photo book service (Shutterfly, Mixbook, Artifact Uprising, and others) offers templates with pre-designed page layouts, coordinating backgrounds, and text styles. Shutterfly’s editor even offers a free designer service where a real person builds your book based on the photos you upload and the preferences you select.
Templates aren’t limiting. They’re time-saving. You can always swap layouts, move photos around, and customize text once the template gives you a starting structure. For beginners, picking one template and sticking with it from cover to cover creates a cohesive look that feels intentional.
Keeping It Simple with Consistent Choices
The quickest way to make a photo book look polished is consistency. Pick one background color (white or cream works for almost everything), one font for all captions, and two to three layout styles that you rotate throughout the book. Easy photo book guides confirm that books with fewer design elements look more professional than books where every page uses a different style.
Resist the urge to use every feature the editor offers. Borders, clip art, fancy text effects, and busy backgrounds compete with your photos for attention. Let the images be the focus, and use design elements sparingly to support them rather than distract from them.
DIY Handmade Photo Books for a Personal Touch
If you prefer something more tactile than a digitally printed book, a handmade photo book made with printed photos, cardstock, and basic craft supplies creates something truly one-of-a-kind. 365 Picture Today’s handmade photo book tutorial walks through a method using 4×6 printed photos, a cardstock spine, and adhesive tape that produces a compact, beautiful book in a couple of hours.
The handmade approach is also perfect for DIY clay calendar projects or any craft where you want the finished product to feel personal and homemade. Add washi tape borders, sticker embellishments, handwritten dates, and small ephemera (ticket stubs, pressed flowers, postcards) between the pages to create a mixed-media album that tells a richer story than photos alone.
Ten years from now, you won’t remember what was in your camera roll. But you will remember the photo book sitting on your shelf, the one you pick up on a quiet evening and flip through while smiling at moments you’d almost forgotten. That’s the payoff. One afternoon of sorting, arranging, and creating gives you decades of return. So open that camera roll, pick your 50 best photos, and start building. Future you will be glad you did.
Leave a Reply