

What if the most charming piece of decor on your desk was something you made yourself in a single afternoon? That’s exactly why DIY clay calendars are taking over Pinterest and TikTok right now. These small, sculpted perpetual calendars made from air-dry clay come in every shape imaginable: tiny frogs, mushrooms, cats, ducks, and even anime-inspired characters, each one holding interchangeable number and month tiles that you swap out daily.
The appeal is simple. They’re functional, they’re adorable, and they never expire. Unlike a paper calendar that goes in the recycling bin on December 31st, a perpetual clay calendar works year after year. And because air-dry clay is one of the most beginner-friendly craft materials out there, you don’t need a kiln, a pottery wheel, or any previous sculpting experience to make one. A pack of clay, some acrylic paint, and a free afternoon are all it takes. Here’s everything you need to know to make your own.
7 Aesthetic DIY Clay Calendar Ideas Going Viral
The designs getting the most saves and shares on Pinterest right now range from minimalist wall-mounted boards to tiny character-shaped desk pieces. These are the styles that are consistently trending.

Wall-Mounted Perpetual Calendar Boards
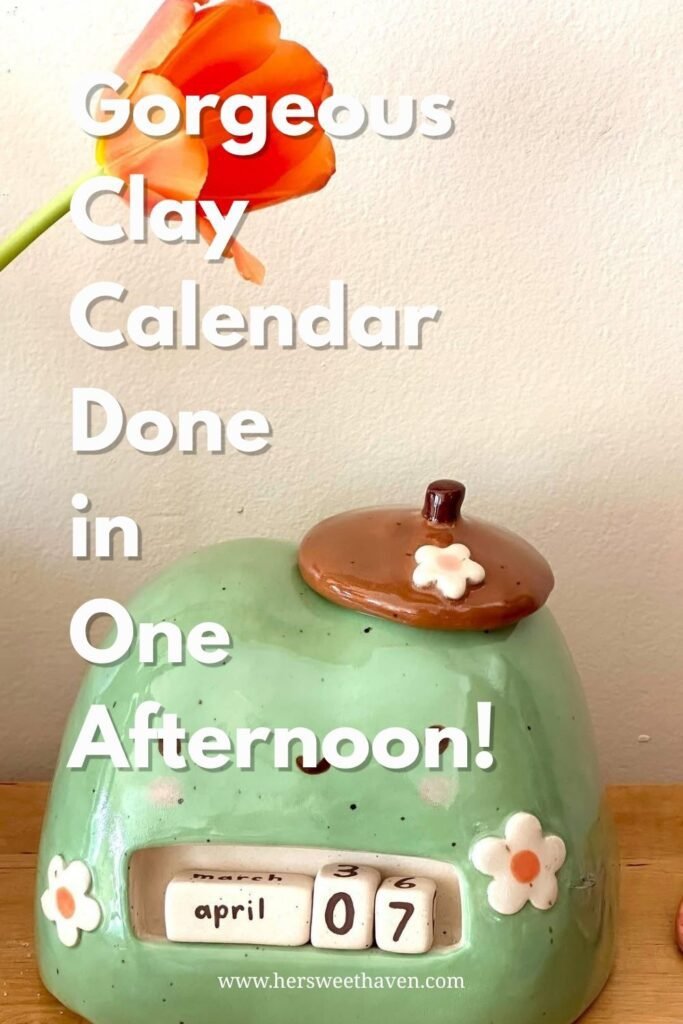
The wall-mounted clay calendar is the most polished version of this trend. It features a large clay board with pegs or hooks, where individual number and month tiles hang in a grid layout. Days of the week are stamped across the top, and a small tray at the bottom holds the tiles you’re not currently using. The soft, muted color palettes (sage green, blush pink, cream, and lavender) give these boards a cottagecore feel that fits right into a farmhouse or boho-style room.
Detailed DIY clay calendar guides recommend using DAS air-hardening clay for these larger projects because it has a smooth texture, minimal cracking, and a clean white finish that takes paint well. The board itself needs to be at least a quarter inch thick to support the weight of the tiles without warping as it dries.
Character-Shaped Desk Calendars
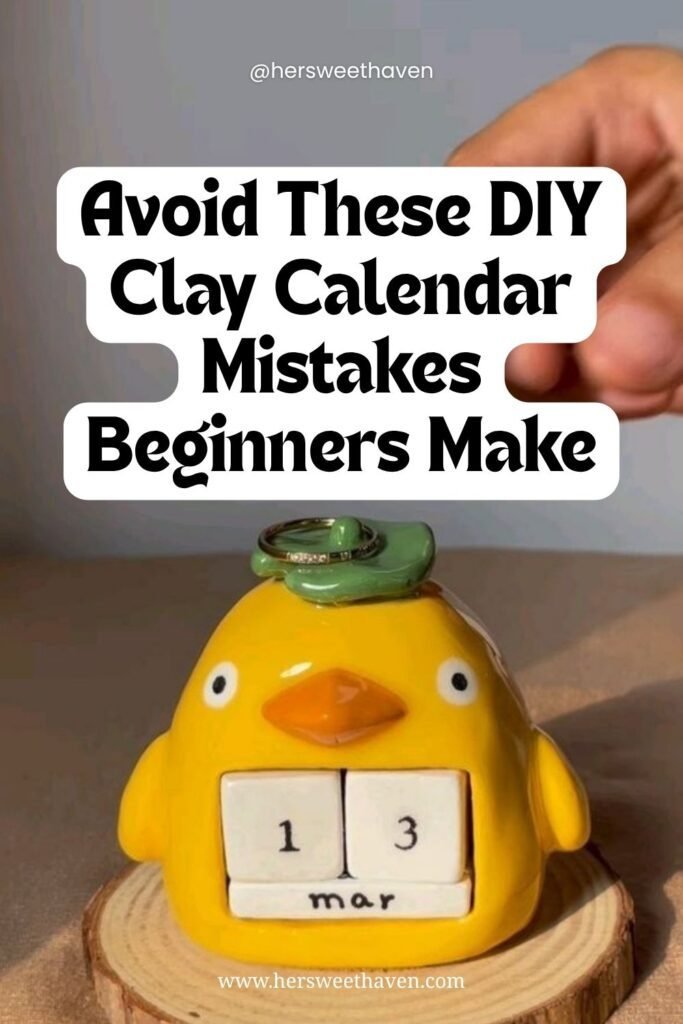
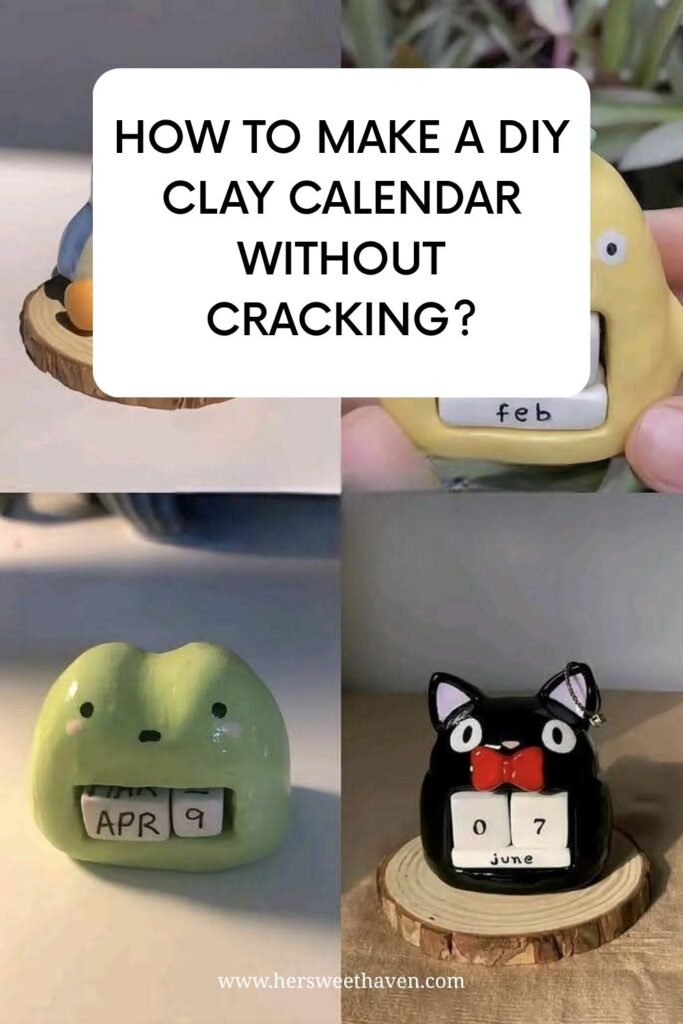
These are the ones blowing up on TikTok. Small clay figures shaped like animals or characters (frogs, ducks, cats, penguins, mushrooms) with a slot or tray in front that holds two number cubes and a set of month tiles. You rotate the cubes and swap the month tile each day, and the little character sits on your desk looking cute the rest of the time.
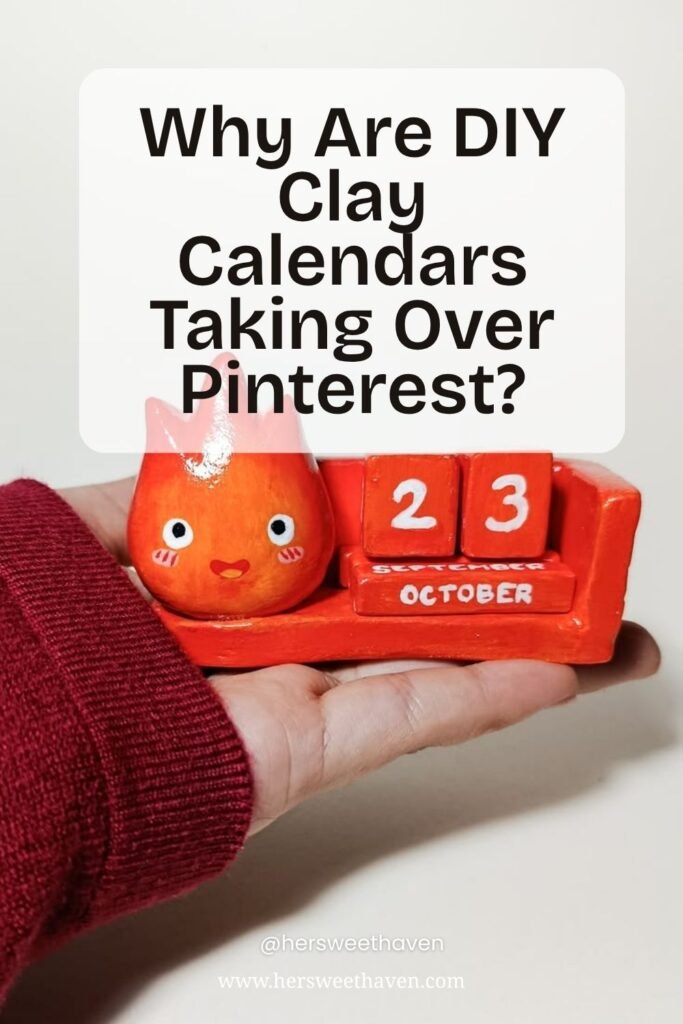
The most viral versions are inspired by Studio Ghibli characters (Totoro, the Spirited Away duck, Calcifer), but simpler shapes like a basic frog or a round blob with a face work just as well for beginners. The beauty of this style is that imperfections add to the charm. A slightly lopsided frog or a wobbly mushroom cap just makes it look more handmade and more lovable.
Minimalist Block Calendars
If cute characters aren’t your style, the minimalist block calendar is a clean, modern alternative. Two cube-shaped blocks for the date numbers and a rectangular block for the month, all sitting on a small clay tray or stand. No character, no fuss, just a functional desk accessory with a handmade feel.
Paint them in a single color with hand-stamped or hand-painted numbers and letters for a look that’s simple but refined. Neutral tones like white, terracotta, matte black, or stone grey work especially well on a minimalist desk setup. If you enjoy this kind of clean, functional decor, these closet organization ideas can help you extend that same energy to the rest of your space.
Avoid These DIY Clay Calendar Mistakes Beginners Make
Clay calendars look simple, but a few common mistakes can turn your project from cute to crumbling. These are the issues that trip up first-timers most often.
Making the Pieces Too Thick or Too Thin
Thickness matters more than most beginners realize. Pieces that are too thick take days to dry and are more likely to crack from the inside out as the outer layer hardens before the center. Pieces that are too thin are fragile and can snap when you handle them. Clay calendar experts recommend keeping most pieces between a quarter inch and half an inch thick for the best balance of durability and drying time.
For the number cubes specifically, aim for cubes that are roughly one inch on each side. This gives you enough surface area to paint legible numbers while keeping the pieces small enough to swap easily. Roll your clay on a flat surface and use a ruler to check the thickness before cutting.
Skipping the Sealing Step
Air-dry clay is porous, which means it absorbs moisture, attracts dust, and is vulnerable to chipping if left unfinished. Painting your calendar is only half the job. Sealing it with a clear varnish or a matte sealant is what protects the paint, adds durability, and gives the piece a finished look.
Apply two to three thin coats of sealant, letting each coat dry fully before adding the next. DIY craft guides stress applying thin coats to avoid drips and cloudiness, and storing the finished calendar away from direct sunlight to prevent fading over time.
Not Planning the Number System
A perpetual calendar needs two cubes to display dates 01 through 31, and the number distribution across those cubes follows a specific pattern. One cube needs 0, 1, 2, 3, 4, 5. The other needs 0, 1, 2, 6, 7, 8 (where the 6 doubles as a 9 when flipped upside down). If you don’t plan this out before painting, you’ll end up with a calendar that can’t display certain dates.
Write out the numbers for each cube before you start painting. It’s a small step that saves a lot of frustration later. The month tiles are more straightforward: twelve small tiles (or a rotating block) with each month abbreviated or written in full.
A Clay Calendar Done in One Afternoon
One of the best things about DIY clay calendars is that the actual hands-on time is surprisingly short. The drying takes a day or two, but the sculpting, shaping, and painting can be done in a single session.
Supplies You Need to Get Started
The supply list is short and inexpensive. Air-dry clay (DAS, Crayola, or any craft store brand), a rolling pin or smooth bottle for flattening, a craft knife or clay cutting tool, a ruler, acrylic paint, small brushes, a clear sealant, and optionally some alphabet stamps for clean lettering. The total cost is usually under $15 if you’re starting from scratch, and most of these supplies can be reused for other projects.
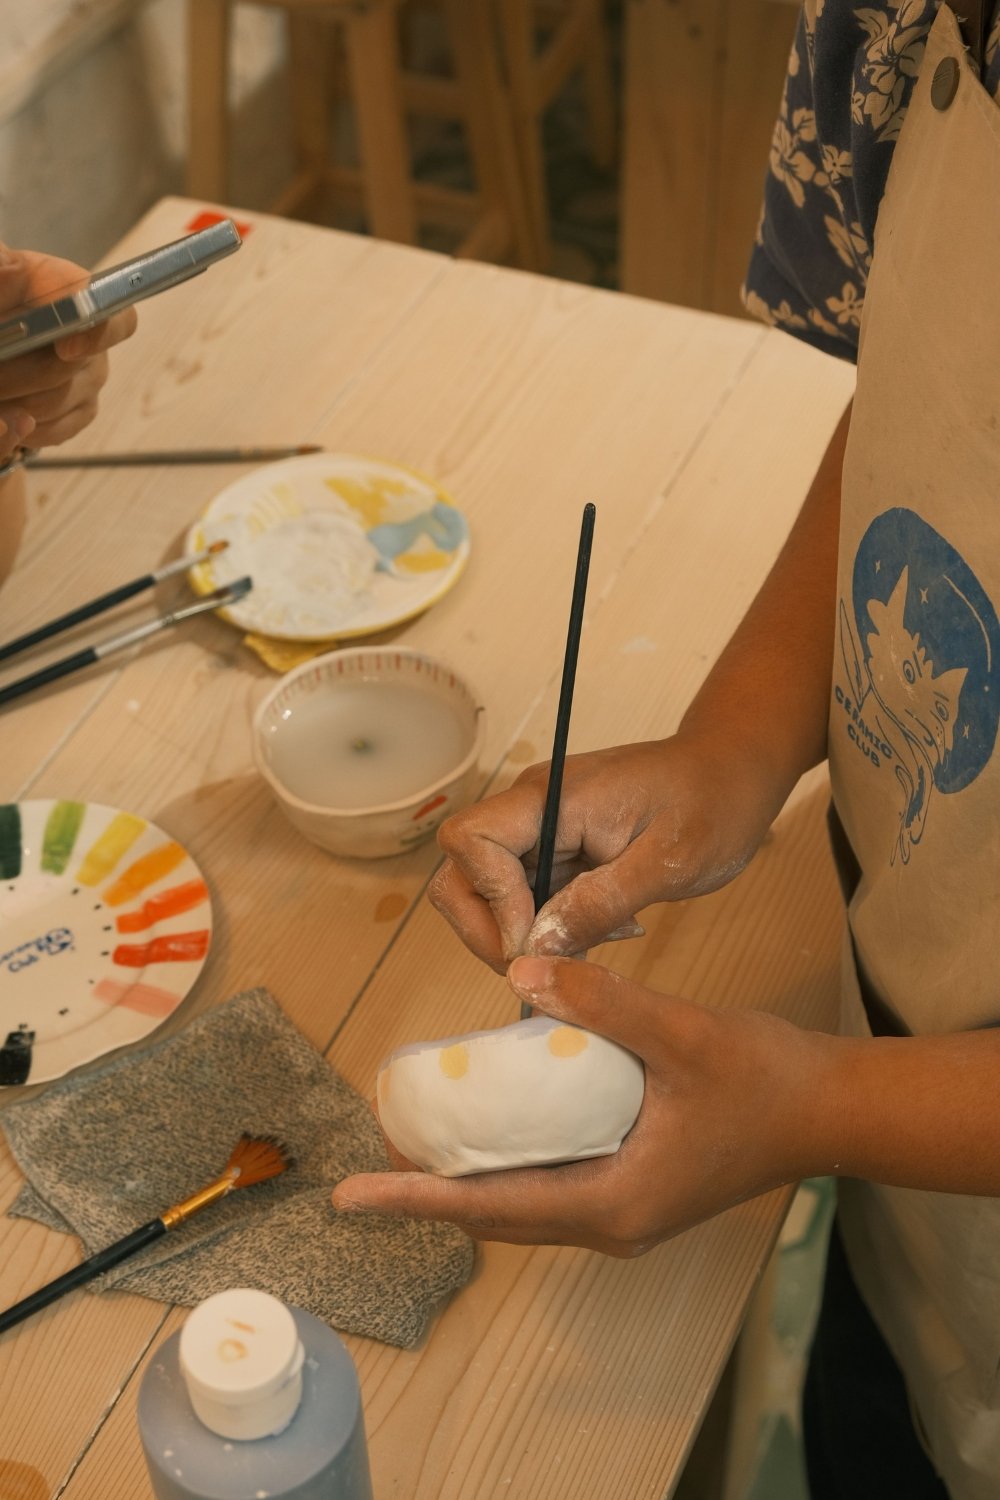
Work on a non-stick surface (parchment paper, a silicone mat, or a smooth cutting board) and keep a small bowl of water nearby for smoothing edges and blending seams. Have paper towels close for cleanup, and wear old clothes because clay dust gets everywhere.
Shaping, Drying, and Painting
Shape your base or character first, then make the number cubes and month tiles while the base starts to air-dry. Use a ruler to cut cubes to consistent sizes, and smooth the edges with a damp finger. Let everything dry for 24 to 72 hours depending on thickness and humidity.
Once fully dry, sand any rough edges lightly with fine-grit sandpaper, wipe off the dust, and start painting. Acrylic paint in two to three thin layers gives the best coverage without obscuring the details of your shapes. Let each paint layer dry before adding the next, then finish with your sealant. The whole project from start to finished, sealed product takes about two days of elapsed time, with maybe two to three hours of active work. If you’re looking for other one-afternoon craft projects, these mosaic art ideas for your garden use a similar low-effort, high-reward approach.
Why Are DIY Clay Calendars Taking Over Pinterest?
The viral success of clay calendars isn’t random. There are a few specific reasons why this particular craft has caught on so widely and shows no signs of slowing down.
They Photograph Incredibly Well
Pinterest is a visual platform, and clay calendars are visually appealing in a way that most DIY projects aren’t. The small, colorful shapes photograph beautifully on a styled desk, a wooden shelf, or a windowsill with good natural light. The character-shaped versions especially lend themselves to flat-lay photography and closeup shots that perform well in Pinterest’s image-heavy feed.
This makes them one of those rare crafts that are as fun to share as they are to make. Every finished clay calendar is unique, which means every photo is original content rather than a replica of someone else’s project.
They’re Functional Decor That Lasts Forever
Unlike most trendy crafts that end up in a drawer after the novelty wears off, a perpetual calendar actually gets used every single day. You interact with it each morning when you change the date, which means it stays visible and relevant on your desk or shelf indefinitely. That combination of “cute” and “useful” is exactly what makes a craft go viral. People don’t just want to make it. They want to keep using it.
They Make Incredible Handmade Gifts
A handmade clay calendar shaped like the recipient’s favorite animal or character is the kind of gift that gets an outsized emotional reaction for very little money. It’s personal, it’s practical, and it shows that the maker put thought into both the design and the person receiving it.
Teachers, coworkers, best friends, and family members all appreciate these as birthday or holiday gifts, especially when the design references an inside joke or a shared interest. The material cost is under $15, but the perceived value is much higher because it’s clearly handmade.
How to Make a DIY Clay Calendar Without Cracking
Cracking is the most frustrating thing that can happen to a clay project, especially after you’ve spent time shaping and painting. These precautions keep your calendar intact from start to finish.
Controlling the Drying Environment
Air-dry clay cracks when it dries too quickly or unevenly. The outside hardens while the inside is still wet, creating tension that splits the surface. The fix is simple: dry your pieces slowly in a room-temperature space away from direct sunlight, fans, heaters, and air conditioning vents.
If you’re in a dry climate, loosely draping a damp cloth or plastic wrap over the pieces for the first 12 hours slows the drying process and reduces the risk of surface cracks. Flip the pieces halfway through the drying period so both sides dry evenly.
Avoiding Over-Working the Clay
The more you knead, fold, and rework air-dry clay, the more moisture you introduce to some areas and remove from others. This creates inconsistencies in the clay’s density that show up as cracks during drying. Work efficiently: shape each piece in as few steps as possible, smooth the surface with a damp finger, and then leave it alone.
If a piece isn’t coming together the way you want, ball it up, let it rest for a few minutes, and start fresh rather than continuing to manipulate clay that’s already partially drying on the surface.
Repairing Small Cracks Before Painting
If small cracks do appear after drying (and sometimes they will, no matter how careful you are), you can fix them before painting. Mix a small amount of clay dust with white glue or use a product like Smooth-On to fill hairline cracks. Sand the repair smooth once it’s dry, and it will be invisible under paint.
For deeper cracks, you can press a thin layer of fresh clay into the gap, smooth it flush with the surface, and let it dry for another 24 hours. This repair technique works well for most air-dry clay brands and saves you from starting over entirely. If you enjoy working with your hands on projects like this, these DIY fairy garden decors use similar sculpting and painting techniques on a garden-scale project.
Here’s a quick recap of everything you need to get started with DIY clay calendars: pick a design (character, block, or wall-mounted), grab a pack of air-dry clay and some acrylic paint, plan your number distribution across two cubes, shape and dry for 24 to 72 hours, paint in thin layers, and seal with varnish. Your next step? Pick the design from this guide that made you pause the longest, save it as your reference, and block out one afternoon this weekend to try it. The craft is forgiving, the supplies are cheap, and the finished product is something you’ll use every single day.





Leave a Reply