

I used to think a pretty garden required a big budget and some kind of secret plant-whispering gift. Turns out I was wrong on both counts, and the proof is currently sitting in an old birdbath on my patio.
Let me back up. A few years ago I tried to become A Garden Person. I bought huge ceramic pots I couldn’t afford and a dozen rose bushes I had no idea how to prune, and within a month my backyard looked less like a sanctuary and more like a plant graveyard. I felt like a total failure. Then one afternoon I spotted a tiny patch of bright green moss under the old oak tree, and something clicked: I didn’t need an acre of perfect lawn. I needed to think smaller.
That’s how I fell into fairy garden decor, and here’s the part I want you to hear: I built almost all of it from things I already had. In this post I’ll walk you through the whole thing, from the junk I repurposed to the tiny paths, houses, and lights, plus the mistakes I’d skip if I were starting over. No landscaping bill required.
The Backyard Fail That Started It All
So let’s start with the “before,” because it wasn’t cute. Dead rose bushes. Expensive pots holding nothing but dirt and regret. A patio I avoided looking at.
The thing about big garden projects is that they punish beginners hard. One missed watering week, one badly pruned rose, and the whole thing spirals while you stand there holding a hose feeling personally attacked. I needed a project where “small” was the entire point.
And that’s exactly what a fairy garden is. It’s gardening shrunk down to a scale where you’re in charge again. A few plants, a few tiny structures, one contained little world. When I realized that patch of moss under my oak was already a perfect fairy lawn, the whole idea stopped feeling silly and started feeling doable. (My husband still called it “the gnome situation” for the first month. He has since come around.)
Shopping My Own House for Fairy Garden Decor
Here’s the rule I gave myself: no buying anything until I’d raided the house, the shed, and the sad corner of the patio first. And honestly? That rule is what made the project good.
This corner of my patio became the first scene. The base is a low wooden planter box I already had, the “boulder” is a rock from the yard, and the little stone house was a dusty decoration from a box in the garage. I edged a curved bed with an old hose guard, laid a pebble “courtyard” from a bag of leftover landscaping pebbles, and tucked a doll-sized figurine in as the resident. The string lights above were already on the fence. Total spent that day: zero.
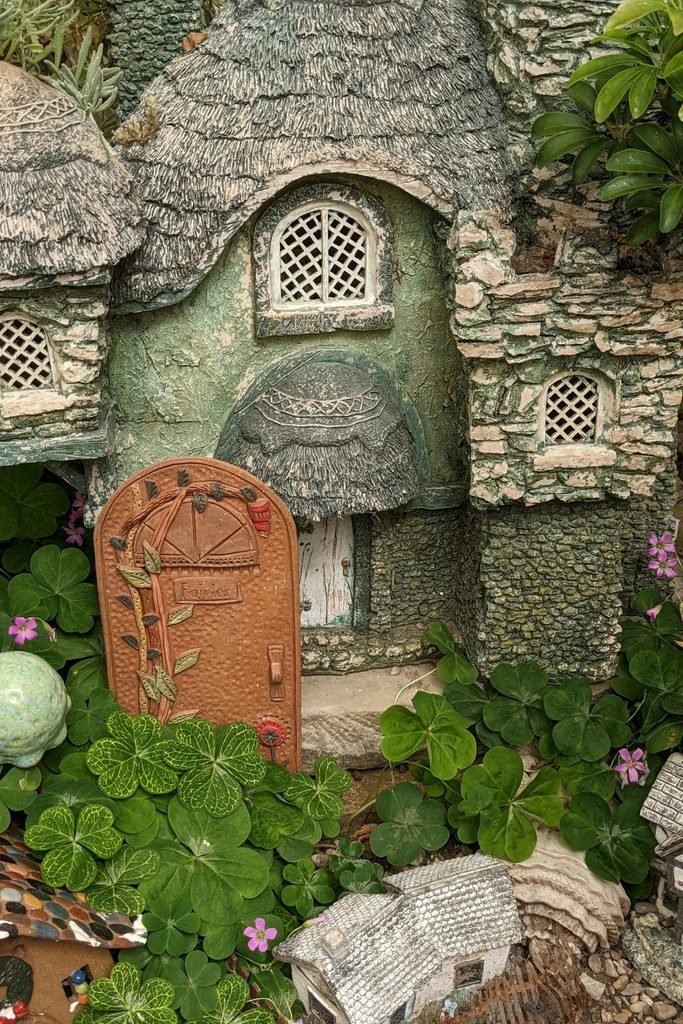
You have more fairy garden decor hiding in your house than you think. Old drawers from a broken dresser make perfect long planters for a tiny street. Cracked terracotta pots can be stacked into a spiral staircase inside a bigger pot. Teacups become micro gardens for a windowsill, and even mason jars, teapots, and wicker baskets can be turned into little fairy homes with some soil and moss. Broken is fine. Broken is actually better, because chipped and weathered reads as “ancient fairy ruin” for free.
The mindset shift is the real trick. Stop seeing a chipped saucer as trash and start seeing it as a pond. Once your brain flips that switch, you can’t unsee it, and suddenly the junk drawer is a treasure chest.
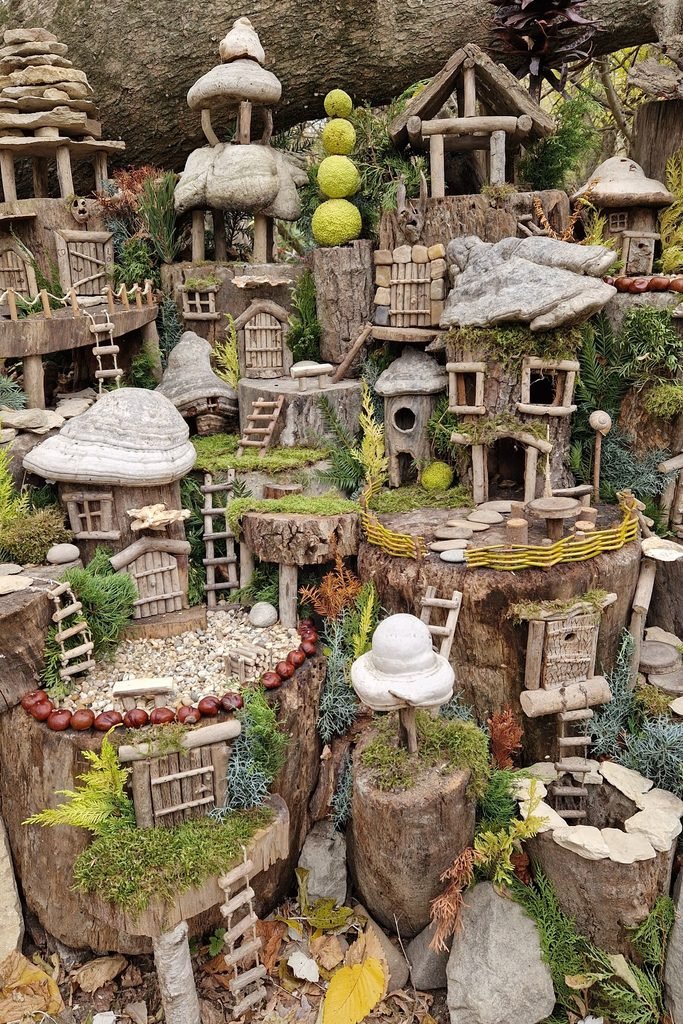
Photo by Zsuzsa ZSUZSA on Pexels
Building the Bones: Paths, Fences, and Tiny Houses
With the containers sorted, I got to play architect, which is the most fun part of the whole hobby. The secret to a believable fairy garden is what landscapers call hardscaping: the paths, fences, and structures that make the scene feel lived-in.
This is the big garden under my oak tree, and almost everything in it is repurposed. The white picket fence came from a craft bin (popsicle sticks and outdoor paint work just as well). The path is plain sand edged with tiny white blossoms, and the house is a basic birdhouse I covered in dried moss so it looks like it grew there. Add a couple of solar lanterns and some figurines, and by dusk the whole corner glows like a storybook.
A path matters more than you’d expect. It leads the eye through the scene and makes a small space feel bigger, because your brain wants to follow the trail and see where it goes. White pebbles pop against dark soil, sand feels rustic, and wood slices cut from a fallen branch make the cutest stepping stones. Anchor the path so it doesn’t shift when you water. A thin line of outdoor craft glue on mesh does the job.
And then there’s my favorite trick of all: the fairy door. I mounted a little arched wooden door straight onto the fence, added a lantern, and suddenly the entire corner by the shed became part of the story. A flagstone path, a polka-dot mushroom house on the bench, flowers doing the rest. Real talk: this corner took one afternoon, and it’s the thing guests comment on most.
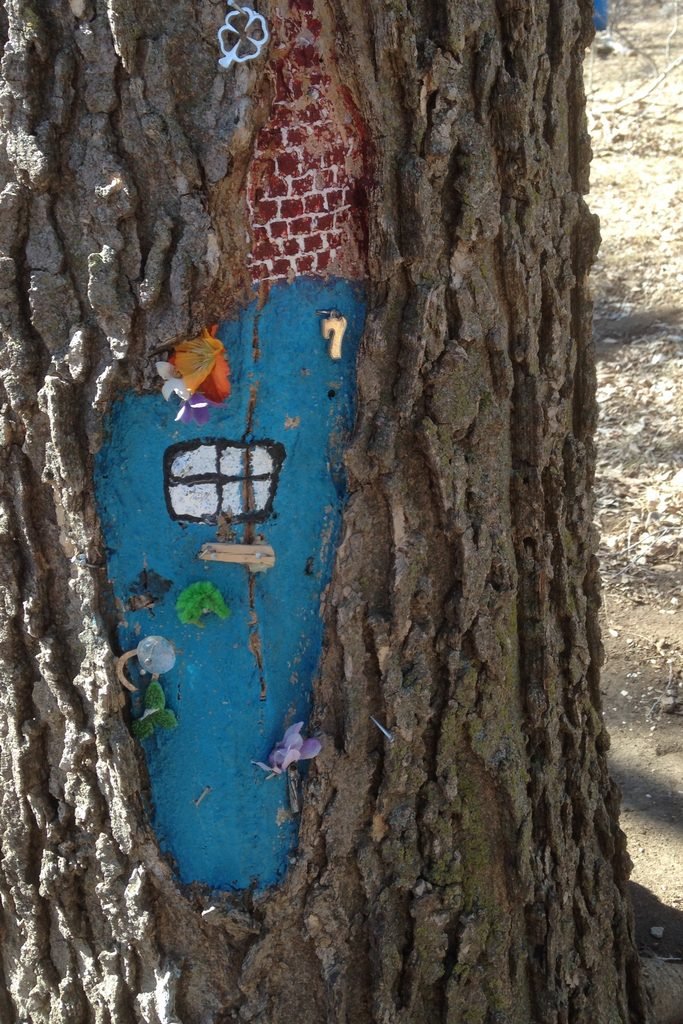
Photo by IAddDeets via Wikimedia Commons, CC0 1.0 Public Domain Dedication.
If you’re making houses, start with a plain birdhouse and glue on nature. Bark shingles, moss roofs, small stones around the base. The goal is a house that looks like it grew out of the earth, not one that arrived from a factory. (And no, you don’t need to be a pro. If you can use a glue gun without a trip to the ER, you’re qualified.)
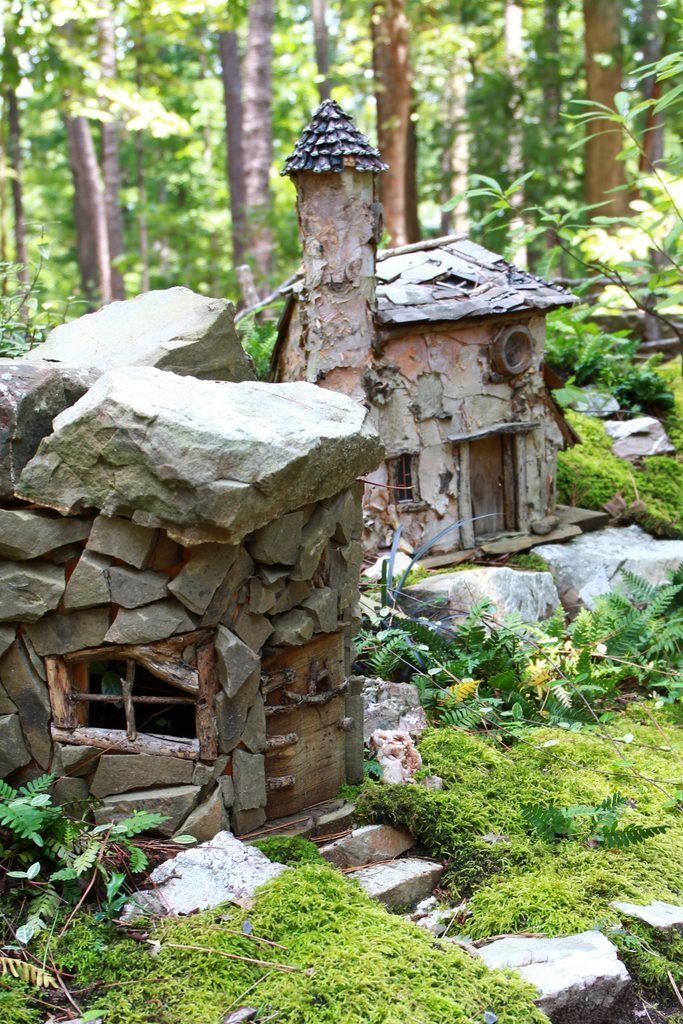
Image by Lisa Redfern from Pixabay
Going Vertical With a Fairy Treehouse
Here’s where it gets good. You don’t even need ground space, because the trees you already have are prime fairy real estate.
This is the treehouse I built on the oak, and it’s still my proudest little build. A tiny platform on twig brackets, a house mounted to the bark, a ladder lashed together from sticks, and a rope swing hanging from twine. Wood slices scattered at the base, moss in terracotta pots, a string of fairy lights woven through it all. Every single piece came from the yard or the craft drawer.
What makes a scene like this work is the story it hints at. A ladder implies someone climbs it. A swing implies someone plays on it. Your mind fills in the tiny resident all on its own, and that’s what turns “craft project” into a little world. Build one thing that implies movement and the rest of the scene comes alive around it.
One practical note: use twine or florist wire to attach things to living trees instead of nails. The tree stays healthy, and you can adjust everything as it grows.
If you don’t have a big tree, a thick fence post or even the leg of a deck railing works the same way. The point is height. Getting one little scene up off the ground adds a whole second layer to your garden, and it keeps at least one build safely out of reach of dogs, toddlers, and enthusiastic soccer balls. (Ask me how I know about the soccer ball.)
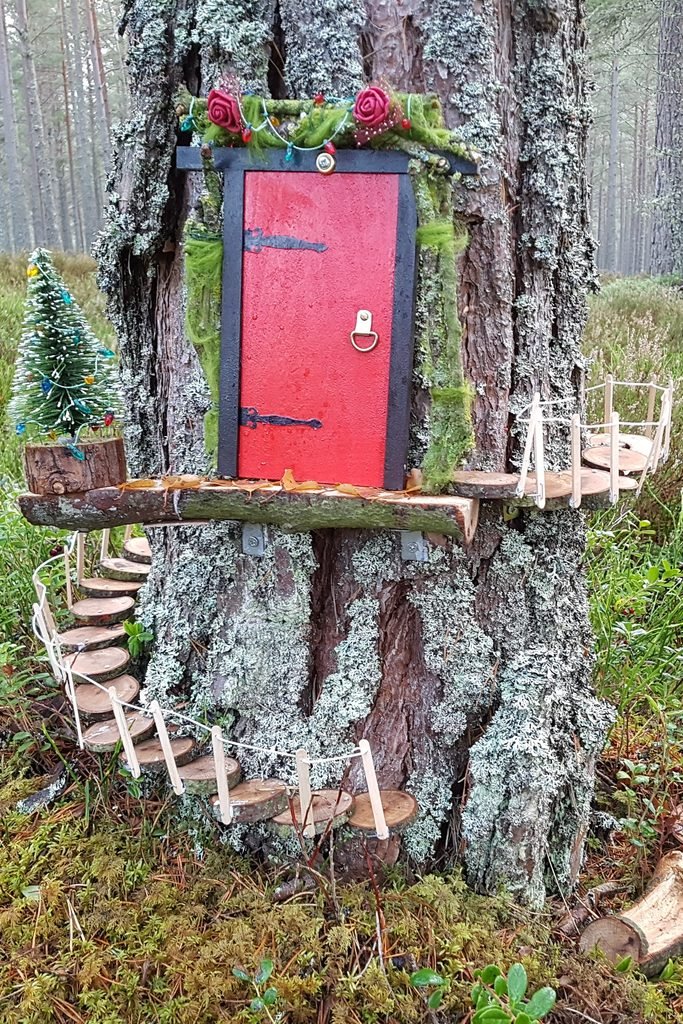
Photo by S. Rae via Wikimedia Commons, licensed under CC BY 2.0.
The Birdbath That Became the Star
Now for the “after” I promised. Remember those expensive dead roses? One of the few survivors of that era was a tiered concrete birdbath, and it turned out to be the best fairy garden container I own.
Filling the tiers with soil gave me two “floors” for the village. The top level holds a stone cottage with its own pebble walkway and trailing greenery spilling over the edge. The lower bowl has a second house, a river-stone patio, a red mushroom, succulents standing in for shrubs, and one small fairy keeping watch. Different levels, one little kingdom, zero new purchases.
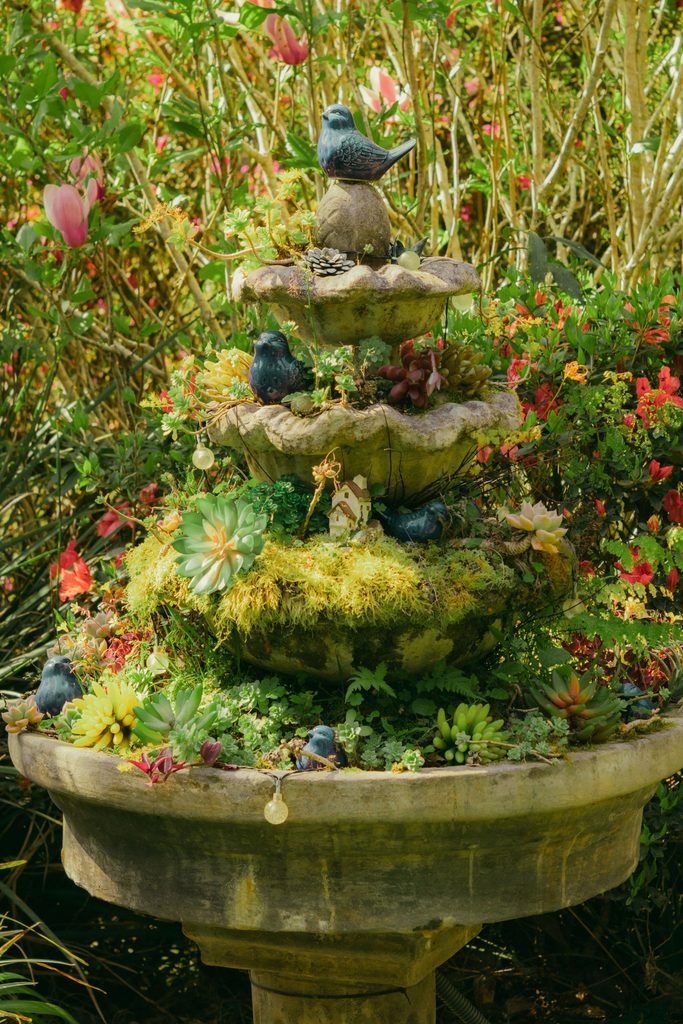
Photo by Bruna Fossile on Pexels
This is the piece that convinced me the whole project was worth it. People stop and stare at it. Not because it’s fancy, but because it’s a complete tiny world with layers to notice. If you have any tiered thing collecting dust, a plant stand, an old fountain, even a cake stand for an indoor version, that’s your shortcut to instant depth.
For planting it, small and slow-growing wins. Moss reads as lawn, sedum and echeveria read as bushes, and tiny bloomers like alyssum and violas stay perfectly in scale with the houses. I learned to do a little “fairy pruning” every couple of weeks so the greenery doesn’t swallow the cottage whole.
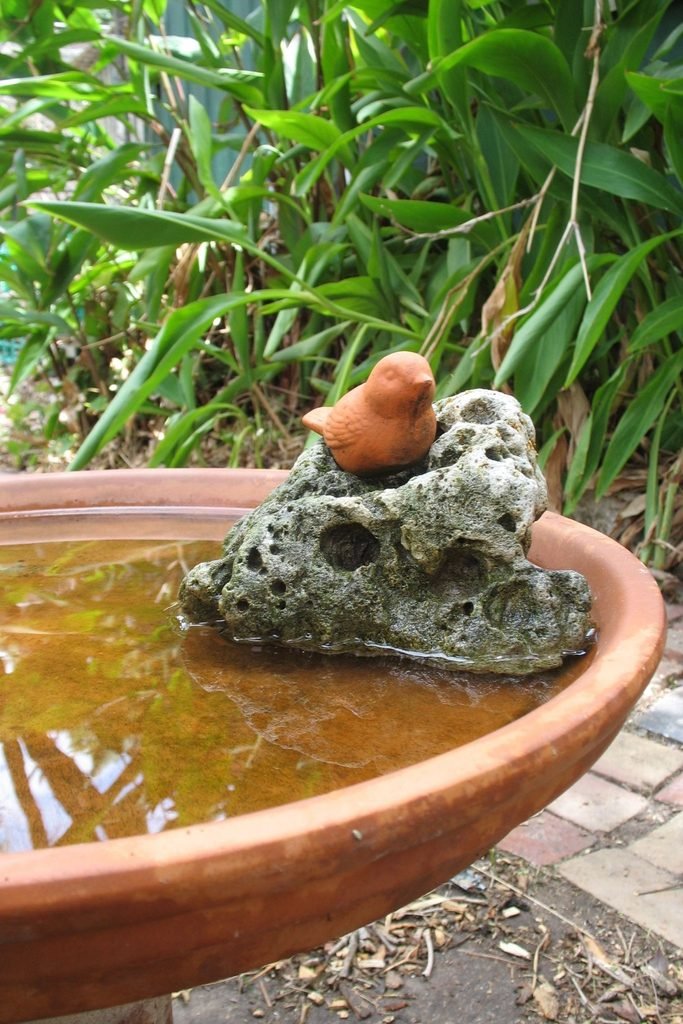
Image by Carolann Thomson from Pixabay
What Can You Use Instead of Buying Fairy Garden Decor?
Short answer: almost anything, and this is my favorite question to answer. Before you spend a dollar, do a lap around your house with fresh eyes.
Bottle caps become bird baths for the fairies. Buttons become stepping stones. A flat pebble balanced on two small stones is a bench. Twigs tied with twine become woodpiles, ladders, and even tiny furniture like stick chairs and tables. Old jewelry becomes treasure, seashells become bathtubs, and a broken clock face makes a very mysterious fairy artifact. (Yes, really.)
The only things I’d actually buy? A tube of outdoor craft glue and maybe a strand of battery LED lights. Everything else is negotiable.
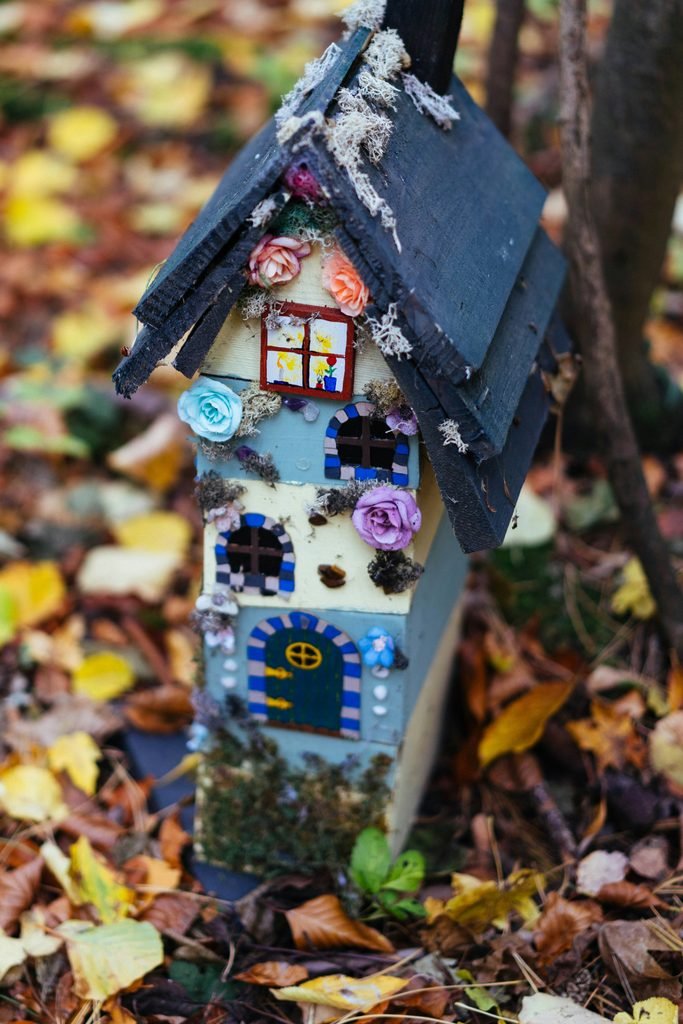
Photo by Phil Hearing on Unsplash
How Do You Keep an Outdoor Fairy Garden Alive?
Fair question, because this is where my rose-bush past threatened to repeat itself. The answer comes down to two boring words: drainage and scale.
Drainage first. If your container has no holes, put a layer of gravel or charcoal at the bottom before the soil goes in, or your plants’ roots will rot and you’ll be sad. I learned this with my first teacup garden, which quietly became a teacup swamp. Water gently and less often than you think, especially for moss and succulents.
Also think about light before you commit to a spot. Moss wants shade and moisture, succulents want sun, and mixing the two in one container means one of them will always be unhappy. Match the plants to where the container actually lives, not where you wish it lived.
Scale is the other one. Pick your anchor piece, usually the house, and size everything else against it. If the house is three inches tall, the “trees” should be five or six, and the figurines shouldn’t tower over the front door like monsters. Get those two things right and the rest is forgiving.

Photo by Maarten Ceulemans on Pexels
What I’d Do Differently Next Time
A few honest lessons from my mistakes, so you can skip them. First, I’d start with one small scene instead of three at once, because tiny worlds still take real hours. Second, I’d stop chasing symmetry. My favorite corners are the ones where moss crawled over the fence and the path went crooked, because that’s what makes it look like a real place where something actually lives.
And I’d remind myself earlier that this is supposed to be fun. If you’re stressing over pebble alignment, take a step back and breathe. The fairies don’t mind a little chaos, and honestly, neither should you.
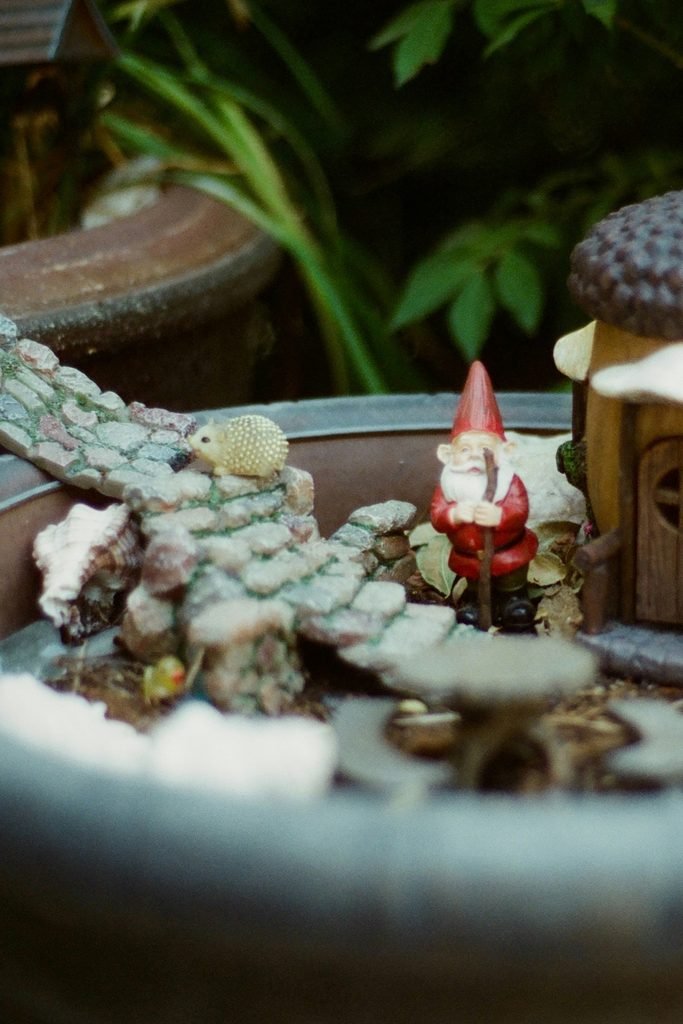
Photo by Noah Gremmert on Unsplash
The Receipt at the End of It All
So let’s talk numbers, because this is the part that still makes me smile. Total money spent on the whole setup, across every scene you saw here: about twelve dollars, and that was glue and one strand of lights. Total time: a handful of slow weekend afternoons with coffee in hand. Total new stuff purchased: almost nothing, because the best fairy garden decor was already hiding in my garage and junk drawer.
Compare that to the rose bush disaster, which cost me a couple hundred dollars and my dignity. Small won, by a landslide. So before you order a single miniature anything, go dig through your shed. Then come back and tell me in the comments what you found, because I’m collecting ideas for scene number five. Happy building, my friend.





Leave a Reply