

The best outdoor toy you can give your kids costs less than a pizza night. It doesn’t need batteries, it won’t break after a week, and it keeps little ones busy long enough for you to actually finish your coffee. It’s a mud kitchen. And once you set one up in your backyard, you’ll wonder why you didn’t do it sooner.
A mud kitchen is exactly what it sounds like. It’s an outdoor play station where kids “cook” with mud, water, leaves, sticks, and whatever else they can find in the yard. Think pots, pans, a makeshift sink, some shelves, and a whole lot of glorious mess. The concept has been around for generations (mud pies, anyone?), but the structured mud kitchen setup has taken off in a big way over the last few years.
This post covers it all, from clever mud kitchen ideas and budget-friendly pallet builds to the best accessories, play ideas, and tips that will save you time and headaches. Whether you want a full DIY project or a simple stack-and-go setup, you’re in the right place.
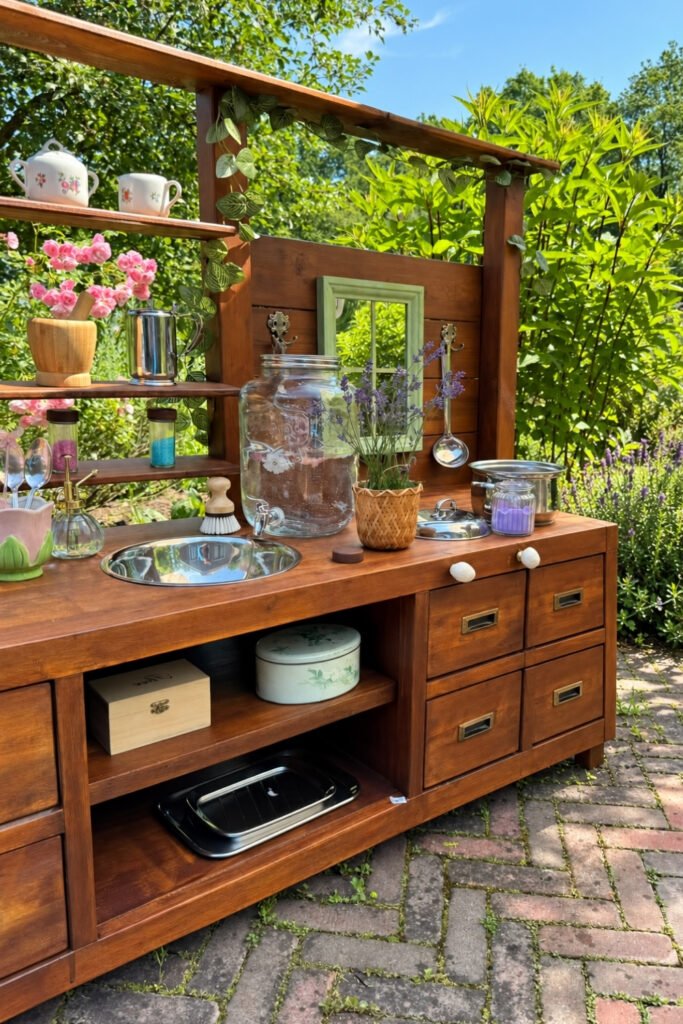
Why a mud kitchen is the best backyard addition for kids
Before you start building, it helps to understand why a mud kitchen is worth the effort. Spoiler: it’s about way more than just playing in the dirt.
It gets kids off screens and into nature
This is the big one. Getting kids outside and away from screens is a constant battle for most parents. A backyard mud kitchen gives them a reason to go outside willingly. No convincing needed. Once they see that setup with pots, pans, and a bucket of water, they’re gone for hours. According to Backwoods Mama, time spent outside (mud kitchen included) is linked with better attention and can help buffer everyday stress in children.
Sensory play that actually helps development
Mixing mud, pouring water, crumbling leaves, squishing wet sand between fingers. All of that tactile input helps kids learn how to process and respond to sensory information. Pathways.org notes that mud play promotes sensory processing, helps kids become more comfortable with different textures, and strengthens fine motor muscles. It’s play that works their brains and their bodies at the same time.
Hours of independent, imaginative play
A mud kitchen for kids is open-ended by design. There are no instructions, no rules, no “right way” to play. Kids decide what to make, how to make it, and who gets to eat the mud pie. That kind of unstructured play builds creativity, problem-solving skills, and cooperation when friends or siblings join in. As Megan Zeni points out, unstructured nature play has been shown to reduce stress and anxiety in children, and regular contact with soil may even support a healthier immune system.
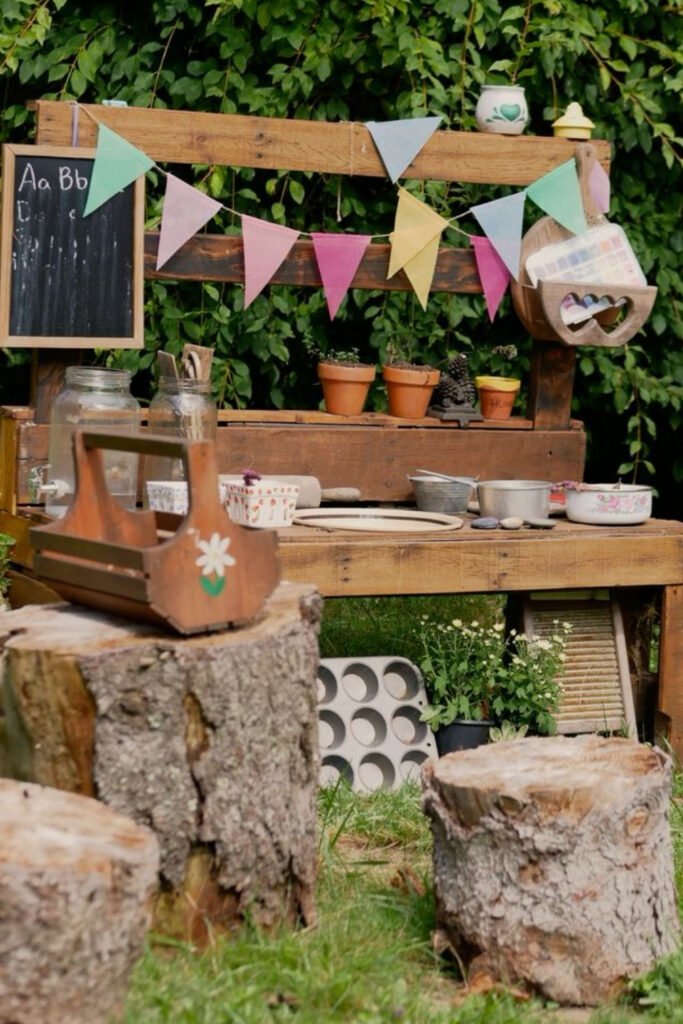
Clever mud kitchen ideas you can steal
Here’s where it gets fun. You don’t need a Pinterest-ready setup or a big budget to make a great outdoor mud kitchen. Some of the best builds cost next to nothing.
The pallet mud kitchen (free or almost free)
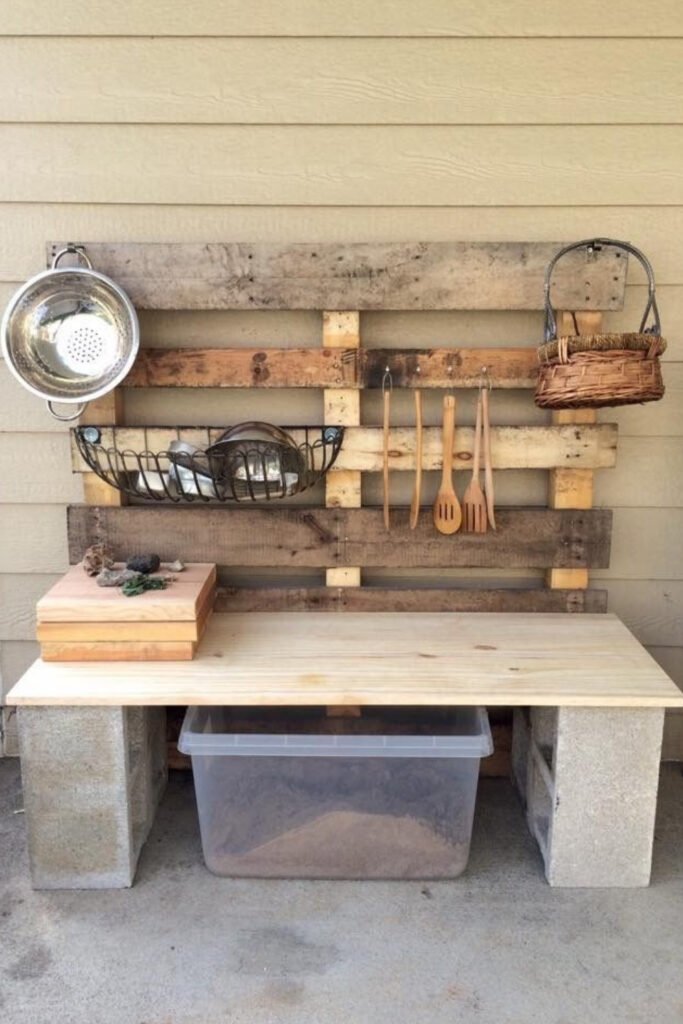
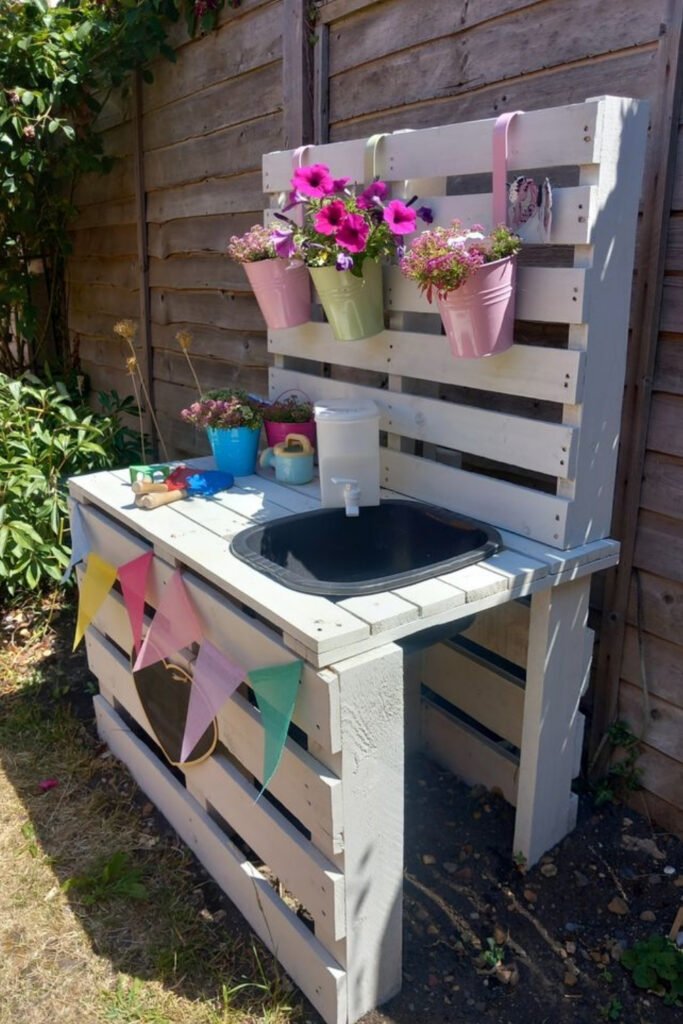
Pallets are the go-to material for DIY mud kitchen builds, and for good reason. They’re often free (check local businesses, construction sites, or online marketplace groups), and they break down into usable planks without much effort. Thunderbird Disco built a full mud kitchen pallet setup for under $15 using salvaged materials. One safety tip: always look for pallets stamped with “HT” (heat-treated) rather than “MB” (chemically treated) to keep things safe for little hands.
Stack two pallets for the base, add a plywood countertop, and screw a third pallet vertically behind it for a backsplash. Sand everything smooth, and you’ve got a solid mud kitchen frame. Add hooks for hanging utensils, cut a hole for a bowl to serve as a sink, and you’re done.
The repurposed dresser or table build
Got an old dresser, nightstand, or coffee table collecting dust? That’s your mud kitchen. Pull out the drawers for storage shelves, flip the frame on its side if needed, and add a backsplash from scrap wood. Active for Life shared a frugal build that came together for about $10 using repurposed materials and thrift store finds. The takeaway: look around your house and garage before you spend a dime.
The no-tools, stack-and-go setup
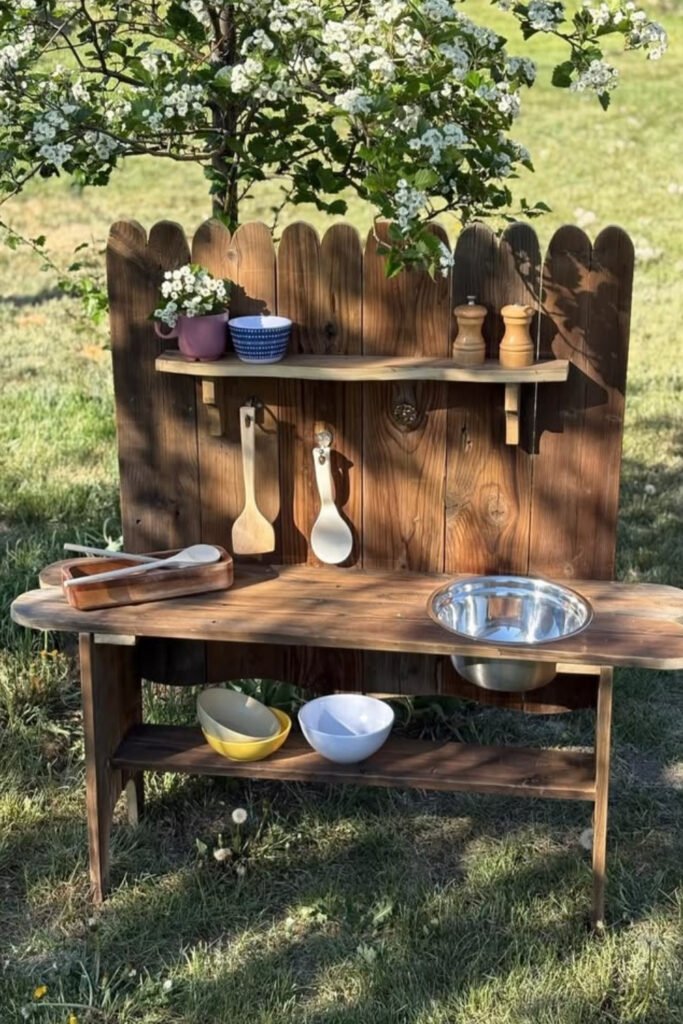
Not everyone wants a building project. And that’s fine. You can create a working mud kitchen by stacking cinder blocks or pavers, placing a wooden plank across the top, and setting out bowls, pots, and a bucket of water. No screws, no saw, no stress. This approach works especially well for renters or anyone who wants to keep things flexible.
What should you include in your mud kitchen setup?
A mud kitchen can be as simple or as detailed as you want. But certain features and accessories will take it from “meh” to “the kids won’t come inside.”
The basic features (sink, shelves, counter space)
At minimum, your mud kitchen setup needs three things: a flat surface to work on, some kind of basin or “sink” for water, and storage for tools. The counter height should match your child’s waist level so they can stand comfortably and reach everything. Open shelving underneath works better than closed doors because kids (and you) can see and grab what they need without fuss. If you want to add a water feature, a simple beverage dispenser with a spigot mounted on the backsplash does the trick beautifully.
Budget-friendly accessories that make a big difference
You don’t need to buy a matching accessory set. In fact, actual kitchen tools tend to work better and last longer than toy versions. Here’s what to look for on your next thrift store run: metal muffin tins, small pots and pans, wooden spoons, a colander, measuring cups, a whisk, and funnels. Thimble and Twig recommends checking charity shops for old kitchen equipment. You can kit out an entire mud kitchen for a few dollars this way.
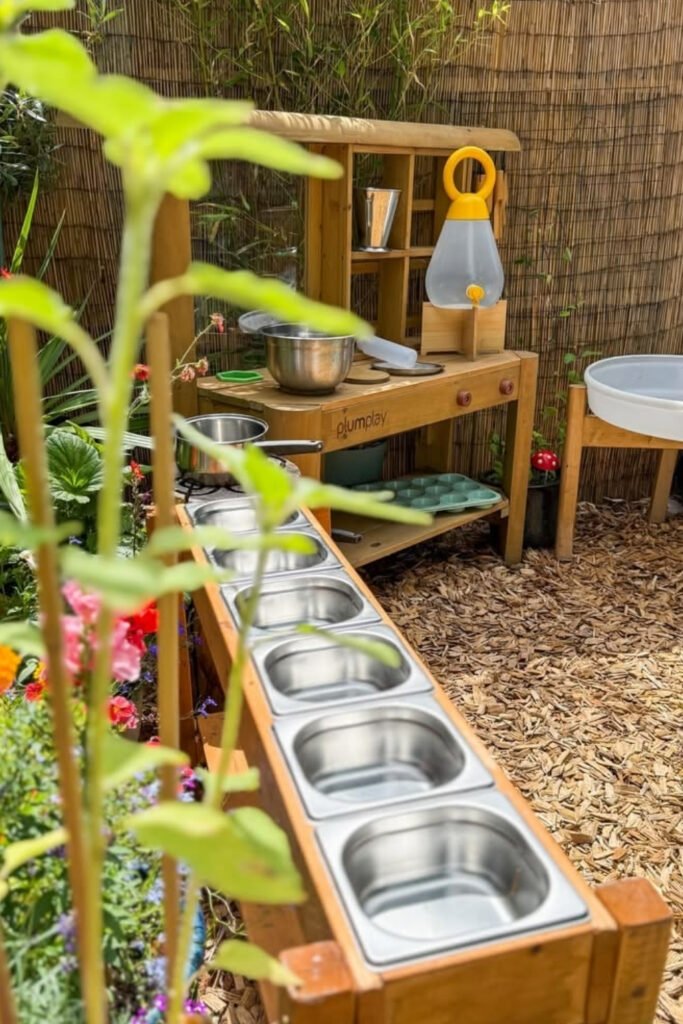
Plastic jars with lids are great for storing “ingredients,” and a watering can gives kids an easy way to add water. A chalkboard (even a small one propped against the backsplash) lets them write menus or name their restaurant.
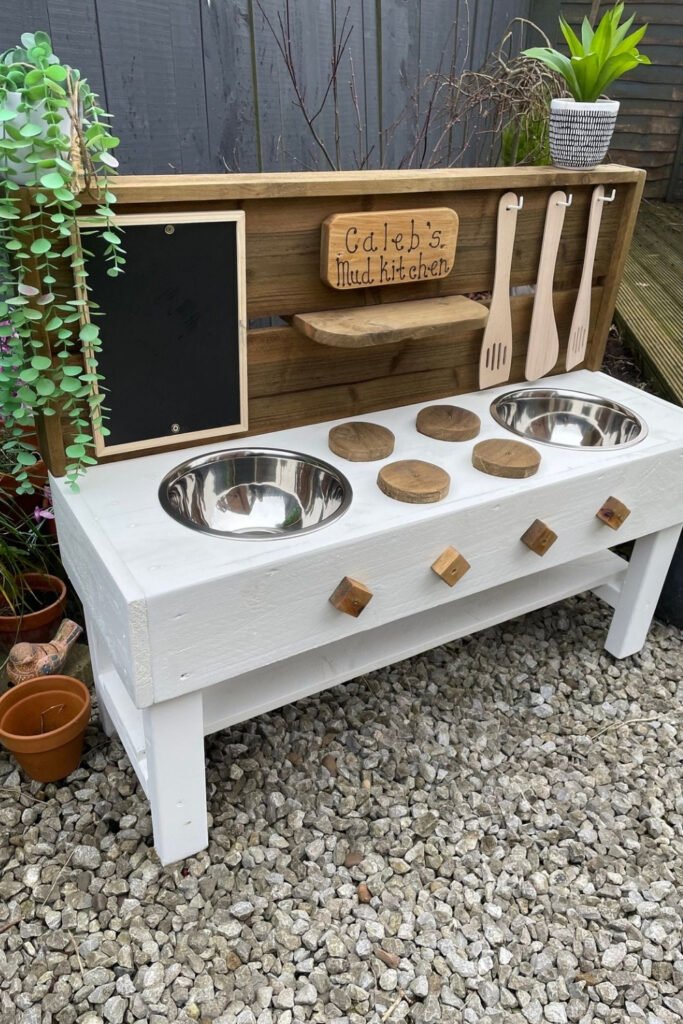
Natural “ingredients” kids actually love
The best mud kitchen accessories aren’t bought. They’re found. Pinecones, petals, leaves, acorns, pebbles, dandelions, herbs from the garden, grass clippings, and sticks all make excellent “ingredients.” Kids will sort them, name them, and use them in their recipes with zero prompting. Rotate what’s available with the seasons, and the play stays fresh all year long.
How to build a DIY mud kitchen on a budget
Ready to get your hands dirty? (Pun intended.) Here’s how to put together a diy mud kitchen without spending much.
Picking the right spot in your yard
Location matters more than you’d think. Place your mud kitchen close to a water source (garden hose or outdoor tap) and within view of a window so you can keep an eye on things from inside. A shaded spot is ideal for hot summer days. Avoid placing it right against a fence shared with neighbors unless you want to explain the mud splatters. If you’re working with a small backyard, check out these small garden design tips for making the most of limited space.
Materials you can find for free or cheap
The beauty of a backyard mud kitchen is that it doesn’t need to cost much. Pallets, scrap wood, old furniture, and reclaimed lumber are all fair game. The Lean Green Bean built a full mud kitchen for under $100 using cedar fence boards, which are naturally resistant to rot without chemical treatment. If you’re comfortable with power tools and already have a few DIY projects under your belt (like this beginner-friendly DIY fire pit tutorial), you can build something solid in a single afternoon.
For accessories, raid your own kitchen drawers, hit up garage sales, or check thrift stores. Old baking sheets, mixing bowls, and utensils all get a second life in a mud pie kitchen outdoor setup.
Weatherproofing your build so it lasts
If you’re using wood (especially pallet wood), weatherproof it. Sand all surfaces thoroughly to remove splinters, then apply a child-safe exterior wood stain or sealant. Cedar is a great choice because it resists decay naturally, but any wood will last longer with a coat or two of protection. You’ll likely need to restain every couple of years, and throwing a tarp over it during winter will help extend its life even further.
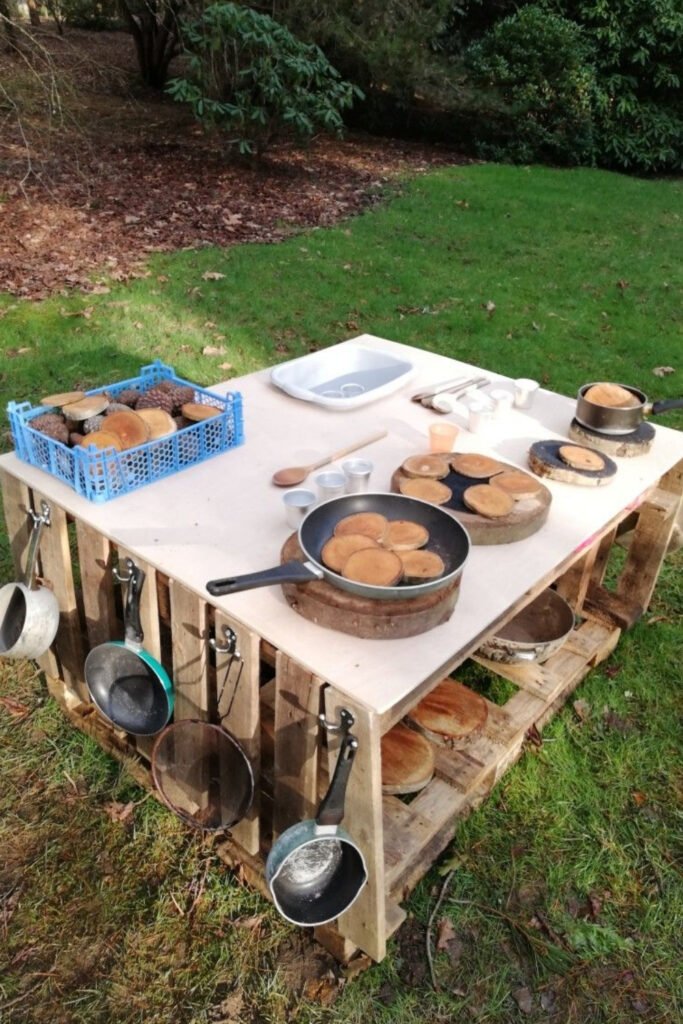
Mud kitchen play ideas that keep kids busy for hours
Building the kitchen is only half the fun. The fun starts when kids start playing. Here are mud kitchen play ideas that keep them engaged way longer than you’d expect.
Set up a mud pie café
This is the classic. Let your kids create a “restaurant” complete with a menu board, a name for their café, and mud pie specials of the day. Our Days Outside suggests adding a chalkboard with a menu and even a toy cash register to bring the role-play to life. Kids will take orders, “cook” their creations, and serve them with total seriousness. If you have seating nearby (a tree stump, a small bench, or a picnic table), even better.
Nature soup and potion making
Give kids a few jars, some water, and access to garden herbs, flower petals, and interesting leaves. Then step back and watch. “Potion making” and “nature soup” are top-tier mud kitchen activities because they involve collecting, sorting, mixing, and storytelling all at once. Older kids love creating recipes and writing them down. Younger kids love the pure sensory joy of stirring and pouring.
For more screen-free activity ideas, sidewalk chalk art ideas are another great way to keep kids entertained outside this summer.
Seasonal activities (year-round fun)
A mud kitchen isn’t just a summer thing. In autumn, kids can use fallen leaves, acorns, and conkers as ingredients. Winter brings ice and snow experiments (freeze water overnight in muffin tins for “ice cupcakes”). Spring means fresh flowers and herb harvesting. Thimble and Twig confirms that mud kitchens work well all year round with the right weather gear. An outdoor splash suit or rain boots are all it takes.
Is a mud kitchen worth it? (Yes, and here’s why)
If you’re still on the fence, let’s clear up a few common questions.
What age is best for a mud kitchen?
Kids as young as 2 can start enjoying supervised mud play, and most children stay interested well into ages 8 or 9. The Lean Green Bean shares that their youngest was 2 when they built theirs, and their oldest still played with it occasionally at age 10. The beauty of open-ended play is that it scales with the child’s imagination.
Do mud kitchens work in small yards?
Absolutely. You don’t need a huge backyard to make a mud kitchen work. A corner of a patio, a strip along a fence, or even a balcony setup with a few tubs and containers will do. If you’re working with a compact outdoor space, think about patio decorating ideas on a budget that combine function with style.
All in all, a mud kitchen is one of the best investments you can make for outdoor family fun. It costs almost nothing, lasts for years, and gives your kids something good for their bodies and brains.
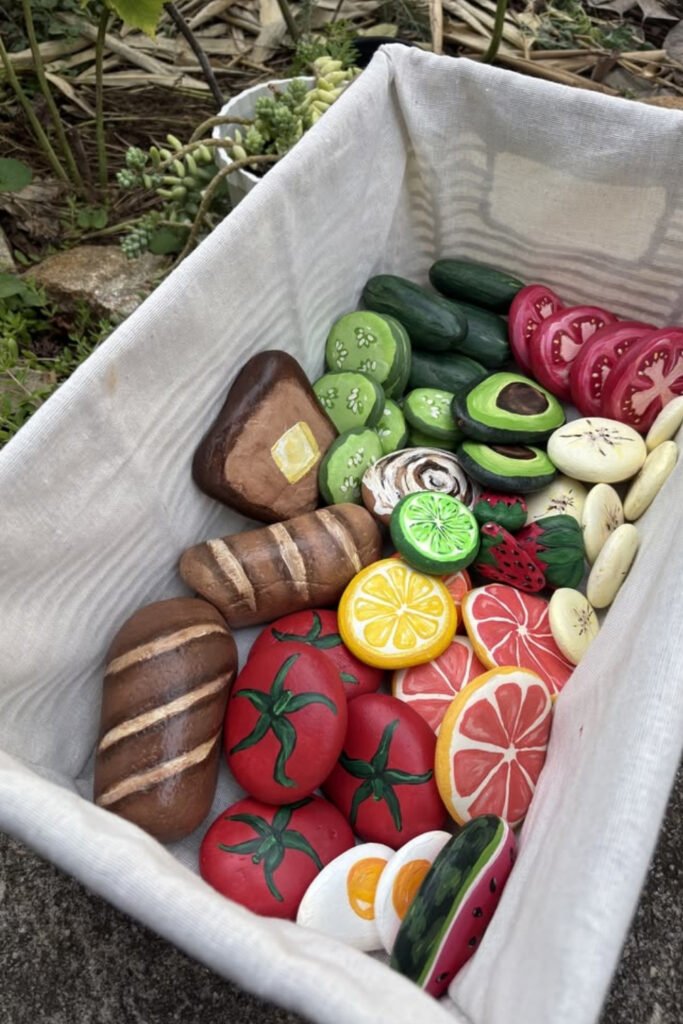
Time to get building
A mud kitchen is one of those rare things that’s simple to set up, affordable to make, and loved by kids across every age group. Whether you go the full DIY route with pallets and power tools or stack a few cinder blocks and call it done, the result is the same: kids playing outside, using their imaginations, and having the kind of messy, screen-free fun that childhood is all about.
So grab some scrap wood, raid the thrift store for pots and pans, and pick a sunny corner of your yard. Your little chefs are waiting.
Have you built a mud kitchen? Drop a comment and tell us your favorite setup. And if this post helped, save it for later or share it with a friend who needs this in their backyard.


Leave a Reply