

This year the 4th of July hits different. July 4, 2026 marks America’s 250th birthday, and the whole country is leaning into it harder than any Independence Day in recent memory. Patriotic decor is having a real moment, from vintage Americana mantels to full-blown drink carts.
Here’s the good news: you don’t need a design degree or a big budget to get in on it. And you don’t need to choose between a styled space and keeping the kids busy either. This guide covers both, the decor that’s actually trending, how to pull it off cheap, and the easy crafts that hand your kids something to do while you set up.
Whether you’re hosting a cookout, styling your porch for the neighborhood, or just want your living room to feel festive, let’s make it count without overspending.
What Fourth of July Decorations Are Trending in 2026?
The Semiquincentennial (yes, that’s the real word for a 250th anniversary) has pushed patriotic decor way past plastic flags and paper plates. The Smithsonian’s “Our Shared Future: 250” initiative alone has people honoring American history through their homes. Here’s what’s showing up everywhere.
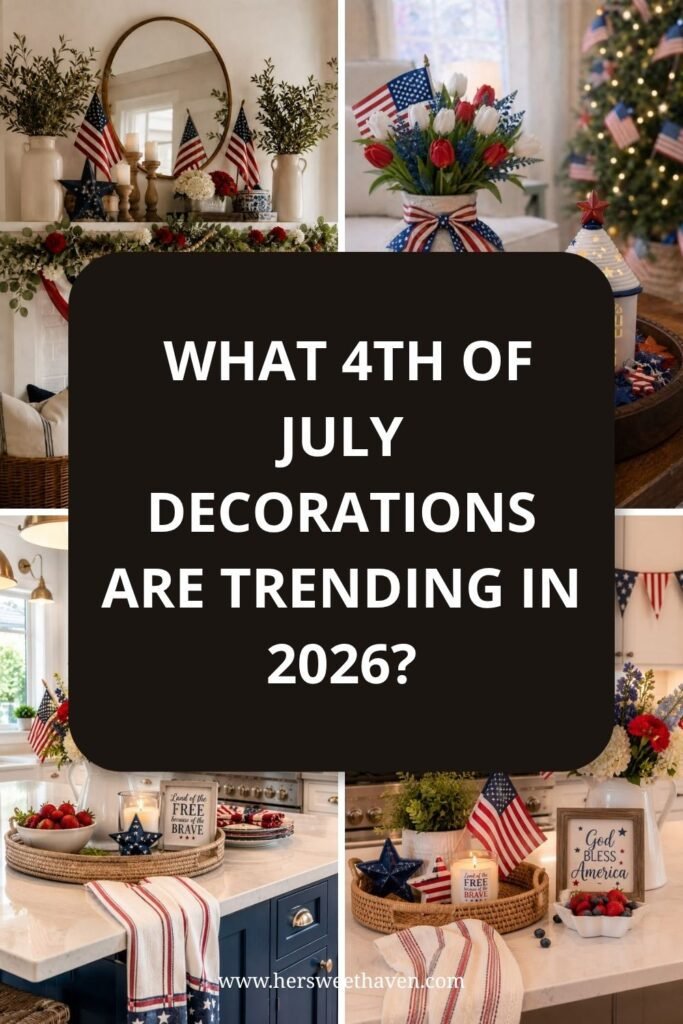
Vintage Americana and cottagecore. Think wicker trays filled with mini flags, candles, and fresh berries. Blue-and-white gingham layered with red stripes. Old crates repurposed as centerpiece holders. The whole vibe is nostalgic and collected-over-time, even if you threw it together last weekend. It works because it doesn’t scream “holiday aisle.”
Mantel and island vignettes. The mantel is the new front porch this year. The formula is simple: a mirror or frame as the anchor, greenery draped along the base, then layered pieces like wooden stars, candles, and small flags. Use odd-numbered groupings and mix heights so nothing looks flat. Kitchen islands are getting the same treatment with a tray, a striped tea towel, and a bowl of strawberries and blueberries.
Tablescapes and drink stations. Tablescapes have moved past a flag tablecloth and matching napkins. The trend is mixing textures: gingham runners, blue glass goblets, woven placemats. Per HGTV’s roundup of Fourth of July decorations, Americana serving platters and bunting-edged dishes are the popular picks.
Party Touches Your Guests Will Actually Love
Throwing a party is one thing. Making it feel like an event people remember is another. You don’t need a planner, just a few intentional choices.
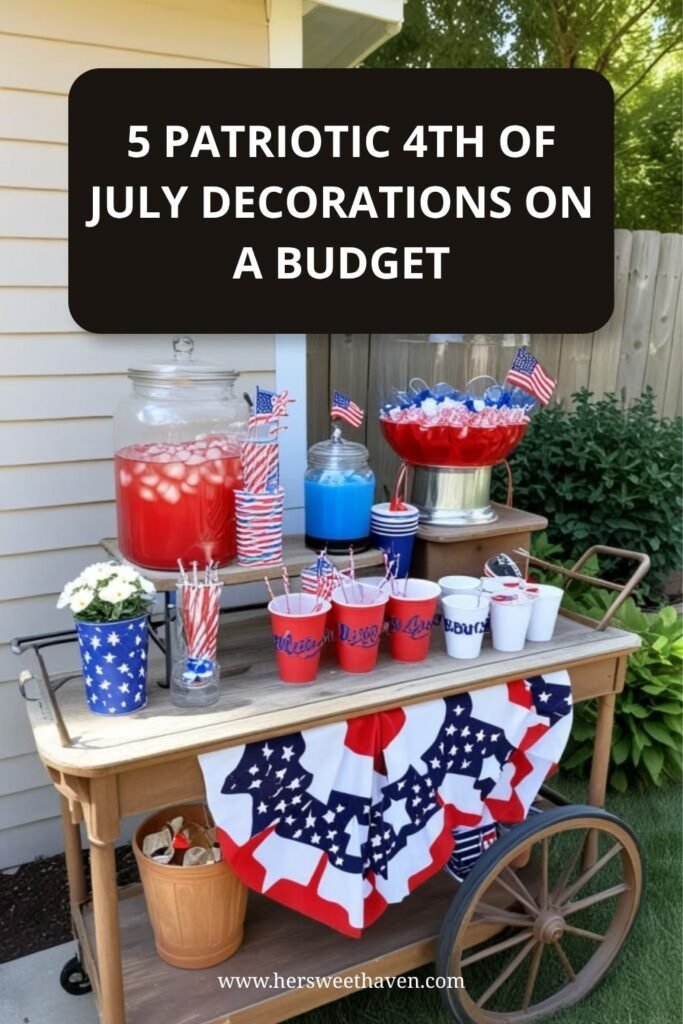
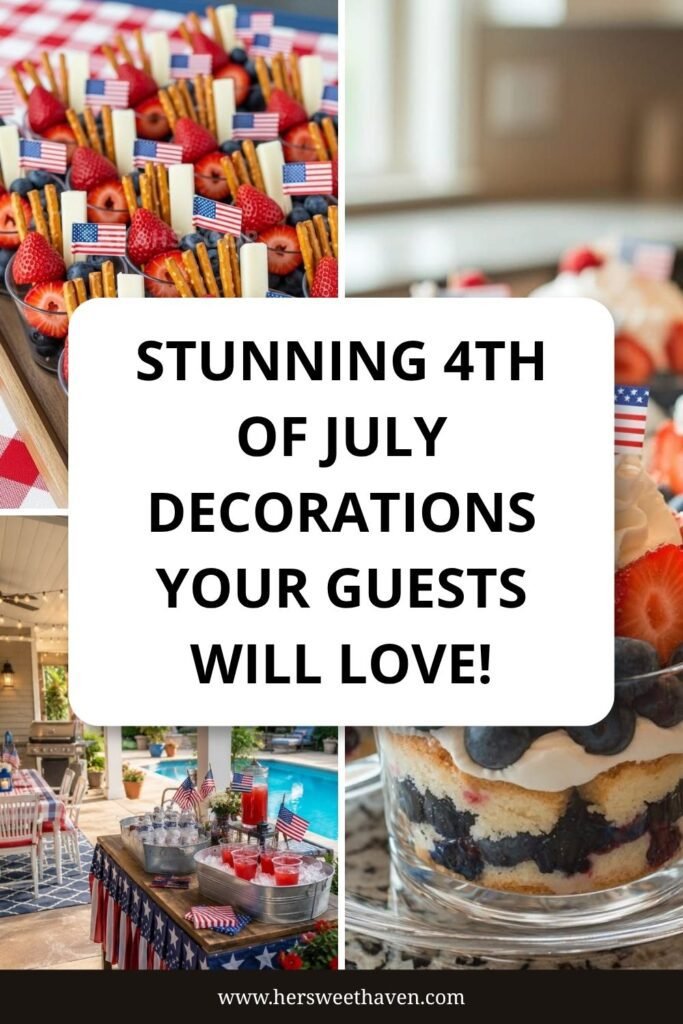
A beverage cart (or a repurposed side table) is the easiest way to create a wow moment. Load it with glass dispensers of red punch and blue lemonade, paper straws in a mason jar, and a stars-and-stripes bunting draped from the front edge. Use real glassware or coordinated red, white, and blue cups, because that one move takes the whole thing from “picnic” to “styled.”
Then let your food pull double duty as decor. Fruit skewers with strawberries, blueberries, and marshmallows look like tiny flags. A layered trifle in a clear bowl shows off its red and blue stripes. Cupcakes with flag picks basically become a centerpiece. The trick is height: a cake stand, a flat platter, and a raised bowl give the table dimension.
Here’s the real secret to a memorable setup: one clear focal point. Go all out on a single spot (the drink station, the dessert table, the porch) and let everything else carry lighter touches. When guests see one really well-styled corner, they assume the whole party is that polished.
Avoid These Decorations That Look Tacky
Not all patriotic decor is equal. The line between festive and overdone is thinner than you’d think, and it’s worth knowing where it sits.
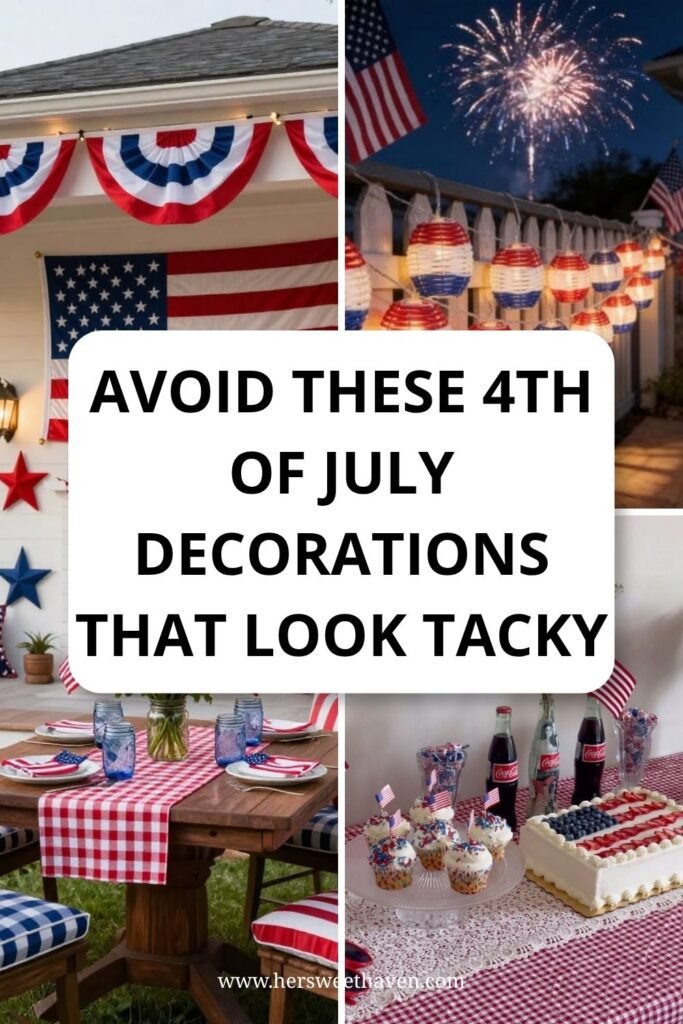
The number one mistake is too many competing patterns. A stars-and-stripes tablecloth plus a flag banner plus star-shaped plates plus patriotic napkins all at once is visual chaos. Every surface is yelling and nothing gets to breathe. Cheap inflatables are another fast track to tacky. One well-placed piece can be playful for kids, but three inflatable Uncle Sams and a giant eagle is not the look. Design experts suggest limiting yourself to one or two statement outdoor pieces.
The fix is just restraint. Pick a limited palette (red, white, blue, plus one neutral like kraft or gold) and repeat it. Choose two or three types of decor, say bunting, candles, and fresh flowers, and use only those throughout. A porch with bunting, mason-jar candles, and a bucket of flowers looks intentional. That same porch plus inflatables plus a wreath plus six signs looks like it’s trying too hard (we’ve all been there).
Budget DIY Decor Under $30
You don’t have to drop $200 to look festive. Some of the most-complimented setups cost under $30 total. The trick is knowing where to focus and where to skip the store.
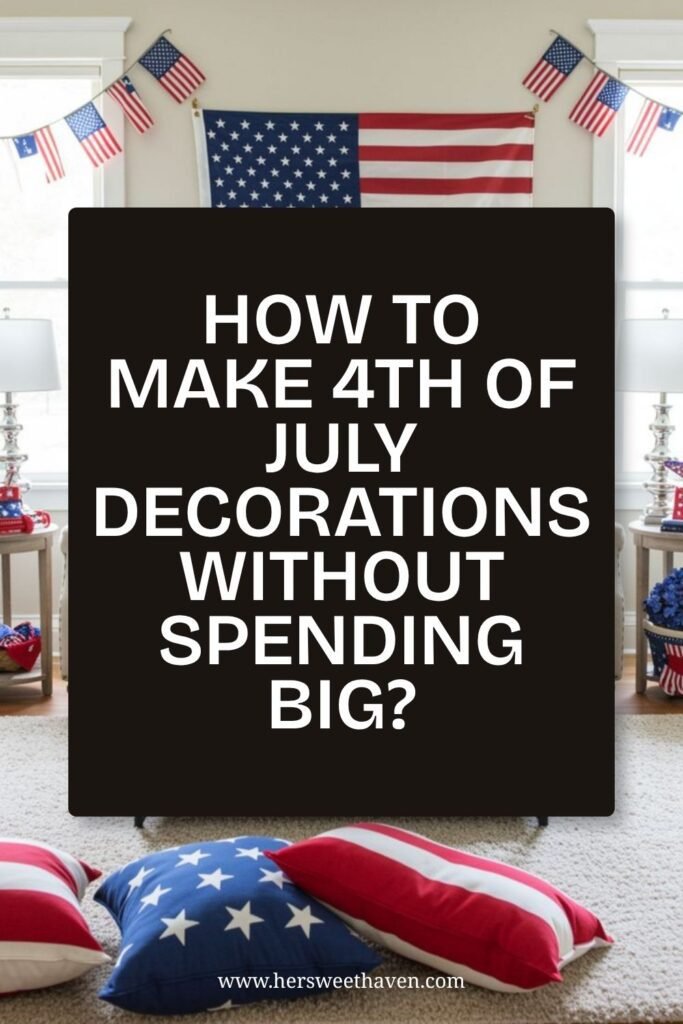
Start with the porch. A simple American flag (under $5 at any hardware store) is the most effective decoration there is. Pair it with a doormat and a potted plant with red or white flowers and you’re already pulled together. Bunting is the next winner. A single pleated bunting from a hardware store runs about $10 to $15 and dresses up a railing instantly, and any string lights you already own add free ambiance after dark.
Then hit the dollar bin. Mason jar luminaries are the gold standard: paint clean jars with red and blue acrylic, leave some sections clear, drop in a battery tea light, and line them up. About $5 for a set. Bandana garlands are just as easy, cut red, white, and blue bandanas into strips, tie them onto twine, and drape. Star garlands from cardstock and flag-striped painted rocks cost next to nothing and still get compliments.
Can you really decorate for $30?
Yes. Budget decorating experts put a full, polished setup at $20 to $40 when you lean on DIY and dollar-store supplies. A practical breakdown: $10 to $12 for a balloon arch, $5 for mason jar supplies, $5 for a bunting, and $5 for flag picks and straws. That’s a party-ready setup for about $27 (your wallet will thank you).
Easy 4th of July Crafts for the Kids
Now for the other half of the day: keeping little hands busy. Here’s the thing nobody admits about kid crafts. The simple ones win. The popsicle-stick firework a five-year-old made herself beats the elaborate Pinterest wreath that took you three hours and a mild breakdown. Kids remember making things, not watching you make things.
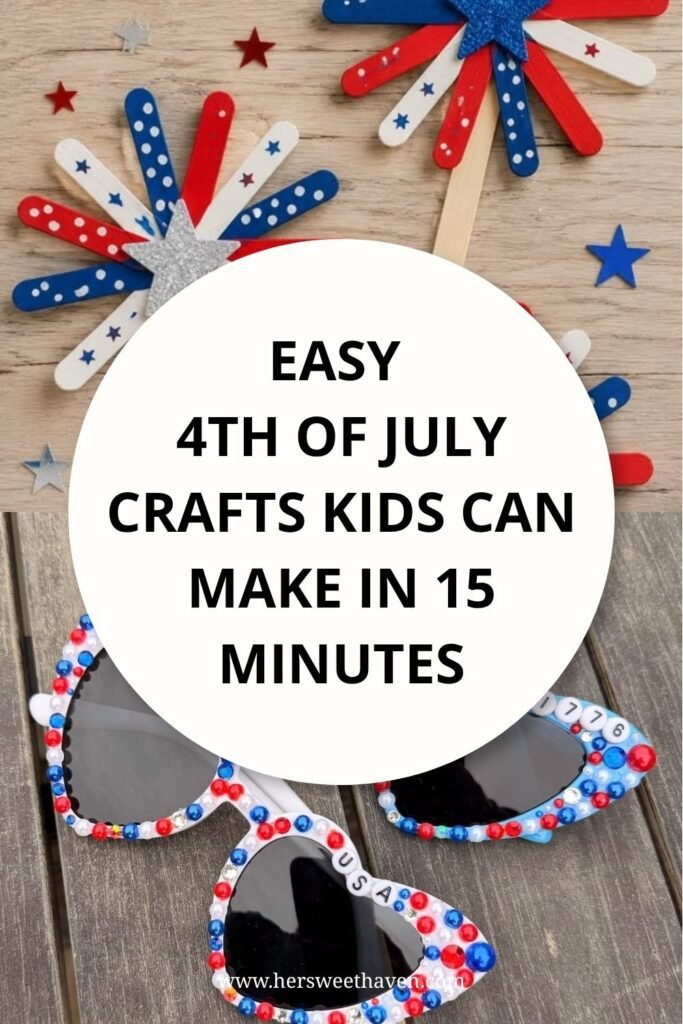
Two rules save you here. First, shop your house before you shop a store. Toilet paper rolls, paper plates, leftover paint, construction paper scraps, patriotic crafting needs three colors and you probably own all of them. Only then hit the dollar store, not the craft store. Second, fifteen minutes or it’s out. A kid’s craft attention span is about one episode of anything, so if a tutorial has more than five steps, it’s a you-craft. Save it for naptime.
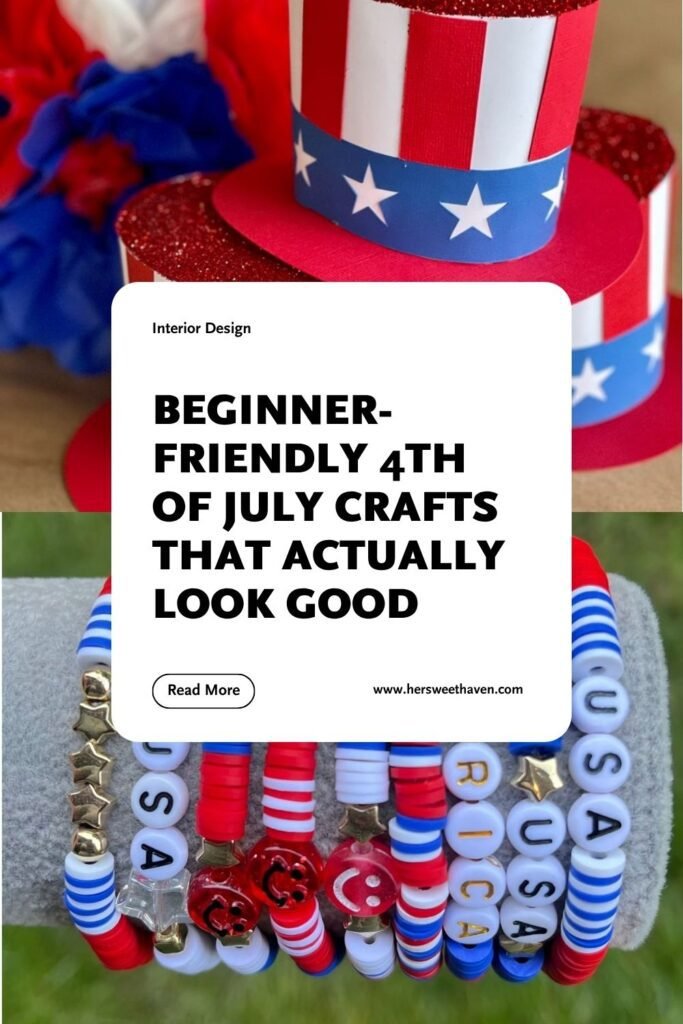
Your three starter crafts, each using different supplies:
Popsicle stick fireworks. Glue sticks into a starburst on a cardboard circle, paint them red, white, and blue, and dot on sparks with a cotton swab. Walkthroughs like KiwiCo’s popsicle stick fireworks keep it to a few steps. Tape the finished bursts to a window for an instant display.
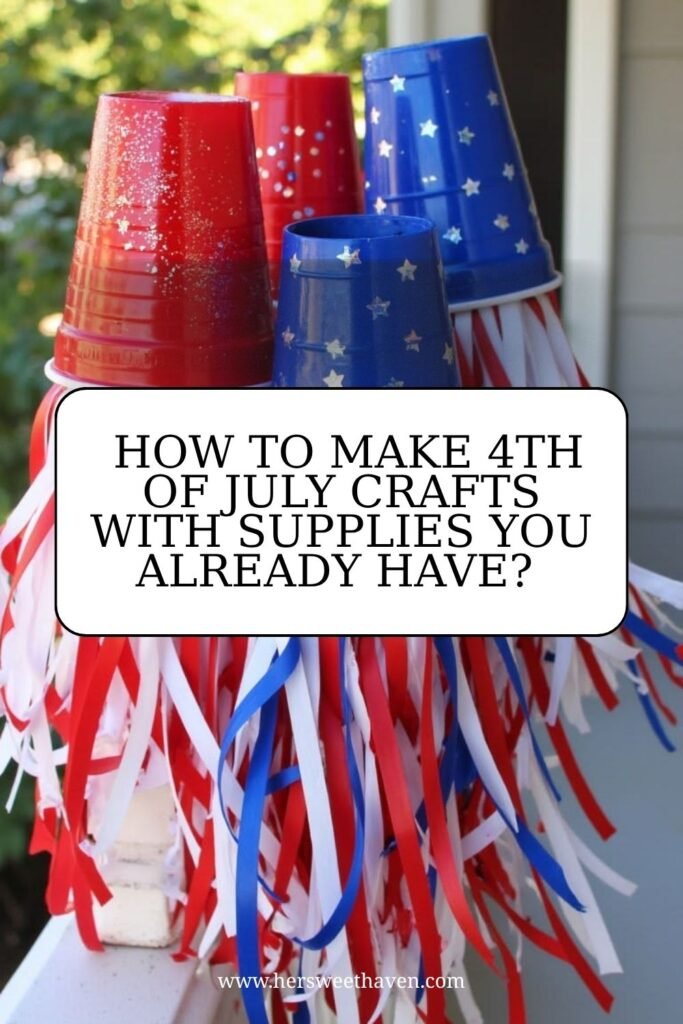
Toilet paper roll windsock. Wrap a roll in blue paper, add star stickers, glue red and white crepe streamers to the bottom, and thread yarn through the top to hang it. This simple windsock craft runs about ten minutes and wins the effort-to-payoff contest.
Red, white, and blue paper chain. Cut strips, loop, tape, repeat. That’s the whole thing, and that’s the point: it’s the craft kids can do entirely without help. Drape the chains along the porch railing and the house gets decorated by committee.
What Supplies Do You Actually Need?
The complete list for all three crafts fits in one hand: popsicle sticks, construction paper, crepe streamers, star stickers, washable paint, glue sticks, tape, yarn, and a few toilet paper rolls from the bathroom pipeline.
Total damage if you owned none of it: about ten dollars, nearly all from the dollar store. But run the house audit first, because most families already own half this list in a drawer somewhere. One upgrade worth its two dollars: a pack of foam star stickers. They cover painting mistakes, make everything look finished, and small kids can place them solo. The sticker is the great equalizer of craft skill levels.
Match the Craft to the Kid
All three core crafts flex by age. The trick is adjusting who does which step, not finding different projects. Same table, same supplies, different jobs.
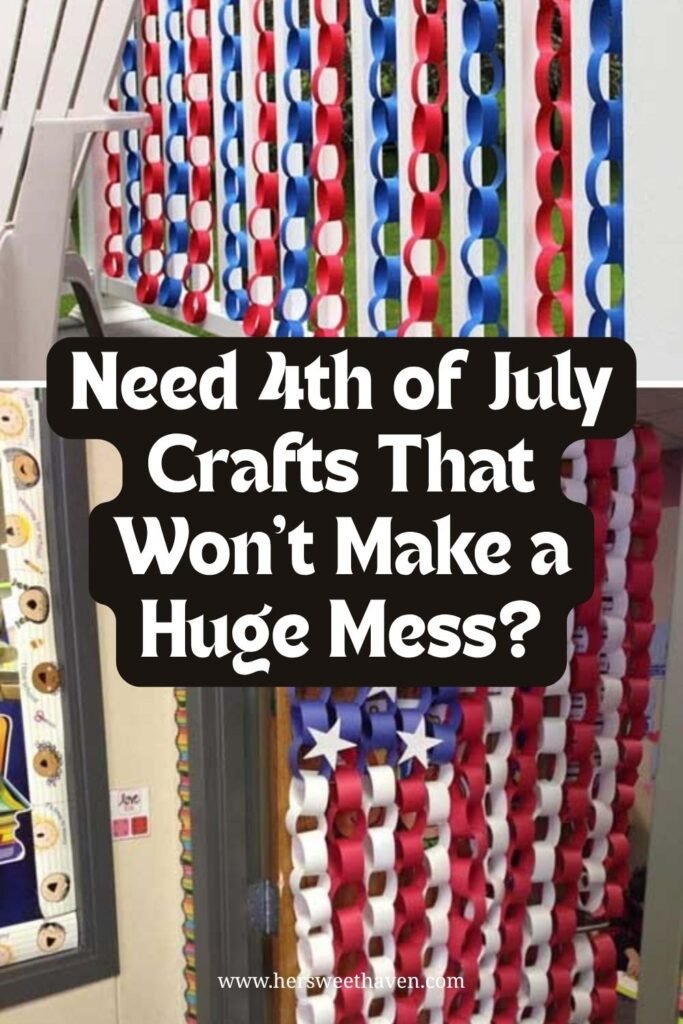
For the under-four crowd, you pre-cut everything and they stick and smoosh. Stickers instead of paint, glue sticks instead of liquid glue always. Their windsock will be abstract art and their paper chain will have four links. Frame-worthy anyway, and they’ll carry it around all day like a trophy.
Ages eight and up want crafts that look like real objects. Roundups like Nikki’s Plate’s easy 4th of July crafts are full of them: beaded USA bracelets with letter beads, bedazzled dollar-store sunglasses, painted flag rocks. The bracelet station is the sleeper hit for tweens. And if you’ve got mixed ages at one table, pair them up. A big kid threading beads next to a toddler placing stickers keeps both busy longer than either alone, and the older one quietly loves being the expert. Free supervision, disguised as bonding.
Keep Craft Time From Becoming a Disaster
Setup decides the mess before the first glue stick opens. Two systems handle it.
Cover the whole table in butcher paper or a cut-open grocery bag, taped at the corners. Cleanup becomes “roll it up, throw it away.” Then portion each kid’s supplies into a muffin tin, stickers in one cup, beads in another, which ends both the reaching-across-the-table chaos and the mysterious disappearance of an entire sticker sheet into one kid’s pocket.
For adhesive, glue sticks beat liquid glue for anything paper. Liquid glue comes out for popsicle sticks only, dispensed by an adult in dots, because a four-year-old with a full glue bottle is a weather event. And glitter: buy glitter glue pens or pre-glittered stickers, never the shaker jar. You get the sparkle without finding it in the couch until Thanksgiving. This is the single most important sentence in this post.
Your One-Weekend Game Plan
With the 250th anniversary making this a bigger deal than usual, a little planning goes a long way. You don’t need weeks. One focused afternoon is enough.
Start by picking your zones. Most homes have three: the porch or entryway, the main living or dining space, and the outdoor party area. Don’t go heavy in all three. Pick one as your hero zone, style it fully, and add lighter touches to the other two. Then lock your palette (red, white, blue, plus one neutral) and gather supplies, checking what you already own before buying.
If time is really tight, here’s the priority order. First the porch, since it’s the first thing people see: a flag, a bunting, a seasonal doormat, ten minutes, done. Second your food and drink station, since that’s what guests interact with most. Third, one indoor vignette on a mantel or island. You don’t need to hit every surface. One well-styled spot beats ten half-done ones, every single time.
Start This Weekend
This July 4th marks 250 years of American independence, and that kind of milestone doesn’t come around again in our lifetimes. So whether you go big with a full vintage Americana mantel or keep it simple with a few mason jar luminaries and a flag on the porch, make it count.
Your smallest first step costs nothing: walk to the recycling bin, grab every toilet paper roll and cardboard scrap, and drop them in a bag with whatever paint and paper you own. That’s the crafts started. Tomorrow, hit the dollar store for streamers, bunting, and star stickers, and by the weekend you’ve got a styled porch and a very patriotic fridge gallery. Pick one zone, start now, and save this guide for when you need it.
Celebrating Juneteenth as well? Here’s how to make beautiful Juneteenth decorations on a similar budget.
Leave a Reply