

The thick, chalky-white French tip from the early 2000s is officially tired. We all remember the chunky square acrylics with the harsh, opaque line painted straight across the top. It was the absolute standard look for every single prom and wedding for a solid decade. Today, that exact aesthetic feels completely out of place in a modern, refined beauty routine.
You want a clean, put-together look, but the old rules no longer apply. The most popular French Tip Nail Designs right now look entirely different than what we grew up with. They rely heavily on negative space, razor-thin line work, and very clever color placement to create something fresh.
This guide breaks down exactly what is trending this season across all the top salons. You will see the fresh upgrades taking over your feed and learn how to ask your nail technician for the exact right shape. Plus, I will show you how to recreate these looks at your own kitchen table without making the common mistakes that ruin a good manicure.
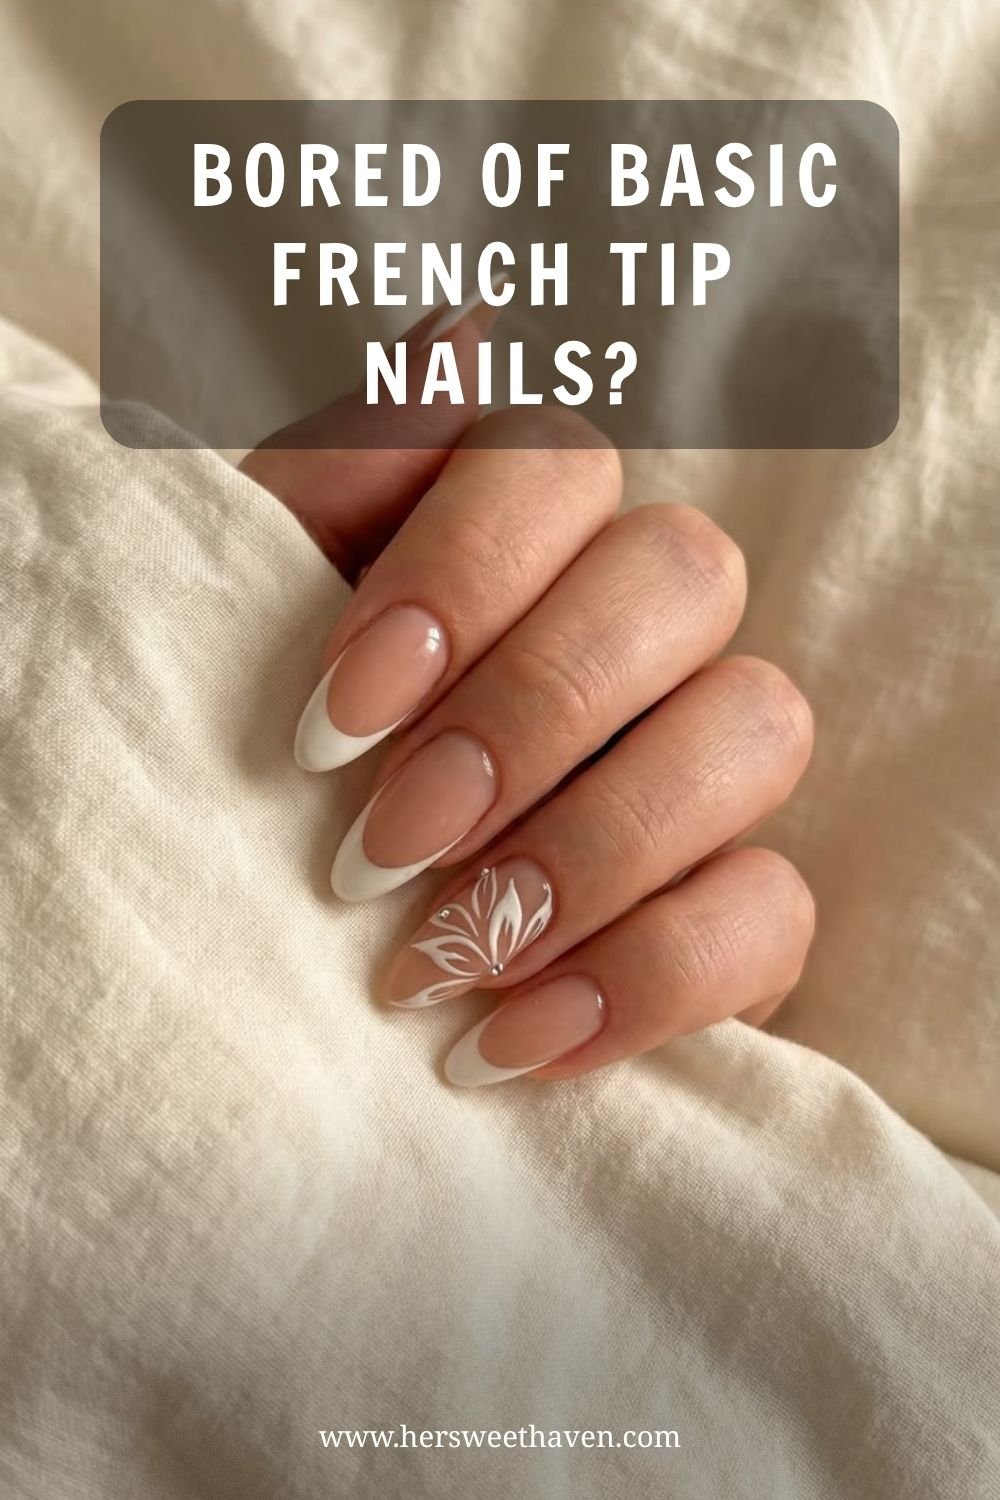
Bored of Basic French Tip Nails?
Let me explain why that matters. The classic French manicure was originally created decades ago to mimic the natural nail, just slightly better and cleaner. Somewhere along the line, it morphed into a heavy, opaque block of white polish that actually shortens the visual length of your fingers. If you are deeply bored with that traditional, stiff style, you are definitely not alone.
Women are aggressively moving away from the harsh contrast of bright white against a highly pigmented pale pink base. The new standard in the beauty industry is all about customization and subtle personalization. Nail art has shifted toward delicate details that you only truly notice when you look closely.
Here is the key point: your nails should complement your personal style, not fight against it. A standard thick tip often clashes with minimal jewelry or highly tailored, modern wardrobe choices. The current movement favors soft, deliberate touches that blend seamlessly with whatever outfit you choose to wear that week.
Basically, we are taking the foundational idea of a highlighted tip and throwing out all the rigid, boring rules. You can use completely different colors, change the exact thickness of the line, or even alter the placement on the nail bed entirely. The basic template still exists, but the execution feels completely new.
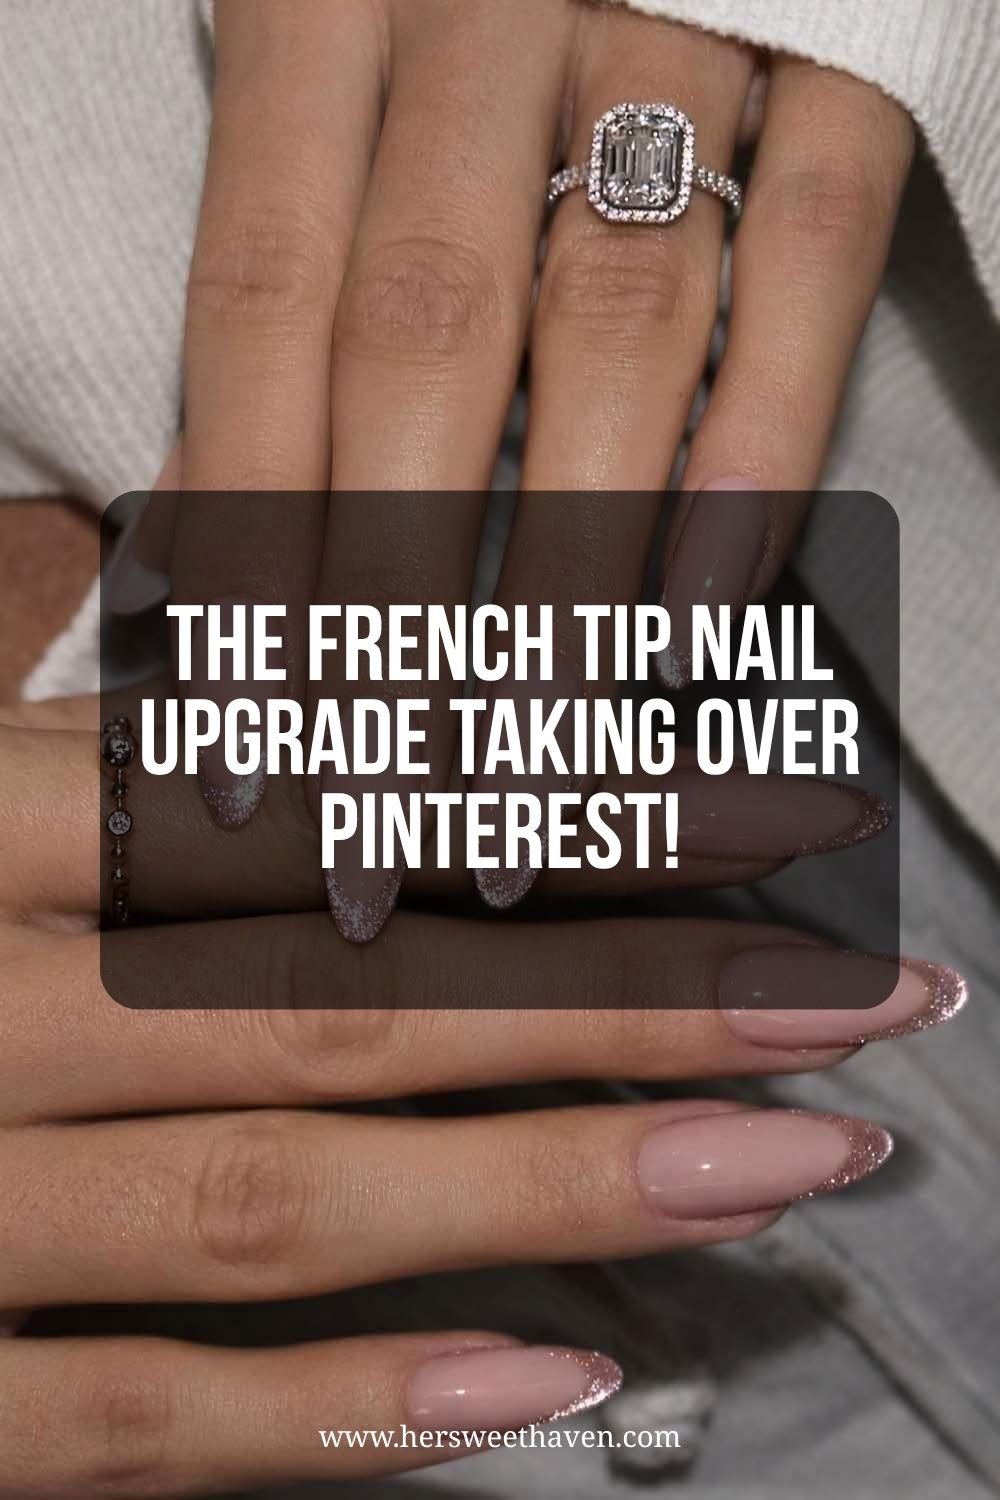
The French Tip Nail Upgrade Taking Over Pinterest!
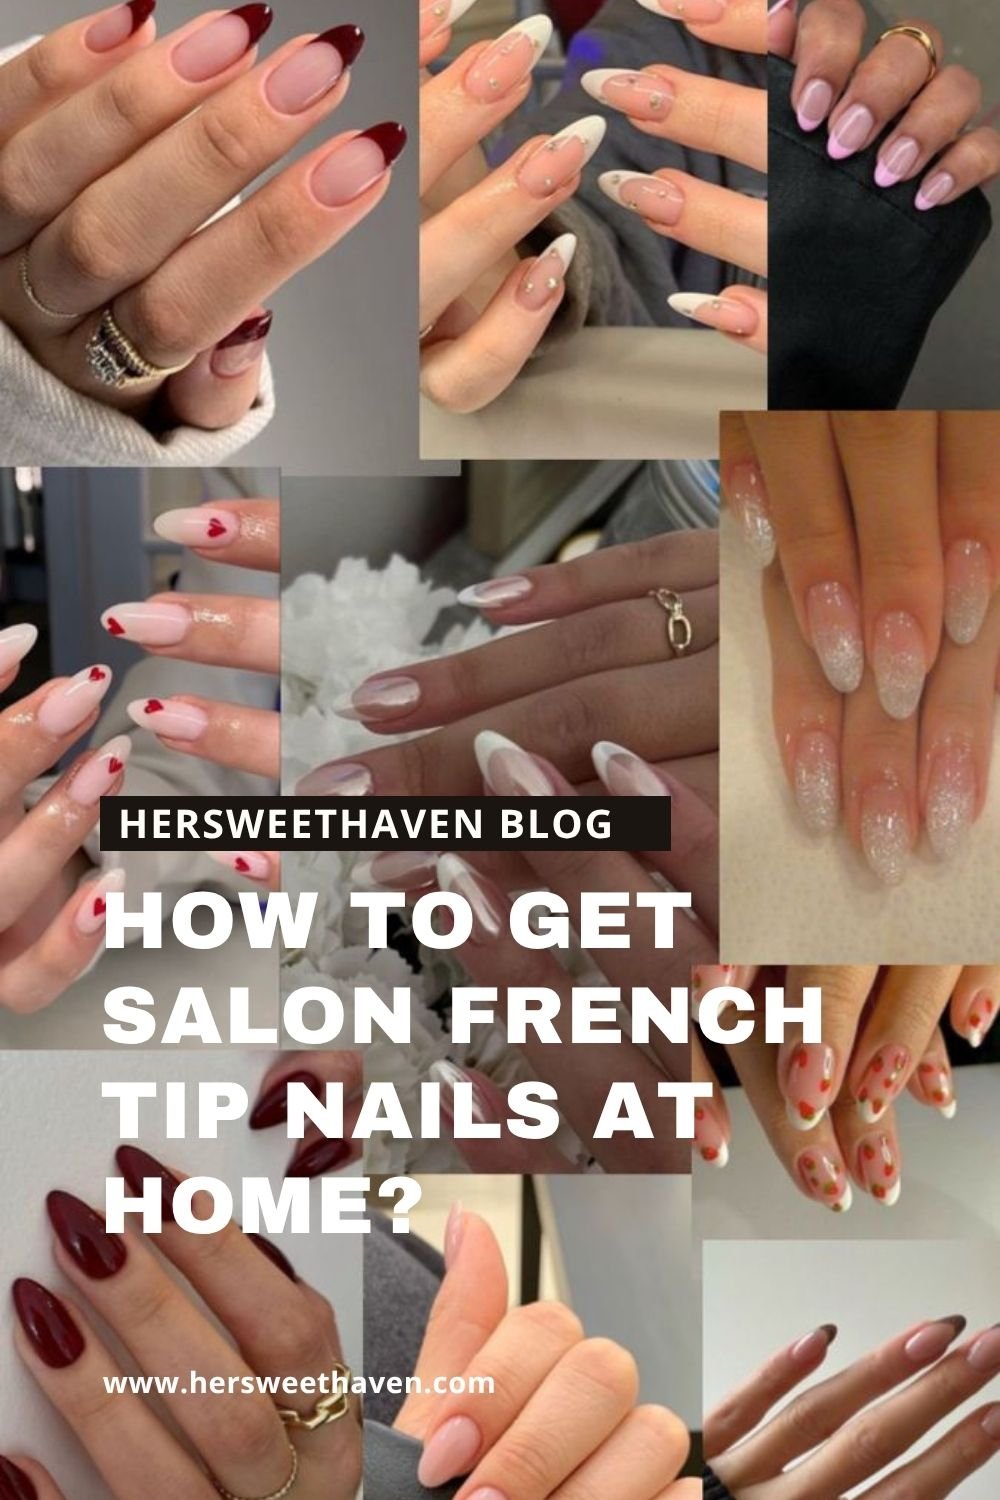
Open up your social media apps right now and look at the top nail trends circulating this month. You will immediately notice a massive shift toward micro-lines and empty space. The heavy white cap is completely gone, replaced by ultra-thin outlines and sharp, architectural details.
Think about it this way: less polish actually creates a much bigger visual impact. By leaving the majority of the nail bare or covered in a very sheer nude polish, the eye is drawn directly to the delicate artwork at the very edge. This specific trick creates an optical illusion that makes your natural nail bed look significantly longer and much healthier.
And it gets better. These minimalist upgrades are incredibly forgiving as your natural nails grow out. A chunky white tip looks very obvious and sloppy when your natural nail grows a quarter of an inch. A tiny, delicate line blends much more smoothly as the weeks go by. (Your wallet will thank you when you can stretch your salon visit an extra week.)
According to top nail artists at Cosmopolitan, the current obsession is all about treating the tip of the nail as a delicate frame rather than a solid block to be filled in. This framing technique highlights the natural shape of your fingers rather than covering them up. It is a highly requested look that beautifully bridges the gap between bare nails and heavy, full-coverage nail art.
9 Unique French Tip Nail Designs Trending Right Now
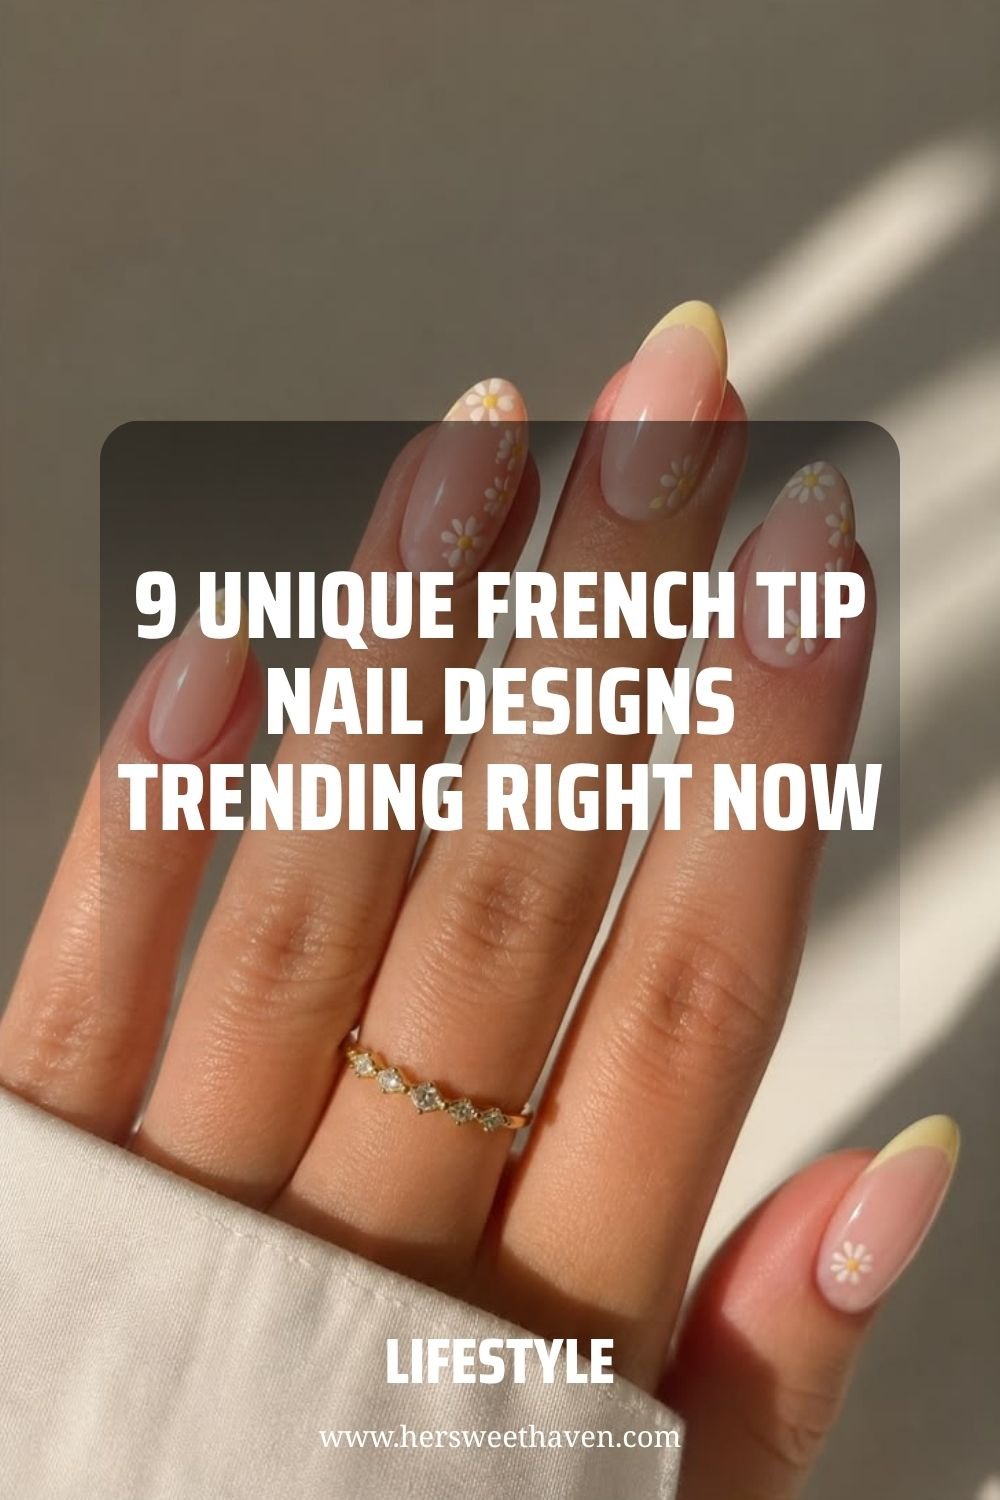
Next up: the actual designs you need to try. Bring these specific descriptions and keywords to your next appointment. The terminology matters deeply when you want a highly specific outcome from your nail technician.
1. The Ultra Thin Line French Tip
This is widely known in salons as the micro-French. The technician uses a tiny detailing brush to paint a line that is barely a millimeter thick right along the free edge of your nail. A thin line french tip looks incredibly refined and works beautifully on very short, natural nails. It gives you a highly polished look without demanding long acrylic extensions.
2. The Architectural Straight Line French Tip Nails
Most traditional French styles follow the natural, scooped curve of the nail. Straight line french tip nails ignore that curve entirely for a bolder statement. The artist tapes off the tip and paints a harsh, geometric straight line straight across the nail horizontally. It gives a very sharp, modern edge to a square or coffin-shaped nail extension.
3. The Floating Line French Tip Nails
This is where negative space becomes the absolute star of the show. Instead of painting the very edge of the nail, the artist paints a curved line a few millimeters below the top edge. These floating line french tip nails create a clear boundary while leaving the actual tip of your nail completely bare and transparent.
4. The Classic Double French Tip
If one delicate line is good, two lines are visually striking. The double french tip involves painting the standard thin smile line exactly at the edge, and then painting a second, identical curved line slightly below it. This creates a bold, banded look that draws a lot of attention to the beautiful shape of the nail bed.
5. The Contrast Double Line French Tip Nails
Building on the previous design, this version uses two completely different colors for the stacked bands. Double line french tip nails look amazing when you pair a soft, neutral color with a bright, unexpected pop. Try a stark white line right at the edge, followed immediately by a thin neon pink line directly beneath it.
6. The Double Lined French Tip with Metallic Accents
Real talk: metallic chrome polishes are having a major moment right now. Ask for a double lined french tip using a classic opaque cream color for the top line and a shiny chrome or bright gold for the bottom line. The metallic finish catches the light beautifully and acts like built-in jewelry for your hands.
7. The Romantic Lace French Tip
This is the part nobody talks about when it comes to bridal or formal event nails. A lace french tip replaces the solid color block with intricate, hand-painted lace patterns along the curve. It requires a highly skilled technician with a very steady hand, but the result is deeply intricate and incredibly beautiful.
(And no, you don’t need to be crafty to do this at home.) If hand-painting intricate lace sounds terrifying, nail wraps and water decals are a perfect shortcut. You can buy sheets of lace nail stickers online, place them exactly over the tip, and seal them heavily with a top coat.
8. The Ombre Gradient Tip
Put differently, what if you hate sharp, defined lines entirely? The ombre tip uses a fast sponge technique to blend the white edge seamlessly into the pink base. There is no harsh smile line at all. It just fades softly from the tip down into the nail bed, looking like a hazy, dreamy filter applied directly to your hands.
To do this yourself, you paint a stripe of your base color and a stripe of your tip color side-by-side on a small wedge makeup sponge. You dab the sponge lightly over the tip of your nail, moving it slightly up and down to blur the line completely.
9. The Two-Tone Pastel Tip
Forget the stark white polish completely for spring. This trend involves painting the left half of the tip one pastel color, and the right half a different, complementary pastel. Try a soft lilac on one side and a mint green on the other side. It is playful, fresh, and highly requested for warm weather vacations.
How to Get Salon French Tip Nails at Home?
You might assume these precise, razor-sharp lines are impossible to do yourself on your non-dominant hand. If that sounds confusing, it is not. The beauty industry has created some incredible, inexpensive tools that completely remove the need for a steady hand. You just have to know which ones actually work.
Here is how it works: the silicone nail stamper hack is the greatest invention for home manicures. You buy a clear, squishy jelly nail stamper and paint a layer of your tip color directly onto the silicone pad. Then, you simply push the tip of your nail straight into the soft silicone at a forty-five-degree angle. The polish transfers perfectly to the edge of your nail in one smooth, sweeping motion.
Another reason this works so well is that the depth of the push controls the exact thickness of the line. A shallow press gives you a tiny micro-tip. A deeper press gives you a thicker, more traditional tip. (Yes, really.) It takes about ten minutes to do both hands once you get the hang of the proper pressure.
If you want to try the geometric styles instead, grab a cheap roll of striping tape. This is ultra-thin masking tape made specifically for detailed nail art. You paint your base coat, let it dry completely, and then place the tape strictly across your nail to block off the sections you want to keep bare. Paint over the tip, immediately peel off the tape while the polish is still wet, and you have a razor-sharp straight line.
What brush is best for French tips?
If you prefer to hand-paint your custom designs, a long, thin liner brush is absolutely non-negotiable. Standard polish brushes included in the bottles are far too thick and clumsy for this work. A liner brush with fine bristles measuring around nine to eleven millimeters allows you to drag the paint in long, smooth, sweeping motions rather than short, choppy strokes.
Before you try any of these specific techniques, make sure your nail bed is completely clean and prepped properly. Dehydrate the raw nail with a quick swipe of rubbing alcohol to remove natural oils. This guarantees your base coat grips the nail properly and prevents the delicate tip designs from peeling off the next morning. If you enjoy doing detailed work like Cute Hello Kitty Nails You Can Easily Do at Home, mastering the precise French line will feel like a really fun weekend project.
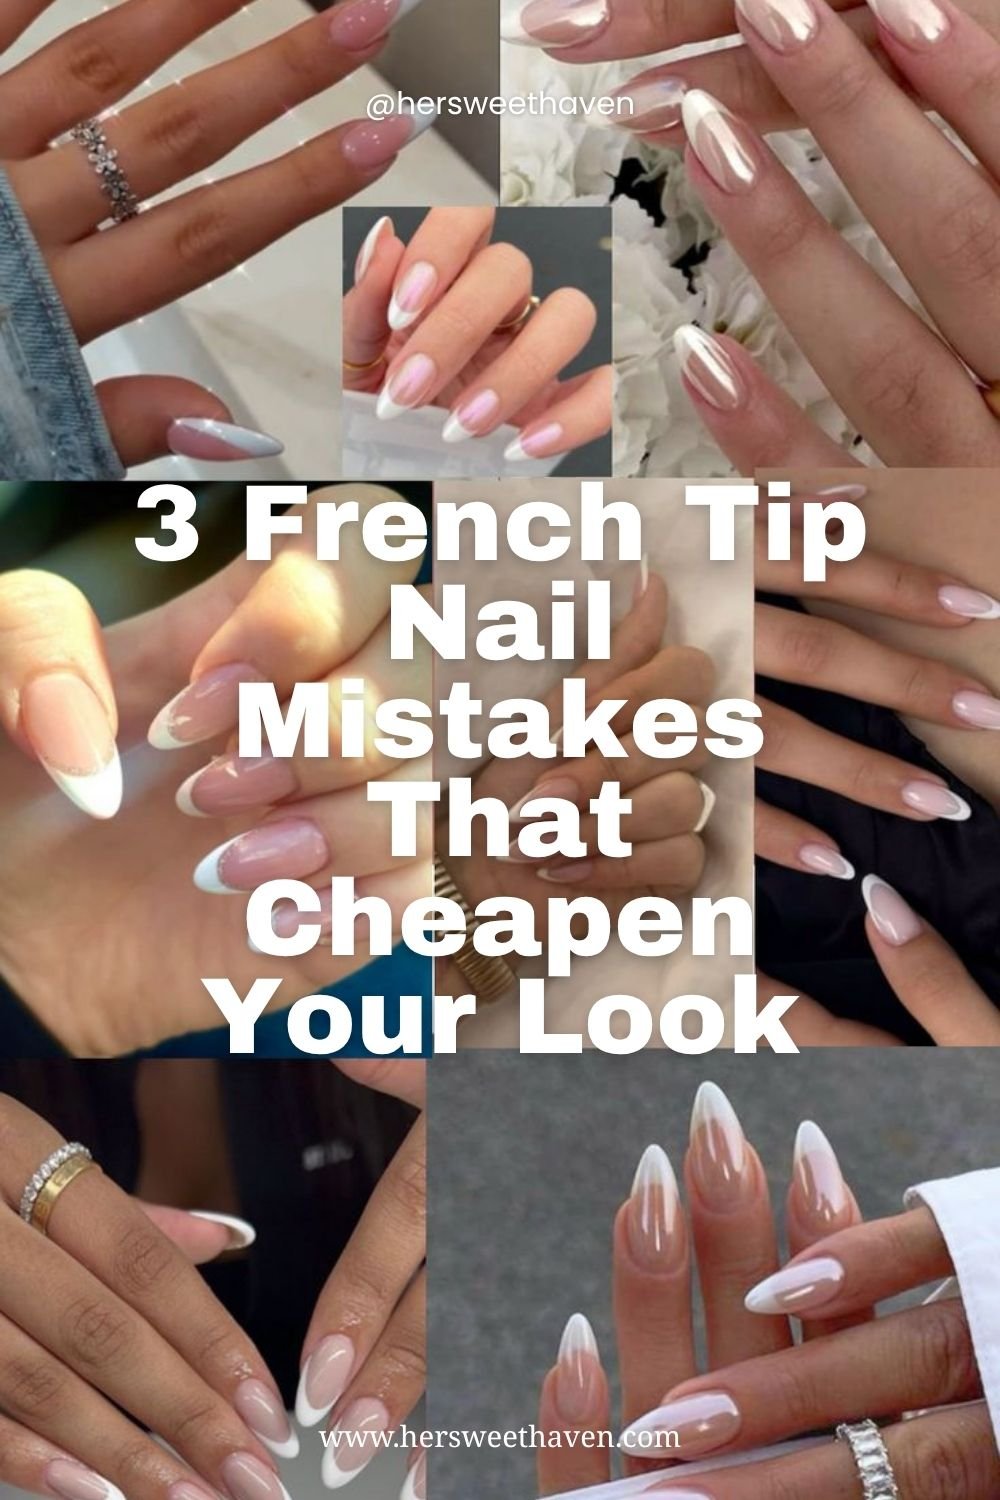
3 French Tip Nail Mistakes That Cheapen Your Look
Now, even with the absolute best tools on the market, things can still go wrong. A bad French manicure stands out immediately because the design is so incredibly exposed. There is no heavy glitter or dark, busy pattern to hide your mistakes.
This is the mistake I see over and over. People use a stark, milky pink or a completely clear base coat that does not match their skin tone at all. Your base color should act exactly like a good foundation for your nails. If you have cool undertones, you need a sheer base with pinkish hues. If you have warm or olive undertones, you need a sheer peach or caramel base. A badly mismatched base color makes the whole hand look flushed or sickly.
Mistake number two is making the smile line way too thick for the actual length of the natural nail. If you have very short nails, a thick tip makes them look like tiny, stubby square blocks. The thickness of the tip should never exceed one-quarter of the total nail length. Keeping the line thin maintains a long, highly elegant proportion.
Plot twist: drawing the line perfectly straight across a curved cuticle actually looks terrible. You must follow the natural C-curve of your specific nail bed. The smile line where the white meets the pink base should perfectly mirror the shape of your cuticle at the bottom of your finger. If your cuticles are deeply rounded, your painted tips should be deeply rounded.
How do you keep white tips from turning yellow?
Nothing ruins a fresh, expensive set faster than the crisp white polish turning a dingy, stained yellow. This happens constantly due to heavy UV exposure from the sun or from applying a cheap, low-quality top coat. Always seal your final design with a high-quality, non-yellowing, UV-blocking top coat.
Worth knowing: if you use self-tanner or heavy vitamin C skincare serums, those products will stain light polish almost immediately. Wash your hands thoroughly with soap and a stiff nail brush after applying any facial oils or tanning drops. A quick wipe with a cotton ball soaked in rubbing alcohol can sometimes lift light stains if you catch them early enough.
Proper application changes the entire lifespan of the manicure. Nail care professionals at Byrdie note that capping the free edge is the single most important step for longevity. You must run your top coat brush horizontally along the very front tip of the nail to seal the color in completely and prevent daily chipping from typing or opening cans.
When you look at incredibly popular seasonal trends like Stunning Polka Dot Nail Looks or the dark, moody Best Cat-eye Nails Trends, they all rely entirely on good execution. The exact same rule applies here. Take your time, prep the nail properly, and focus on maintaining clean, sharp edges.
If I had to pick just one of these unique styles for my next salon appointment? The ultra-thin micro line wins every single time. It looks incredibly fresh, requires minimal maintenance as it grows out, and makes short nails look highly intentional and styled. It is the absolute perfect palate cleanser between wearing heavy, dark seasonal colors.
You do not have to stick to the tired classics when you book your next salon visit. Bring a screenshot of a delicate floating line or a bold double contrasting tip. Or better yet, grab a cheap clear silicone stamper online and spend a quiet Sunday afternoon practicing your own custom designs. You might be surprised by how simple it actually is to get a perfect result.
Leave a Reply