

One afternoon, a bag of sand, and a stack of bricks can completely change the way your yard looks. A well-placed brick border turns a messy garden edge into something clean, intentional, and polished. It gives your flower beds definition. It keeps grass from creeping where it doesn’t belong. And it adds a classic, timeless feel that plastic edging never will.
I’ve collected 9 brick flower bed border ideas you can actually pull off yourself, a simple 5-step installation guide, the base material pros swear by, and the common fails that trip up beginners. Whether you’re working with a small front yard or a full backyard garden, there’s a brick border idea here for you. If you’ve been looking for small garden design tips to make a tight space feel finished, this is one of the best places to start.
Why a Brick Flower Bed Border Is Worth the Effort
It Defines Your Garden Beds Instantly
A brick garden border does one thing better than almost any other edging material: it draws a clear line between your lawn and your garden. That visual separation makes everything around it look more intentional. Your mulch stays in place. Your plants look like they belong. Your whole yard feels more put together.
Even a single row of bricks, laid flat along the edge of a flower bed, can make a noticeable difference. You don’t need a professional landscaper or an expensive material list to pull it off.
Brick Lasts Longer Than Most Edging Materials
Plastic edging warps. Metal edging rusts. Wood rots. Brick? Brick holds up for years with almost zero maintenance. Clay pavers rated for severe weather (labeled “SW” at the stone yard) can handle freeze-thaw cycles, heavy rain, and direct sun without cracking or crumbling.
That durability is one of the biggest reasons brick landscape edging remains a go-to for homeowners who want something that actually lasts.
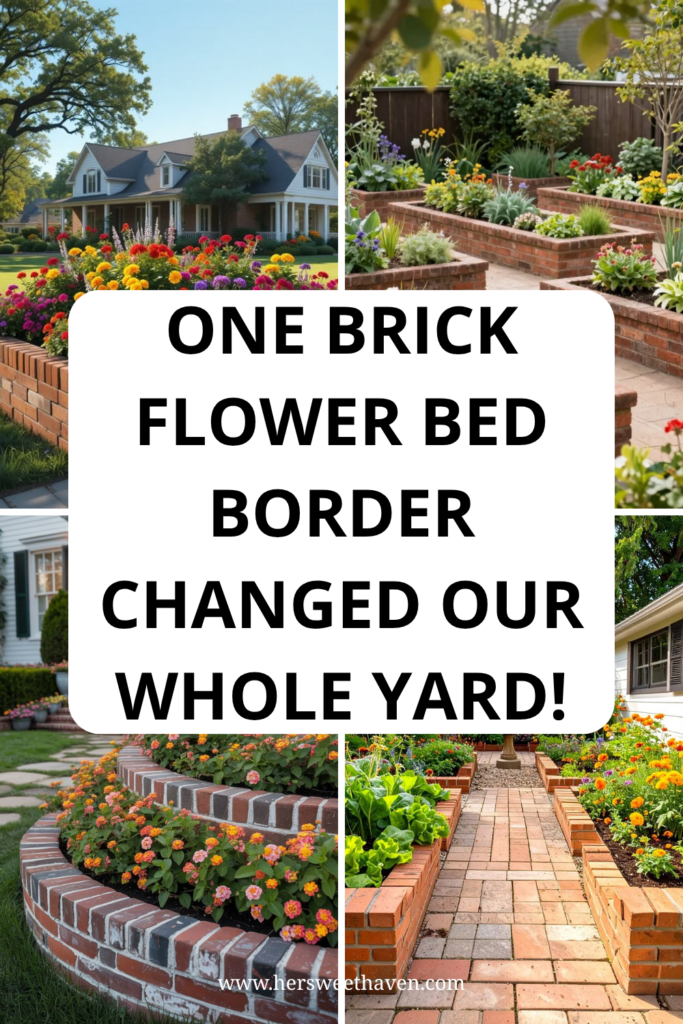
9 Brick Flower Bed Border Ideas to Try This Season
Here are nine brick border ideas that cover a range of styles, budgets, and skill levels. Pick the one that fits your yard and your weekend plans.
1. Classic Single-Row Flat Border
This is the simplest brick flower bed edging style out there. Lay bricks flat, end to end, along the edge of your garden bed. It gives you a clean line, keeps mulch contained, and works with any yard shape. If you’re new to DIY, start here. The learning curve is almost zero.
2. Stacked Brick Border for Raised Beds
Want a little more height? Stack two or three courses of brick to create a low wall around your flower bed. A stacked brick border works especially well for building raised garden beds on a budget. It holds soil in place, adds visual weight, and gives your garden a structured, intentional look.
For extra stability, stagger the bricks so the joints don’t line up. This simple trick makes the whole structure stronger.
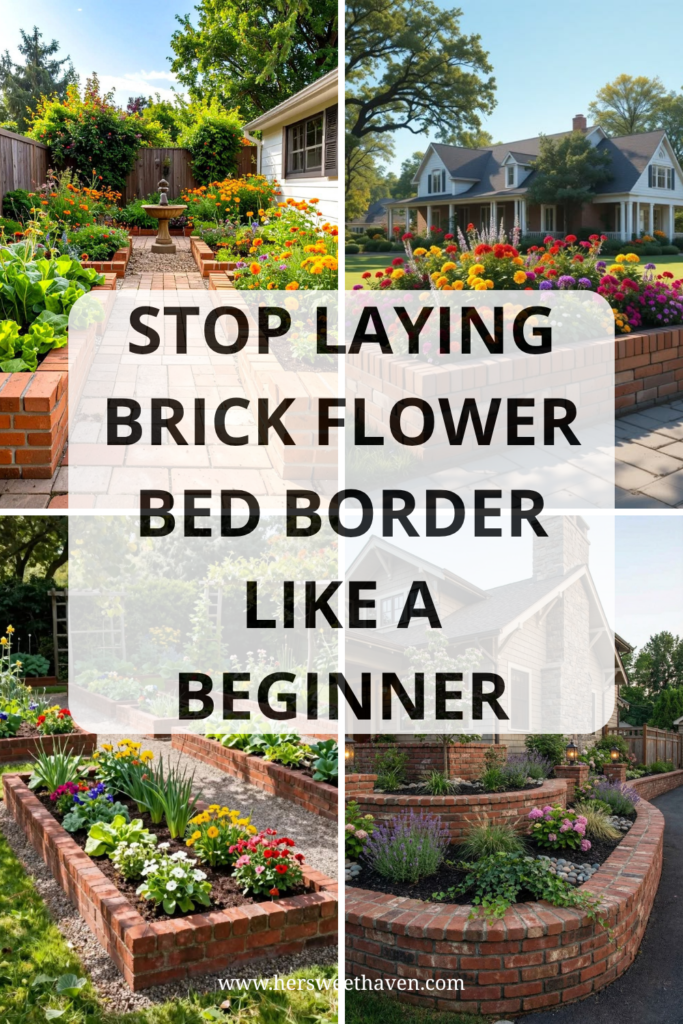
3. Angled Sawtooth Pattern
Bricks set at a 45-degree angle create a sawtooth (or zigzag) edge that’s eye-catching and classic. This brick flower bed design is popular in cottage-style gardens because it adds texture without needing mortar. The angled position also helps the bricks stay locked in the soil, which means less shifting over time.
4. Curved Brick Border for Organic Shapes
Not every garden bed is a straight line. If you’re working with a curved flower bed, bricks handle soft curves beautifully. Fan the bricks out slightly as you go around bends, and leave small gaps that you can fill with sand later. According to This Old House, the widest gap at any curve should be no wider than a single brick.
Use a garden hose to trace out the curve before you dig. It helps you see the shape before committing.
5. Double-Row Brick Edging
A double row of bricks gives you a wider, more substantial border that doubles as a mowing strip. Lay two rows of flat bricks side by side so your lawnmower wheel can ride along the edge. This saves you from having to trim by hand every time you mow. It’s practical and it looks great.
6. Herringbone Brick Path Border
If you want something that feels a little more designed, try a herringbone pattern. Bricks are laid in a V-shape that creates a woven, textured look. This style works best along garden pathways or where a flower bed meets a patio. For more ideas on tying your garden into your outdoor living space, check out these patio decorating ideas.
Herringbone takes more bricks and a bit more planning, but the result is worth the extra effort.
7. Rustic Reclaimed Brick Border
Reclaimed or salvaged bricks have a weathered, lived-in character that new bricks can’t match. Mismatched sizes and colors actually add charm. As One Kind Design notes, an intentionally irregular border built with mismatched bricks creates a whimsical, cottage-garden feel that blends naturally with lush plantings.
If you have leftover bricks from a house project, this is the perfect way to use them up.
8. Mortared Multi-Layer Wall Border
For a more permanent structure, mortar your bricks together. A mortared brick border for flower beds won’t shift, won’t separate, and won’t need re-leveling year after year. This approach works best for raised borders with two or more courses of brick. Bigger Garden recommends staggering the bricks and using mortar for both durability and strength, especially in areas with sloping ground.
This is the most labor-intensive option, but it’s also the most permanent.
9. Budget-Friendly Dry-Laid Brick Border
Here’s the thing: you don’t need mortar for a great-looking border. A dry-laid approach (bricks set on a sand or gravel base with no mortar) is faster, cheaper, and perfectly effective for a single-row border. Chatfield Court shows how using leftover bricks and paver sand can get the job done for free. Even if you’re buying new bricks, many home improvement stores sell them for well under a dollar each.
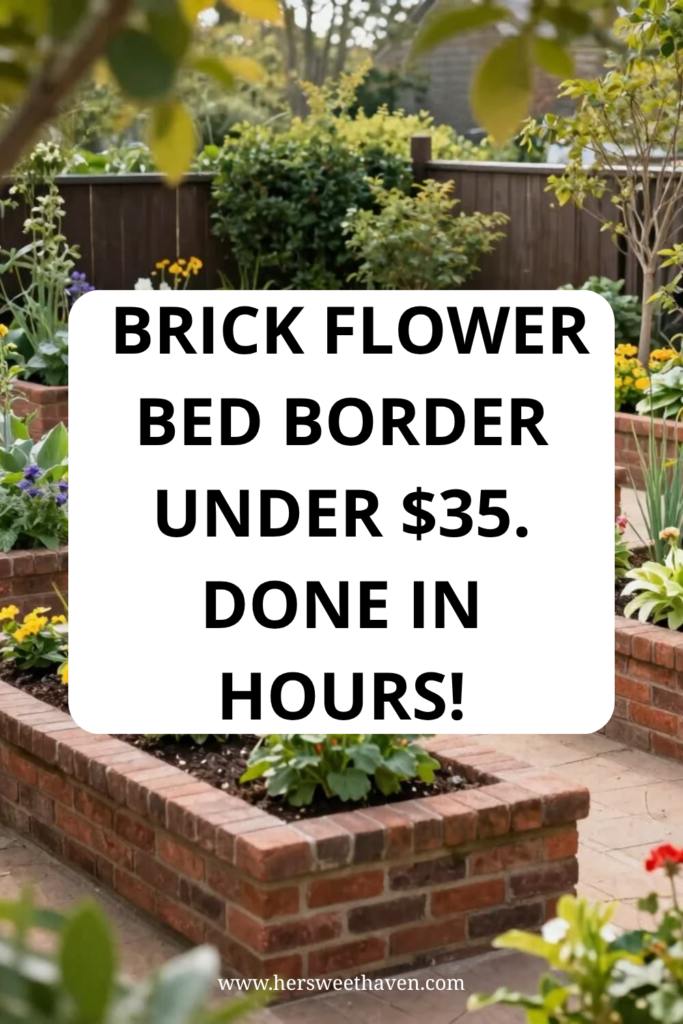
How to Install a Brick Flower Bed Border in 5 Easy Steps
You don’t need professional experience for this project. Here’s a straightforward breakdown of how to lay a brick garden border that stays put.
Step 1: Plan Your Layout
Decide where your border will go and what shape it will follow. Lay a garden hose along the edge to visualize curves, or use stakes and string for straight lines. Measure the total length and divide by the width of your bricks to estimate how many you’ll need. Add 10% extra for cuts and mistakes.
Step 2: Dig the Trench
Use a flat spade to dig a trench along your marked line. The trench should be about 6 inches deep and a few inches wider than your bricks. According to This Old House, digging past the topsoil layer is important for long-term stability because organic soil shifts with moisture and temperature changes.
Step 3: Add a Base Layer
This is the step most beginners skip (and regret). Add 2 to 3 inches of crushed gravel or paver base to the bottom of your trench and tamp it down firmly. Then add about an inch of stone dust or coarse sand on top. This base layer improves drainage, prevents the bricks from sinking, and keeps everything level.
If you want even more stability, Building Bluebird suggests mixing stone dust with a small amount of portland cement before laying it down.
Step 4: Lay the Bricks
Press each brick into the base one at a time, tapping it down with a rubber mallet. Check for level every few bricks. For straight lines, follow your string guide closely. For curves, fan the bricks out slightly at each bend.
Here’s the key point: slope each brick slightly away from the flower bed. This encourages water to drain toward the lawn instead of pooling in your garden.
Step 5: Fill and Finish
Sweep coarse sand or paver sand into the gaps between the bricks. This locks them in place and prevents movement. Backfill the trench on both sides with the dirt you dug out earlier. Give the whole border a light misting with the hose to help the sand settle into the joints.
That’s it. Five steps, one afternoon, and your brick edge garden bed is done.
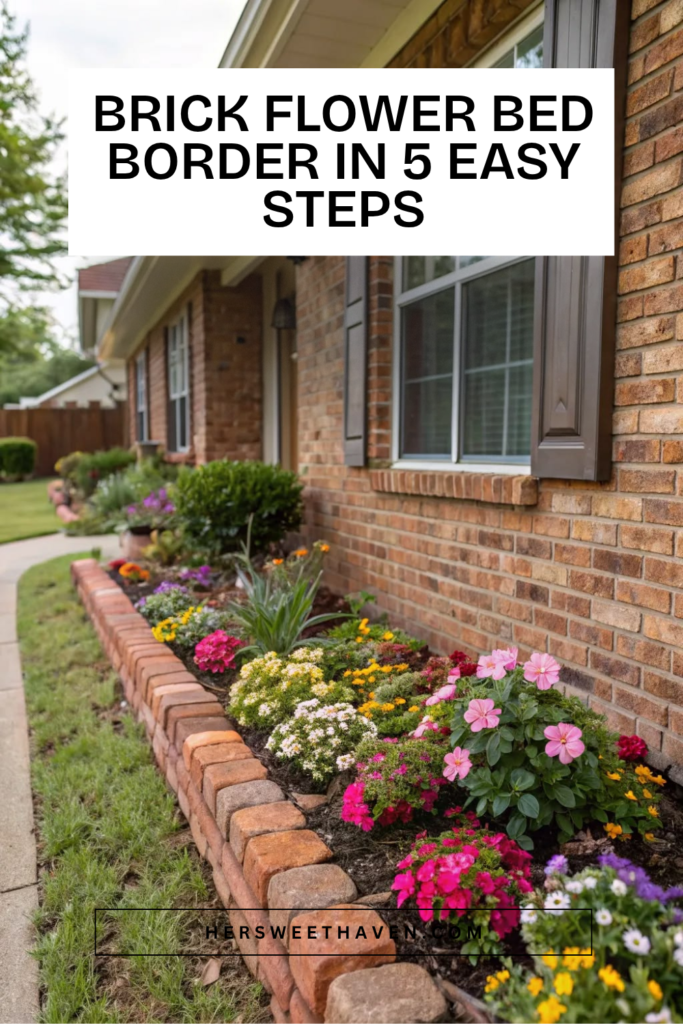
What Do Pros Put Under a Brick Flower Bed Border?
This is one of the most common questions homeowners ask, and the answer makes or breaks your project.
Professionals almost always use a layered base: crushed gravel (also called paver base) on the bottom, followed by a thinner layer of stone dust or coarse sand on top. The gravel provides drainage so water doesn’t pool under the bricks. The sand or stone dust gives a smooth, level surface to set the bricks on.
Some pros also lay a strip of weed barrier fabric between the gravel and the soil to prevent weeds from growing up through the base. Others mix stone dust with a small amount of portland cement for a semi-permanent setting bed, as recommended by This Old House.
What you should never do is set bricks directly on bare soil. Without a proper base, bricks will sink, tilt, and separate within a single season. If you’re also working with gravel or stone in your landscape, you might find these river rock landscaping ideas helpful for tying everything together.
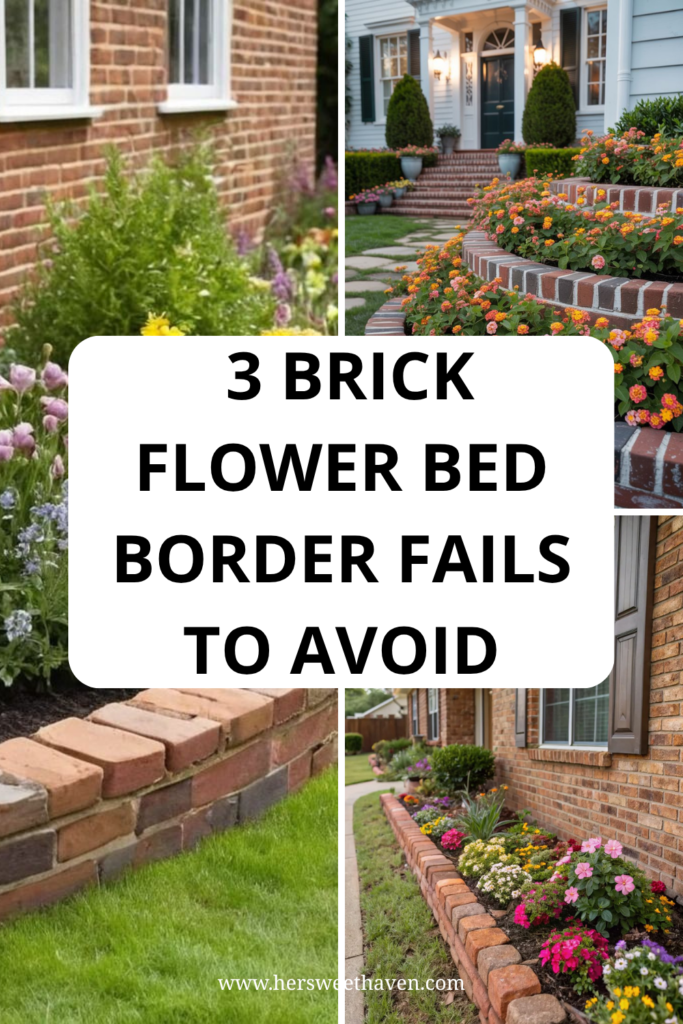
3 Brick Flower Bed Border Fails to Avoid
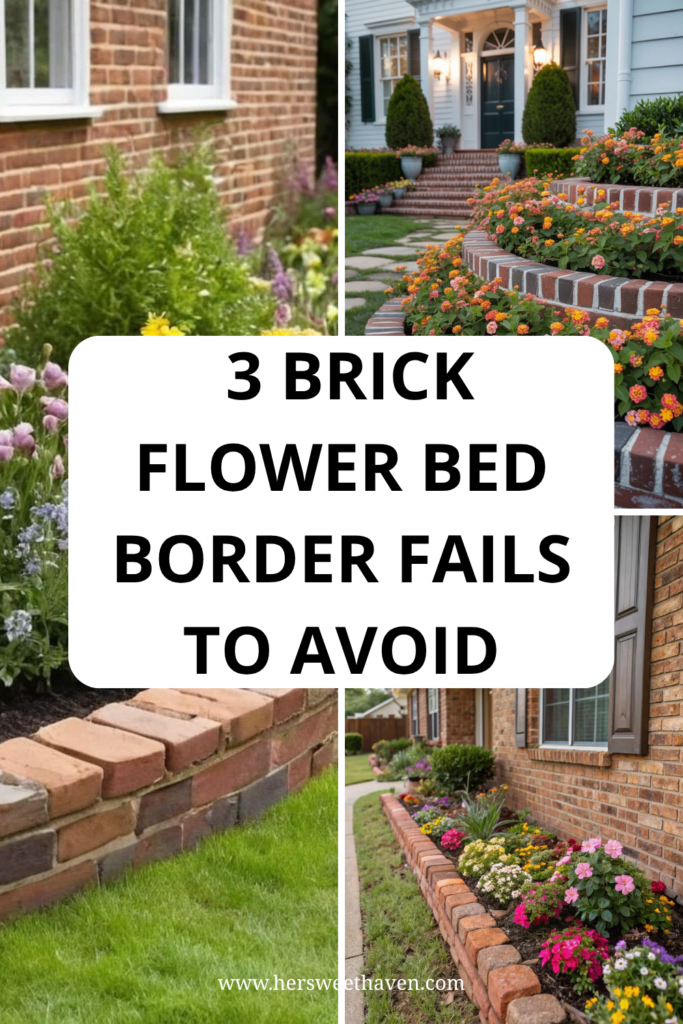
Before you start laying bricks, learn from the mistakes other people have already made. These three fails are the most common, and they’re all easy to prevent.
Skipping the Base Layer
Laying bricks directly on topsoil is the number one reason borders fail. Topsoil is soft, it holds moisture, and it shifts with temperature changes. Without a gravel and sand base underneath, your bricks will start sinking and tilting within months. Always dig deep enough and add a proper base.
Not Using a String Line Guide
It sounds like a small thing, but skipping the string line is how you end up with a wavy border that was supposed to be straight. As Building Bluebird points out, even experienced DIYers have to restart when their line starts to curve. Set up stakes and string before you lay a single brick.
Choosing the Wrong Brick Type
Not all bricks are made for outdoor ground contact. Standard wall bricks can crack in freezing temperatures or crumble when they stay wet. Look for clay pavers rated “SW” (severe weather) at the stone yard. These are designed to handle freeze-thaw cycles and heavy use without falling apart.
Which Brick Flower Bed Border Pattern Lasts Longest?
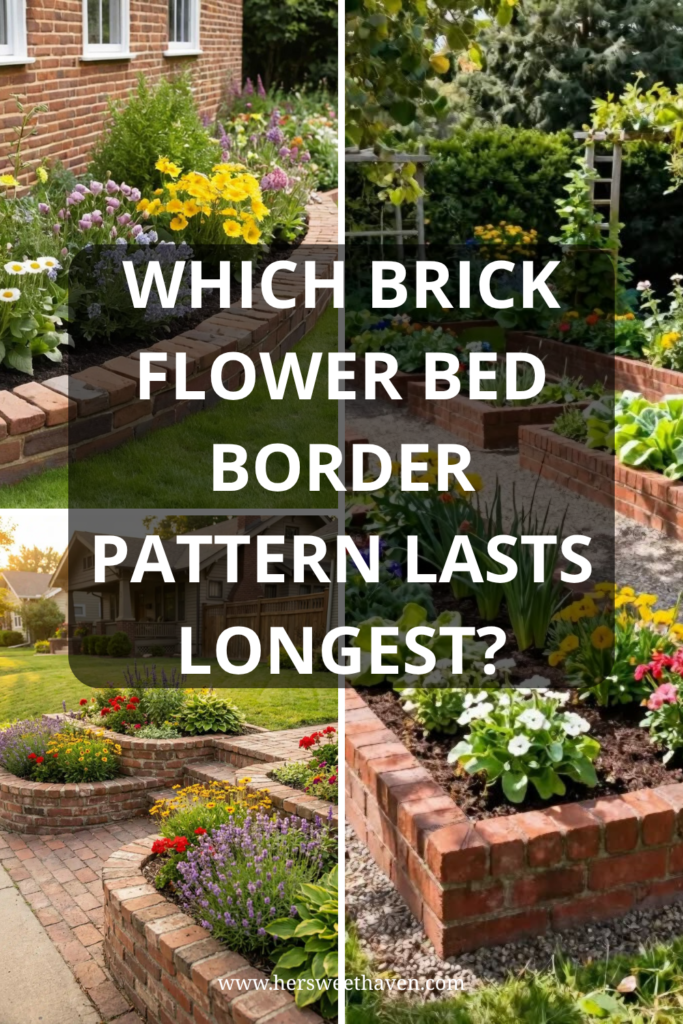
If durability is your top priority, the pattern you choose matters just as much as the base you lay.
Flat-laid single-row borders are the easiest to install, but they’re also the most likely to shift over time because there’s nothing locking the bricks together. Vertical (soldier-style) bricks are slightly more stable because more of the brick sits below ground level.
A stacked brick border with staggered joints and mortar is the most durable option. The staggered joints distribute weight evenly, and the mortar bonds everything into a single structure. According to Bigger Garden, mortared and staggered stacked borders hold up especially well on sloped ground where loose bricks would shift.
For most homeowners, a well-prepared flat or vertical border on a proper gravel base will last for years. But if you live in an area with harsh winters or heavy rain, the mortared stacked option is worth the extra work.
Why Does Your Brick Flower Bed Border Keep Shifting?
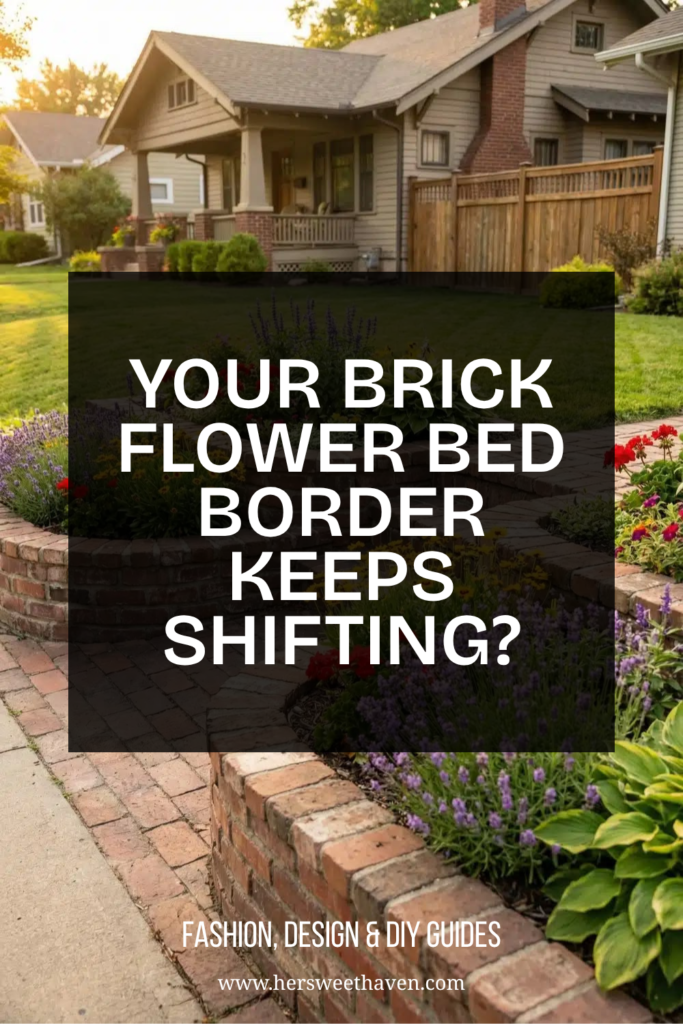
If your brick garden edging ideas looked great at first but now look crooked and uneven, there’s usually a clear reason. Here are the most common causes.
A shallow trench is the first culprit. If your bricks are sitting on less than a few inches of compacted base, they don’t have enough support to stay in place. The fix is to dig them up, deepen the trench to at least 6 inches, and add a proper paver base before re-laying.
No gravel base is the second issue. Sand alone compresses and washes away over time. Crushed gravel underneath provides the drainage and structure that sand can’t deliver on its own.
Freeze-thaw cycles are the third problem, especially in colder climates. When water seeps under your bricks and freezes, it expands and pushes the bricks out of alignment. Vodaland USA notes that this is one of the most common reasons brick borders need maintenance. The best prevention is a deep, well-drained base that keeps water from sitting under the bricks.
If only a few bricks have shifted, you can usually pull them out, re-level the base, and set them back without redoing the entire border. For problem spots that keep moving, a small amount of mortar under those specific bricks can lock them in permanently.
Start With One Border and Build From There
A single brick flower bed border can change the way your entire yard feels. It’s one of those weekend projects that delivers results you’ll notice every time you step outside.
Pick the style that fits your space. Prep the base properly. Avoid the three common fails. And don’t overthink it. Even a simple row of flat bricks along your front garden bed makes a big difference.
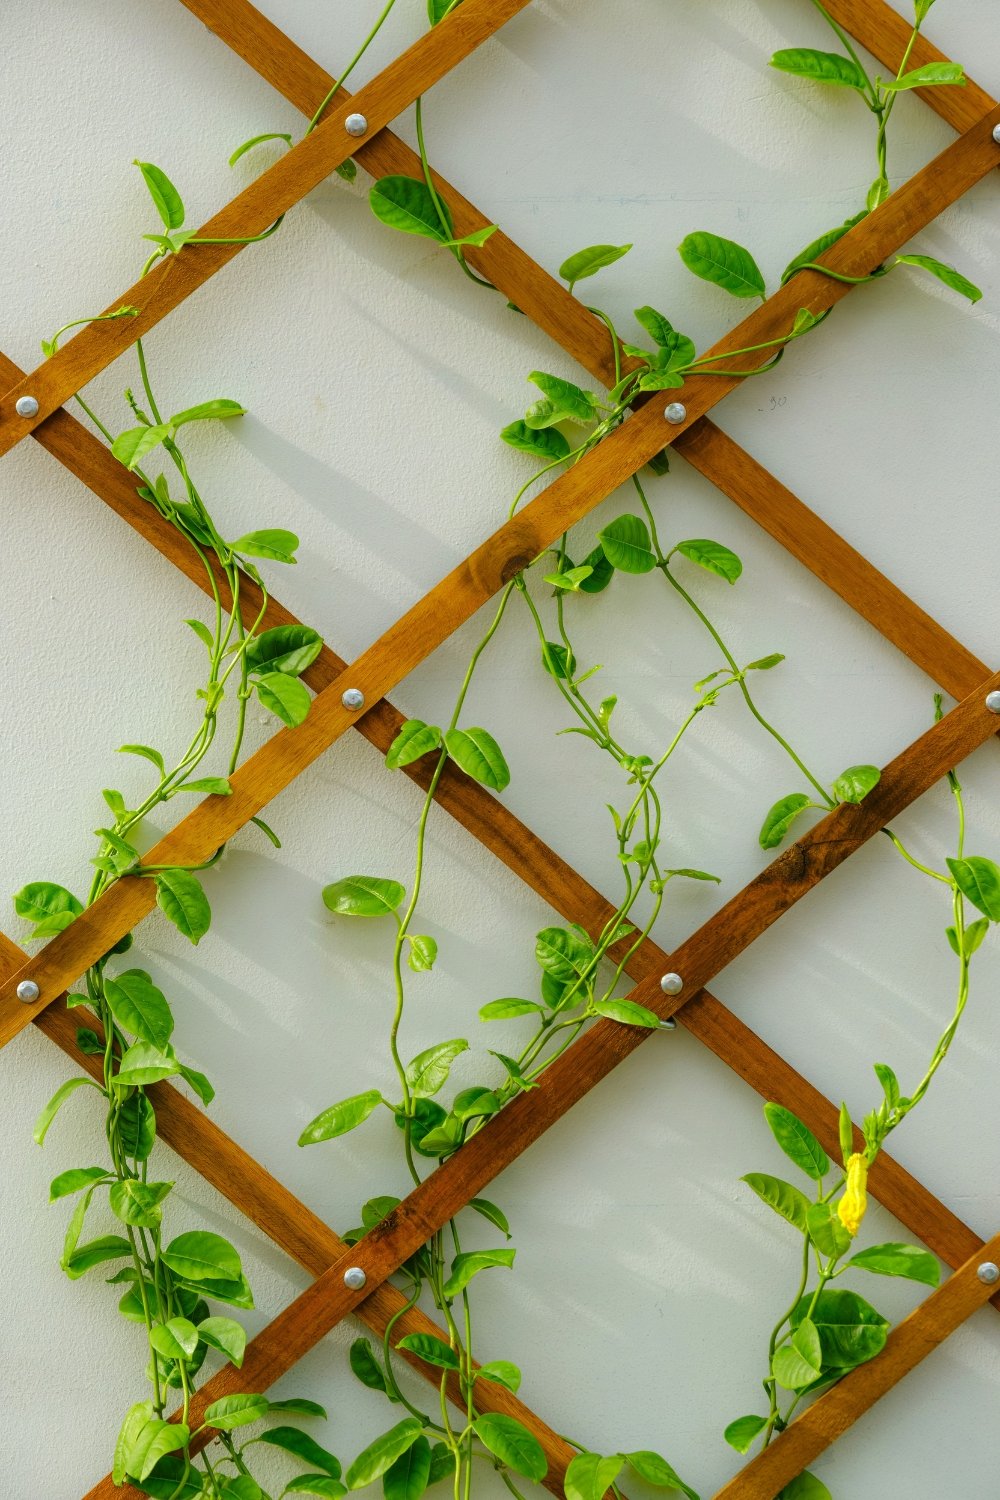
If you’re looking for more ways to bring structure and personality to your outdoor space, take a look at these trellis ideas for your garden. Pair a trellis with a fresh brick border, and your yard will look like it was designed by someone who really knows what they’re doing. (Spoiler: that someone is you.)
Which brick border style are you planning to try? Drop a comment and let me know. I’d love to see what you create.

Leave a Reply