
A garden privacy screen is supposed to make the yard feel calmer, yet plenty of them do the opposite: the space ends up boxed in, short on sunlight or just unattractive, which defeats the whole point.
If you’ve ever sat on the patio with a coffee and caught yourself glancing up at the neighbor’s second-floor windows, you already know you need some kind of screening. The wrong choice costs light, style and money you won’t get back. The good news is that there are more options than ever, from horizontal wood slats and living walls to DIY builds that cost under $60.
Below: why so many screens fall flat, budget ideas that still look good, how to screen without losing sunlight, better alternatives to plain plastic panels, lattice vs. living walls, screens that double as decor, and how to choose for your own yard.
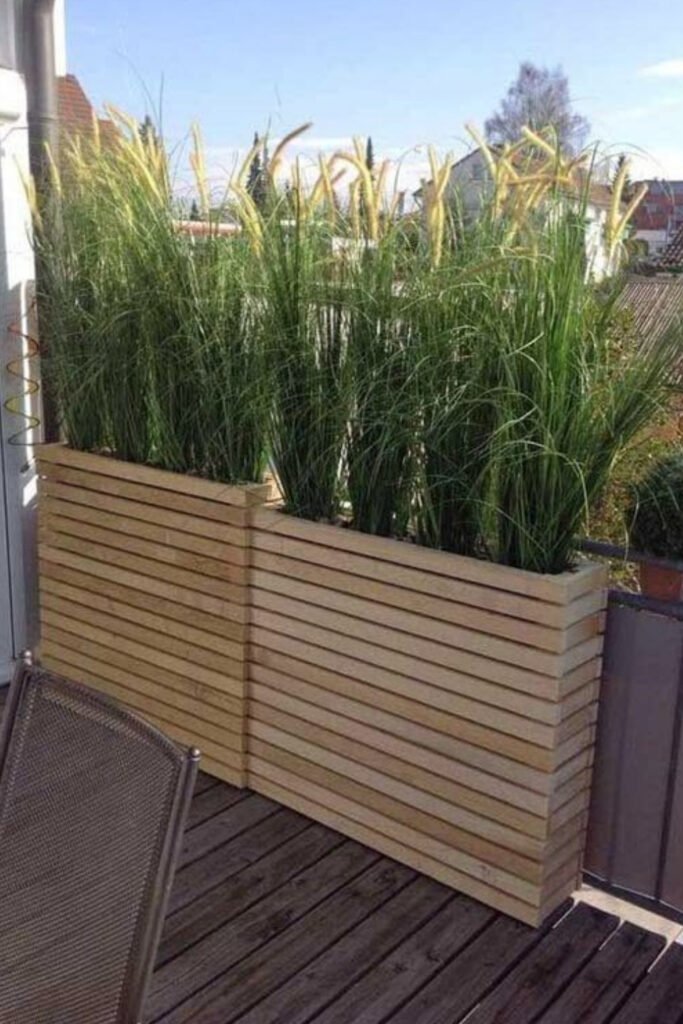
Why many garden privacy screens fall flat
Before buying anything, it helps to know why so many screens go wrong. It usually comes down to one of three things: the wrong material, the wrong spot or the wrong height.
The fenced-in problem
The biggest mistake is going too solid and too tall everywhere. A 6-foot solid panel blocks the view, but it also blocks the breeze, the light and any sense of openness the garden had.
Homedit’s backyard privacy roundup notes a move away from tall barriers toward placement and layering. A change in ground level, a row of dense planting or one well-placed structure can do more than a tall fence.
Before you buy, sit where you actually sit and look at where the sightlines come from. You might only need screening in one spot, not around the whole yard. Also check your local rules and HOA, since many areas limit fence and screen height, often to around 6 feet in back yards and lower in front.
The wrong material for the conditions
A bamboo roll-up screen looks lovely on a sheltered balcony. On a windy patio, it flaps and falls apart within a season. Cheap plastic lattice fades and cracks in full sun, and heavy metal panels overwhelm a tiny deck.
Match the material to your conditions: wind, sun, moisture and how permanent you want it to be. Think about what the garden actually needs before falling for something that only looks good in photos.
How tall should a privacy screen be?
Height depends on what you’re blocking and where you sit. For a seated area, a screen about 5 to 6 feet tall usually hides you from the street or a neighbor’s yard, since a seated adult’s eye level sits around 4 feet. For a view from a neighbor’s upstairs window, height alone rarely works; an overhead element such as a pergola with slats, a shade sail or a small tree placed between the windows and your seat does far more.
A simple test helps before you build: have someone stand where the screen will go holding a broom handle or a stake marked at different heights, while you sit in your usual chair. You’ll see right away how tall it really needs to be, and you can often get away with less than you expected.
Budget privacy screen ideas that look good
Good privacy doesn’t need a big budget. Some of the best screens are affordable weekend projects.
Horizontal wood slat screens
Horizontal slats look clean, let light through the gaps, and can be built from basic lumber, often for around $100 or less depending on size and wood prices. Stain them to match the deck or patio and the screen looks planned, not added on.
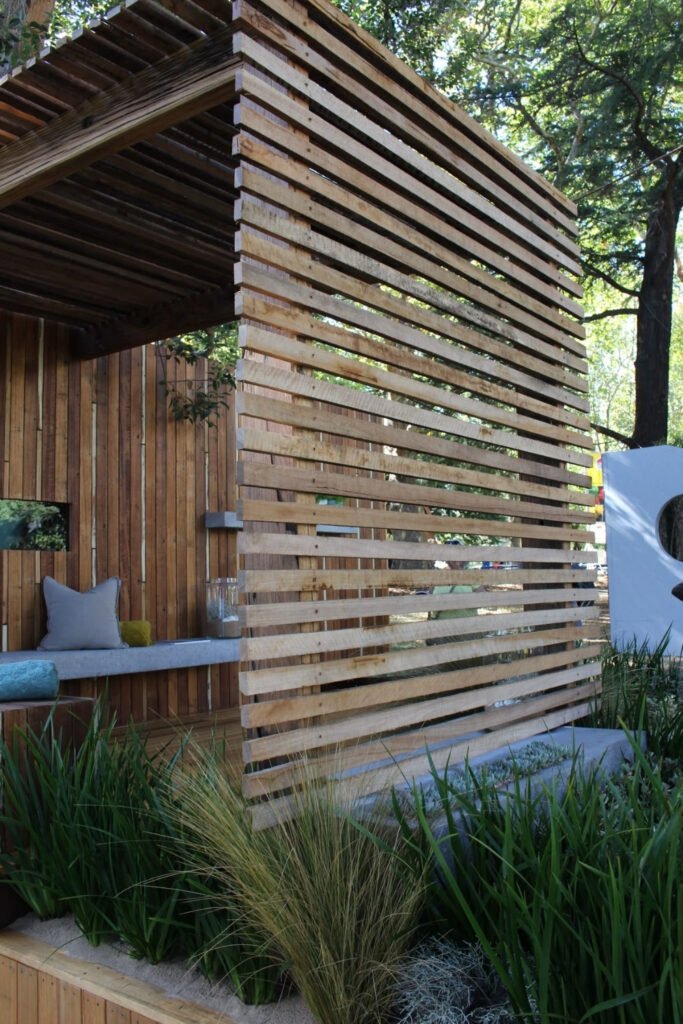
For a freestanding screen, set the posts in concrete or bolt them to a heavy planter base. A tall slatted panel catches a surprising amount of wind, so don’t skip the anchoring. Leave a gap of about half an inch to an inch between slats for light and airflow, and use exterior screws so they don’t rust and streak the wood.
Outdoor curtains and fabric panels
Renting, or not ready for anything permanent? Weather-resistant outdoor curtains on a tension rod, a simple frame or a pergola give instant privacy you can open and close. It’s one of the easiest renter-friendly backyard upgrades, because nothing gets drilled in permanently, and the curtains move with you.
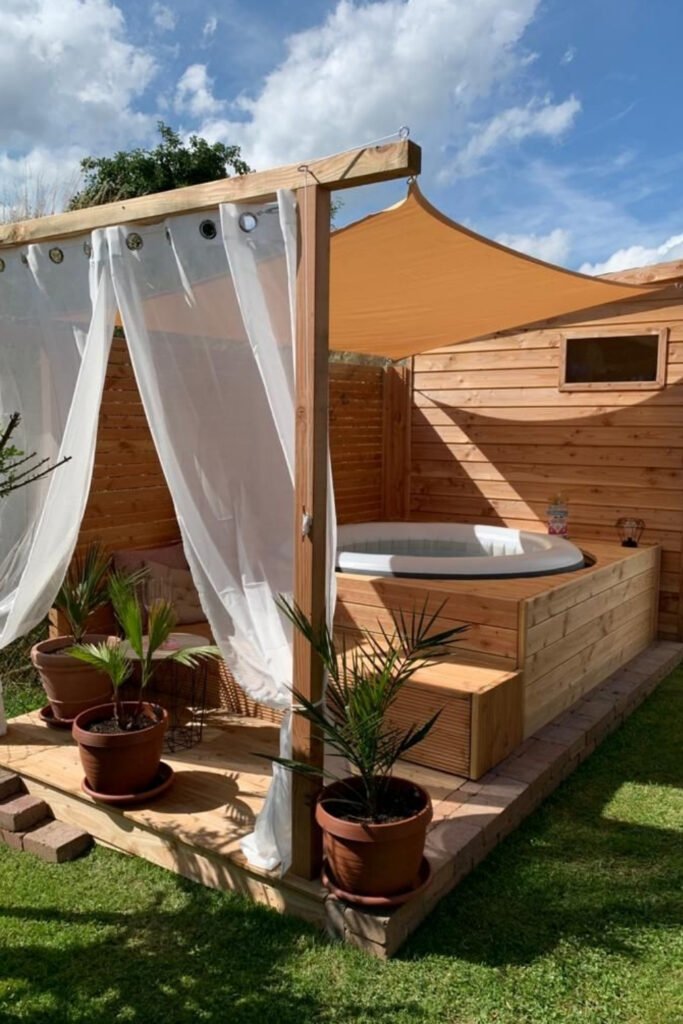
Choose solution-dyed acrylic or polyester made for outdoor use. It resists fading and mildew far better than indoor cotton, which turns gray and spotty after one damp season. Tie-backs or weighted hems keep the panels from blowing around on windy days.
Repurposed materials and DIY builds
This is where it gets fun. Harlow & Thistle built a freestanding semi-private screen in about an hour for under $50, blocking the neighbor’s view while still letting sunlight in.
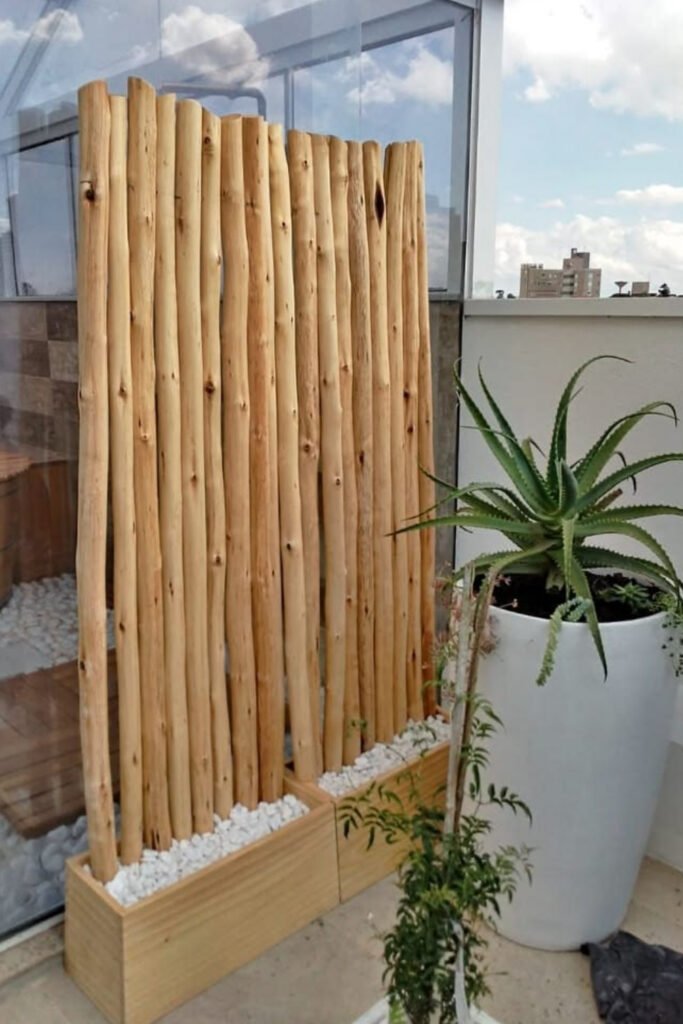
Bamboo poles set in a long planter, old window frames, reclaimed boards or even repurposed outdoor fabric can all become a screen on a small budget. Whatever you use, make sure it can handle weather: seal, stain or treat anything wooden, and use only UV-resistant fabrics.
How to screen the garden without losing sunlight
This is the most common worry, and it’s a fair one. A private garden that’s dark and gloomy isn’t much of a win.
Slats with gaps
Screens with intentional gaps block direct sightlines and still let plenty of light through. The angle matters too: angled louvers can block a view from a neighbor’s upstairs window while keeping light at ground level.
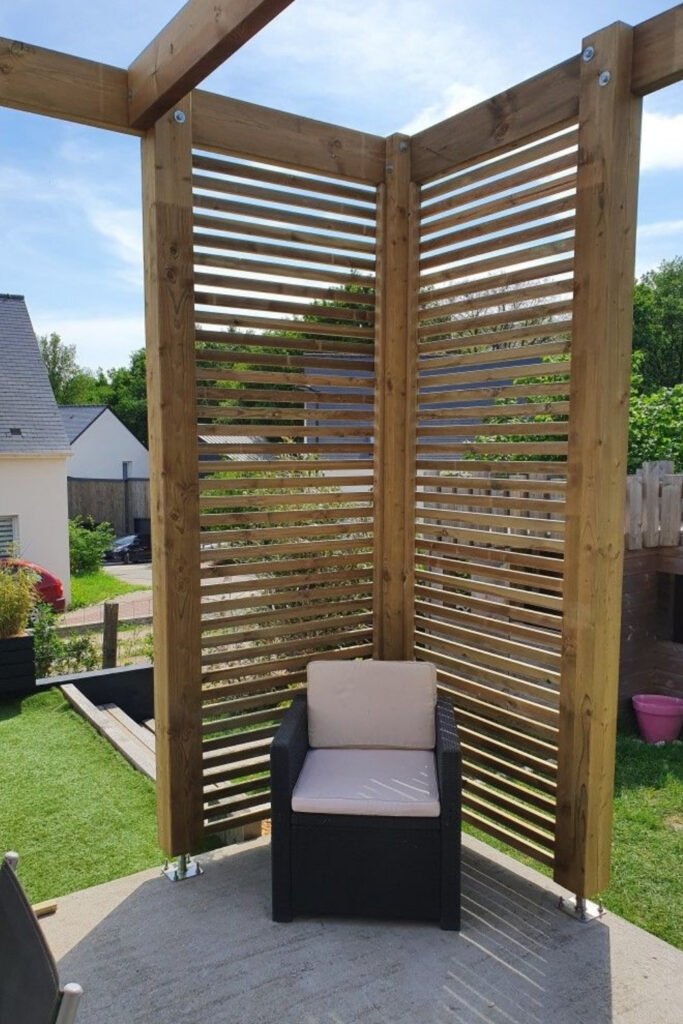
This works especially well in small gardens, where every bit of sun counts. You’re not walling off the space, just redirecting the view. A slatted screen in one corner is often enough to turn a lounge chair into a private reading spot.
Translucent and semi-sheer options
Rothko & Frost recommends frosted acrylic panels in a wood or metal frame, which let most of the light through while hiding the view, and glow softly with a light behind them at night.
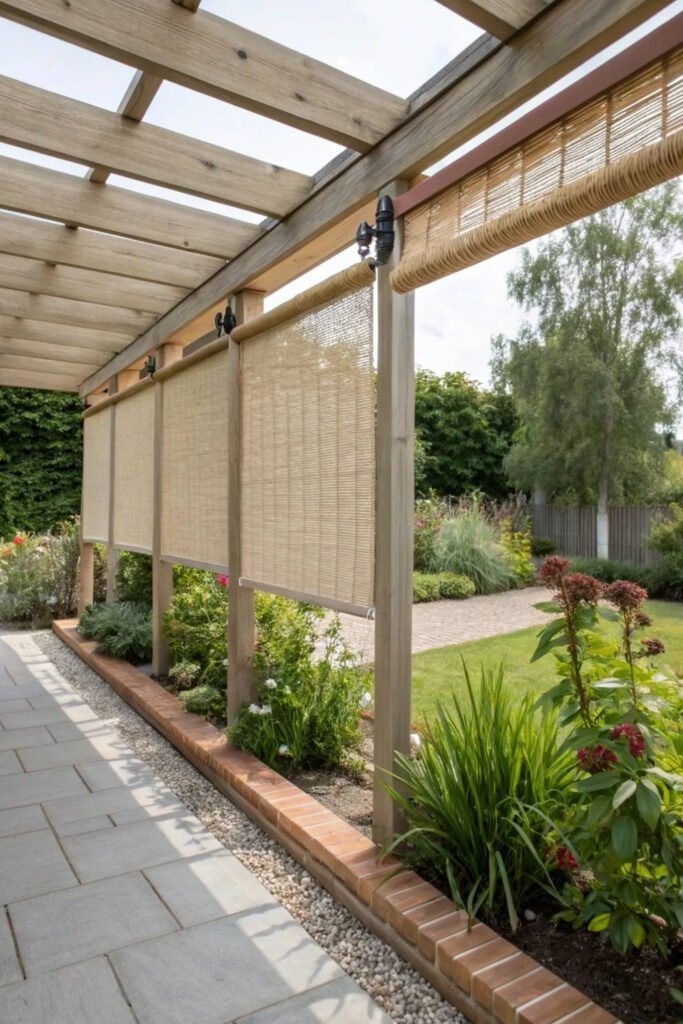
Semi-sheer outdoor fabric, reed screens, frosted polycarbonate and roll-down bamboo blinds on a pergola work the same way. Blinds are especially handy because you can lower them in the afternoon when the sun is low and the neighbors are home, then roll them up again in the evening.
Better alternatives to plain plastic panels
Generic plastic and vinyl panels are cheap and sold at every hardware store, but they rarely look good. If your screen makes you wince every time you step outside, it isn’t doing its job.
Natural woven textures
Bamboo rolls, reed panels, rattan and woven willow add warmth that plastic can’t. Gardening Know How suggests natural woven screens as an affordable way to add privacy without losing character.
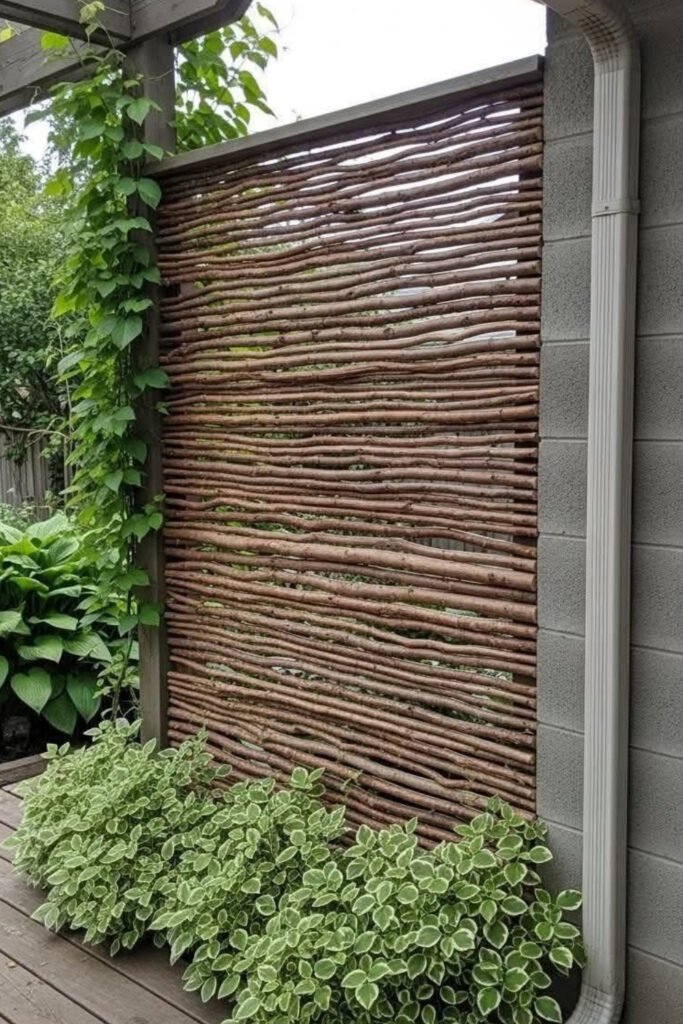
They do need some care. Bamboo should be sealed to stop it from splitting, and reed or willow panels may need replacing every few years. Woven willow also makes a lovely support for climbers, so the screen gets greener as it ages.
Decorative metal screens
Laser-cut metal panels with geometric, floral or abstract patterns block sightlines and work as outdoor art. Powder-coated steel or weathering steel holds up well outdoors. They cost more than DIY wood but last for many years.
Lattice vs. living wall
This question comes up in almost every privacy conversation. The answer depends on your patience, your budget and how much green you want.
Lattice panels
Lattice gives instant structure. It’s cheap, quick to install and looks finished on day one. Tamura Designs points out that lattice and trellis give partial screening right away and improve as climbers fill in. On its own, though, lattice is see-through up close. These trellis ideas show more ways to use it.
Living walls
Instead of building privacy, you grow it: pocket planters on a frame, a hedge or a row of tall plants in containers. The catch is time. Climbers such as star jasmine (an evergreen for warmer zones) or clematis need a season or two to fill in, plus regular watering while they establish.
The combination
You don’t have to choose. A lattice or trellis frame gives structure now, and climbers trained over it give lushness later. One Kindesign shows several examples of lattice paired with climbing hydrangea and espaliered fruit trees. If you ask me, this is the option that ages best.
Plants that grow into a living screen
If you’d rather grow your privacy, a few plants fill in faster than others. Clumping bamboo in large containers grows tall quickly without the spreading problem of running bamboo, which can invade the whole yard and the neighbors’ too if planted straight in the ground. Arborvitae and other narrow evergreens make a dense, year-round screen that fits along a fence.
Ornamental grasses such as miscanthus or switchgrass reach 4 to 6 feet by late summer and move nicely in the wind, though they’re cut back in late winter and leave a gap until they regrow. For quick seasonal cover, annual vines like hyacinth bean or morning glory can cover a trellis in one summer. Check your USDA hardiness zone, and make sure nothing you choose is invasive where you live; your local extension service usually keeps a list.
Privacy screens that double as decor
The best screen doesn’t just block the view. It becomes something you’re glad to look at.
Planter box screens
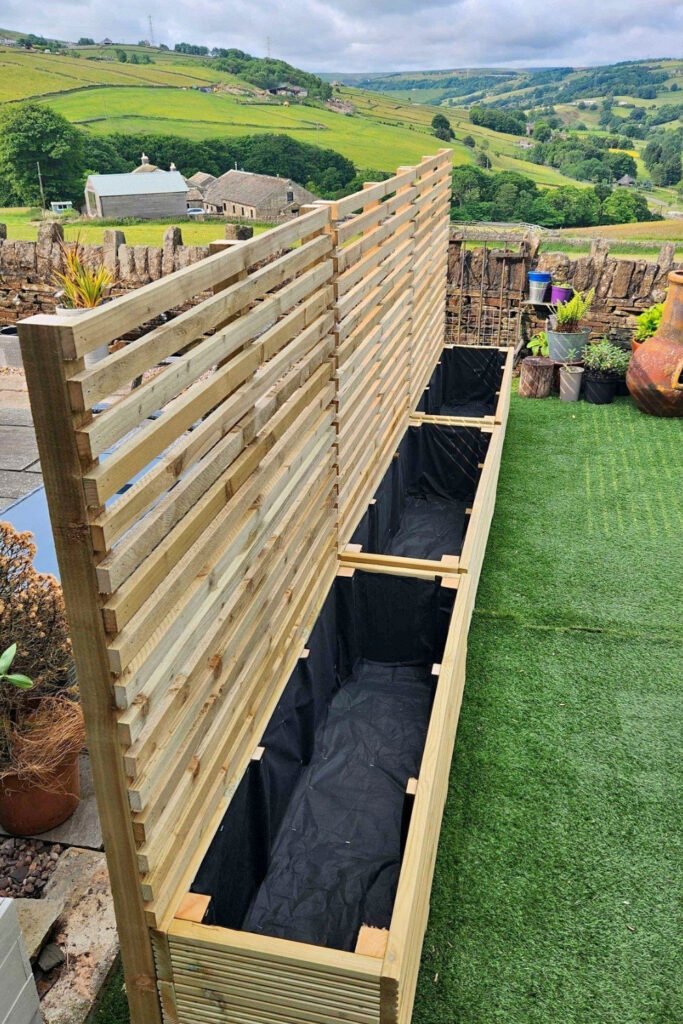
Planter box screens combine a planter at the base with a slatted or lattice panel rising from it, so you get privacy, plants and a finished look in one piece. Buy one ready-made, or build it from rot-resistant wood such as cedar.
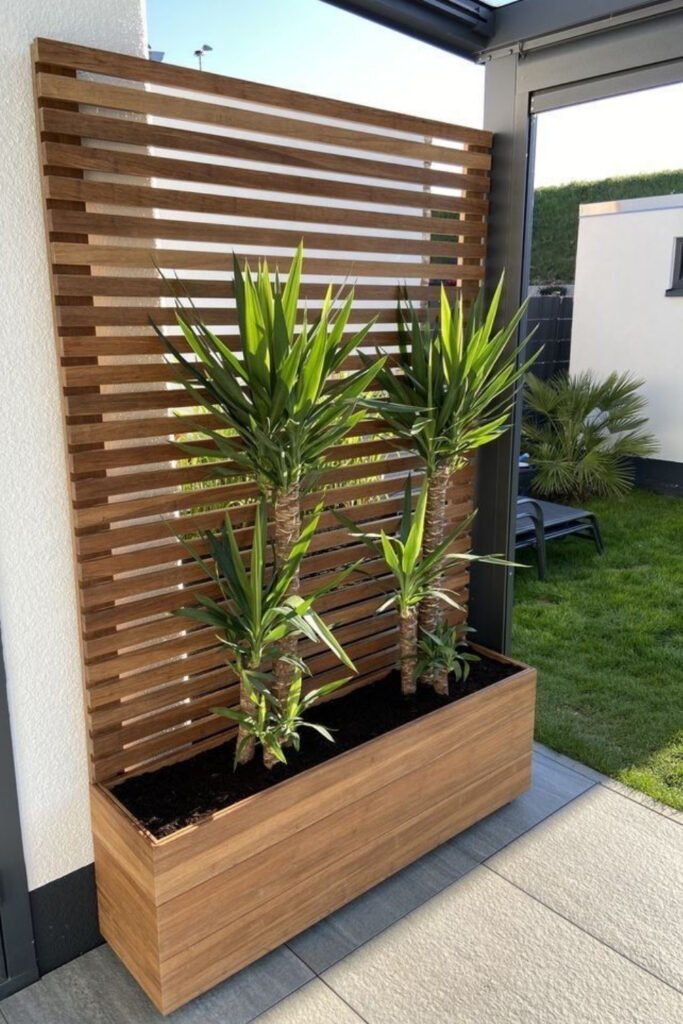
Fill the planter with ornamental grasses, herbs, trailing plants or seasonal flowers, and drill drainage holes so the roots don’t sit in water. Lining the inside with heavy plastic (leaving the bottom open) helps the wood last longer. If you’re redoing the patio too, these patio decorating ideas on a budget round out the refresh.
Trellis screens with climbers
A wooden trellis with plants growing up and through it suits almost any garden. Cedar, redwood or painted pine all make good frames. For year-round cover, choose evergreen climbers suited to your zone. For seasonal color, try morning glories, sweet peas or clematis. Livingetc notes that a simple pergola or trellis with fabric or climbing plants is one of the most affordable ways to get privacy that looks more expensive than it is.
Installing a freestanding screen safely
Tall screens act like sails. On a windy day, a 6-foot panel can tip over if it’s only standing on feet or sitting in a light planter. Posts set about a third of their above-ground height into the ground, in concrete, are the sturdy option. On a patio or deck where you can’t dig, bolt the frame to a heavy planter filled with soil, or use metal post anchors fixed into the surface.
Before digging post holes, call 811 a few days ahead so underground utility lines get marked for free. Keep screens a little away from the property line unless you’ve agreed otherwise with the neighbor, and check whether your area needs a permit for structures over a certain height.
How to choose the right screen for your yard
Start with your main need. To block one specific window, a single panel or planter screen in the right spot beats fencing the whole yard. For general seclusion, layer plants, structures and different heights.
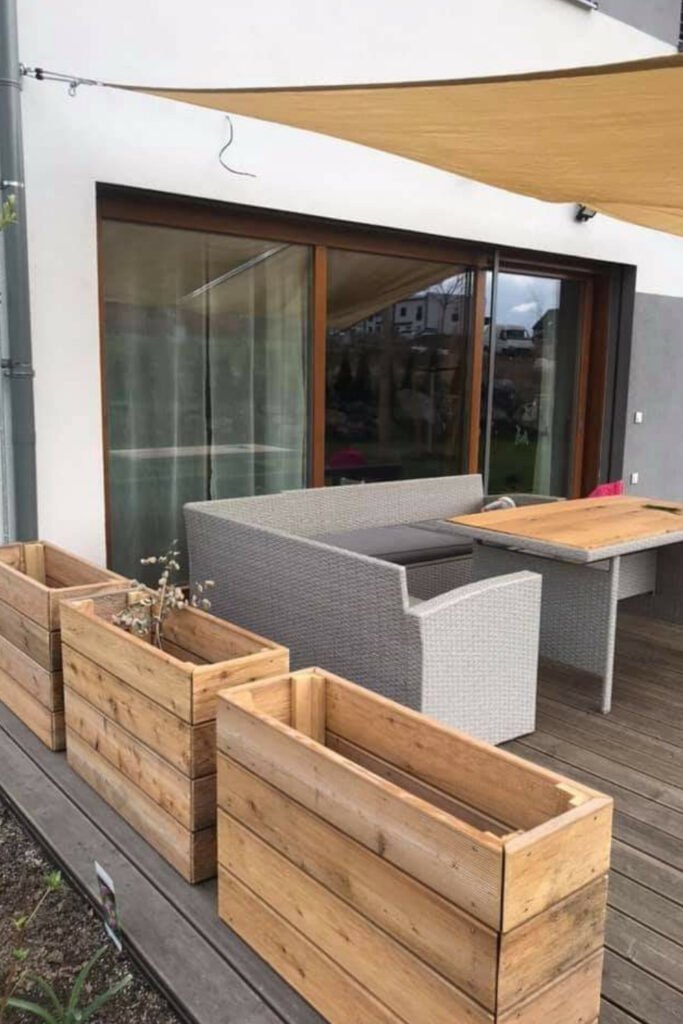
Then the budget. DIY slat screens and outdoor curtains are the cheapest, lattice with climbers sits in the middle, and metal screens and custom planter walls cost the most but last the longest. Finally, light: if the garden is already shady, skip solid panels and use slats, translucent panels or plants. And think about upkeep: wood needs restaining every couple of years, fabric comes down for winter, and plants need water and trimming, while metal and composite panels need little more than an occasional rinse.
Your garden, your rules
The right screen makes the garden feel like yours again, not a viewing platform for the neighbors and not a walled-in box. A $50 slat screen, a planter box full of grasses or a lattice covered in climbers all get you to the same place: somewhere to relax without feeling watched.
Pick one idea, try it this weekend, and see how much difference even one small screen makes. Which would you try first? Tell me in the comments.
Leave a Reply