

Most wedding makeup disasters happen the exact same way: the eye look that was perfect at 2 p.m. is a gray smudge under the eyes by the first dance. Different brides, different budgets, same sad crease.
And here’s the part that should make you feel better: it’s almost never the eyeshadow’s fault, or yours. It’s the layers underneath, or the lack of them. Wedding smokey eye makeup is a construction project, and the pretty part everyone sees is just the top floor.
So this is the how-to I’d hand any bride: why smokey eyes fail, the prep that stops it, the step-by-step soft smokey itself, and the answers to the two questions every bride asks at midnight-minus-ten-hours.
Why Wedding Smokey Eyes Fail by 10 P.M.
Know the enemy first. A wedding day throws everything at your eye makeup: twelve-plus hours of wear, hugs, happy tears, dancing, and a photographer’s flash waiting to expose every crease.
The Crease, the Smudge, and the Happy-Tears Problem
Three failure modes cover almost every case. The crease: your lids’ natural oils break down powder shadow and collect it in a line. The smudge: liner and mascara migrate south into instant tired-panda territory. And the tears: even waterproof formulas struggle when you’re crying through the vows and wiping with a knuckle.
Every fix in this post targets one of those three. That’s the entire strategy.
Why Soft Smokey Is the Bridal Sweet Spot
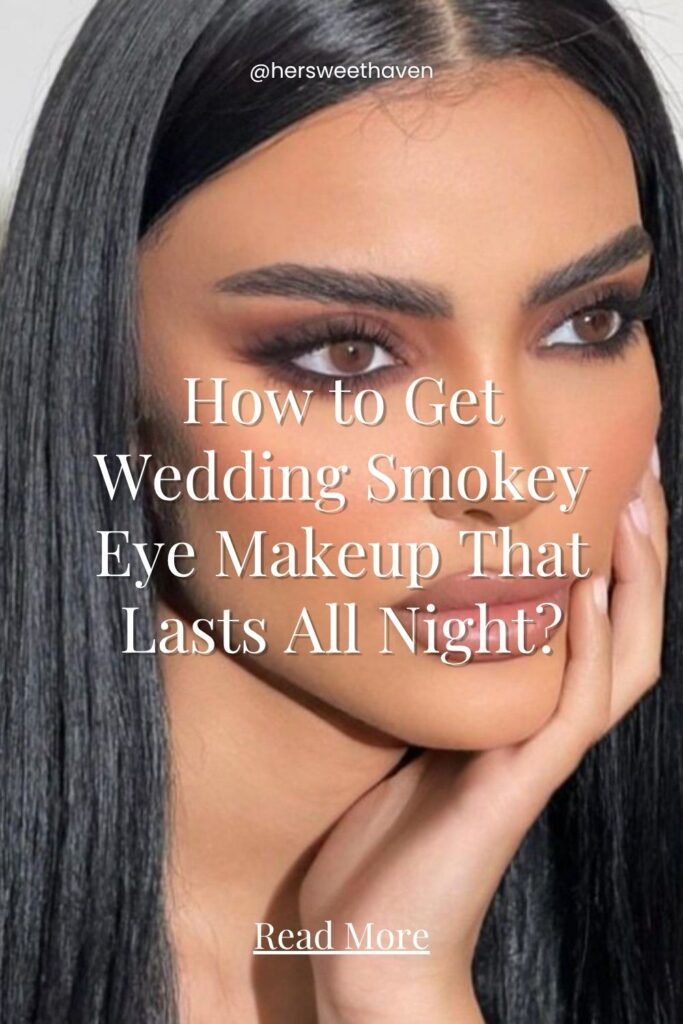
The full black club smokey fights you all night and photographs harsh next to a white dress. The bridal version, all over inspiration boards like Wezoree’s natural smokey eye wedding looks, swaps black for taupe, bronze, and soft brown: smoke as morning mist, not house fire.
Softer shades have a hidden practical bonus: when they fade a little at hour ten, they fade gracefully. Black fades into visible chaos. Brown fades into “slightly softer brown.” Choose the look that ages well across the evening.
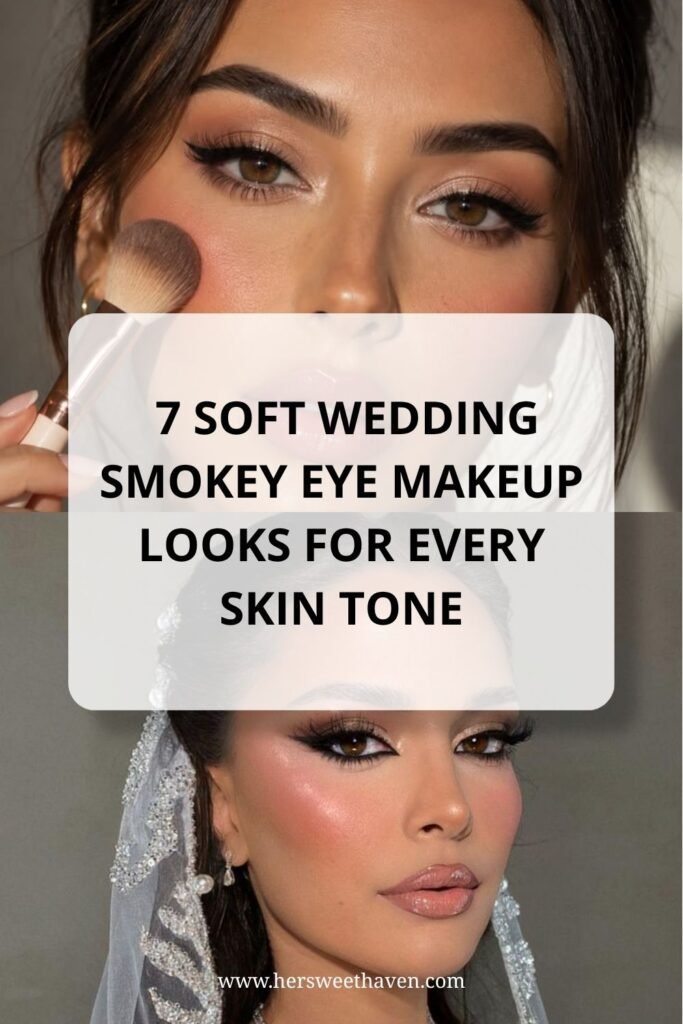
Prep: The Base That Decides Everything
Real talk: the difference between a 4-hour smokey eye and a 14-hour one happens before any eyeshadow touches your lid.
Primer Is the Whole Ballgame
Eyeshadow primer grips pigment and blocks lid oil, and skipping it is the single most common reason wedding eye makeup dies early. Guides like L’Oréal’s long-lasting bridal makeup how-to put primer at step one for a reason: everything else is built on it.
The pro upgrade: after primer, scribble a flesh-toned waterproof pencil across the lid and smudge it flat. Now your shadow is sitting on a waterproof raft instead of bare skin. (I know, one more product before the fun part. Stay with me, it’s worth it.)
Choose Long-Wear Formulas Up Front
The lasting trick is layering textures: cream shadow or pencil base first, powder shadow pressed on top. Cream grips the powder, powder sets the cream, and the sandwich outlasts either alone.
For the danger zones, go waterproof only: liner and mascara, no exceptions. Tubing mascaras are the bride’s secret weapon, since they only come off with warm water, not with tears. Regular mascara at a wedding is an act of optimism nobody should commit.
Skincare timing matters too. Do your eye cream and moisturizer a full half hour before makeup starts, so everything absorbs instead of sliding around under the primer. And if your lids run oily, sweep a little translucent powder over the primer before shadow. Oil control is a layer, not a hope.
One brush note before the steps: you need exactly three. A fluffy blender, a flat shadow brush, and a small smudger. The twelve-piece rose gold set is adorable and unnecessary.
The Step-by-Step Soft Smokey Eye
The look itself is five steps, and none of them require artist-level blending. Beginner-friendly walkthroughs like Emily DiDonato’s smokey eye tutorial follow the same skeleton.
Step one: sweep a matte transition shade, a warm taupe or soft brown, through the crease with a fluffy brush. Windshield-wiper motions, building slowly. This haze is what makes everything else look blended.
Step two: deepen the outer corner with a darker brown, pressed into a sideways V and blended inward. Depth lives in the outer third only.. dragging dark shades across the whole lid is how soft smokey becomes bruise.
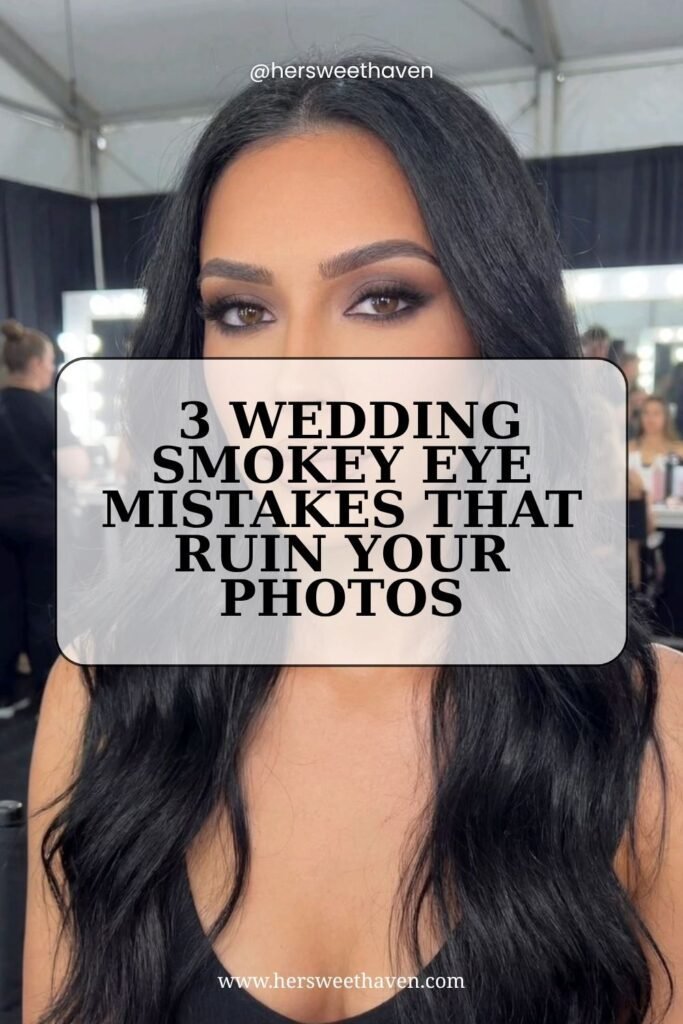
Step three: line the upper lash line with your waterproof pencil and smudge it soft with a small brush before it sets. Then run the same darker shadow under the lower lashes with a pencil brush, connecting at the outer corner. Smudged beats sharp for this look, which is great news for shaky hands.
Step four: press a champagne or soft gold shimmer onto the center of the lid with your finger. This is the step that makes eyes look glossy and awake in photos, and it takes ten seconds.
Step five: curl lashes, waterproof mascara, and a dab of that same shimmer in the inner corners. Falsies or individual lashes if you love them, but with this much lid happening, they’re optional.
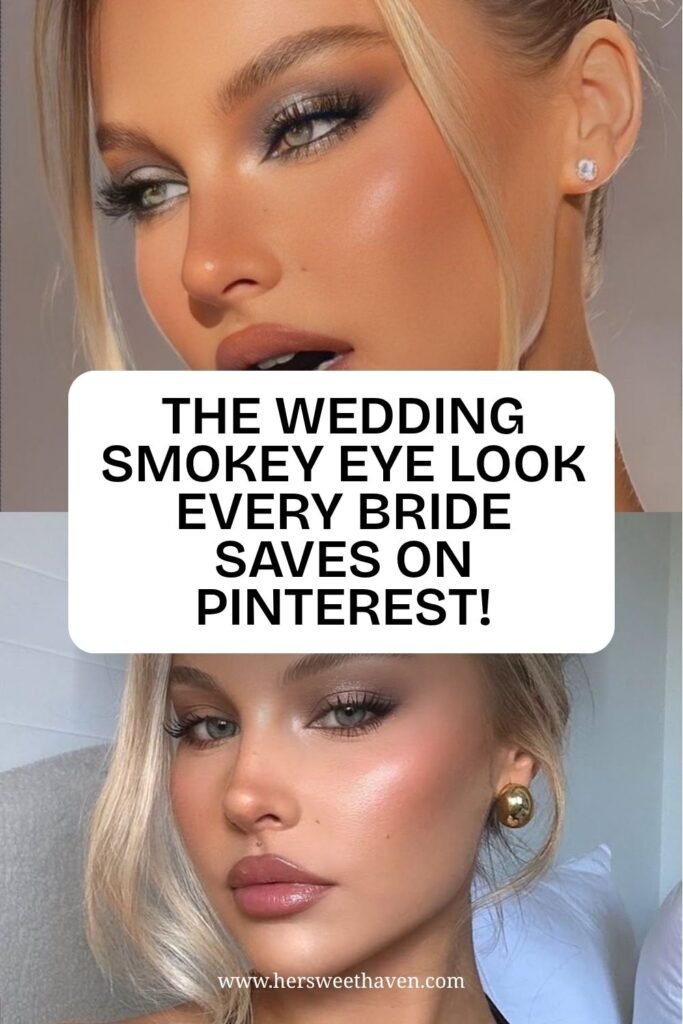
Total time once you’ve practiced: about twenty minutes. Practice being the operative word.. run the full look twice before the wedding week, and the day-of version will feel like autopilot.
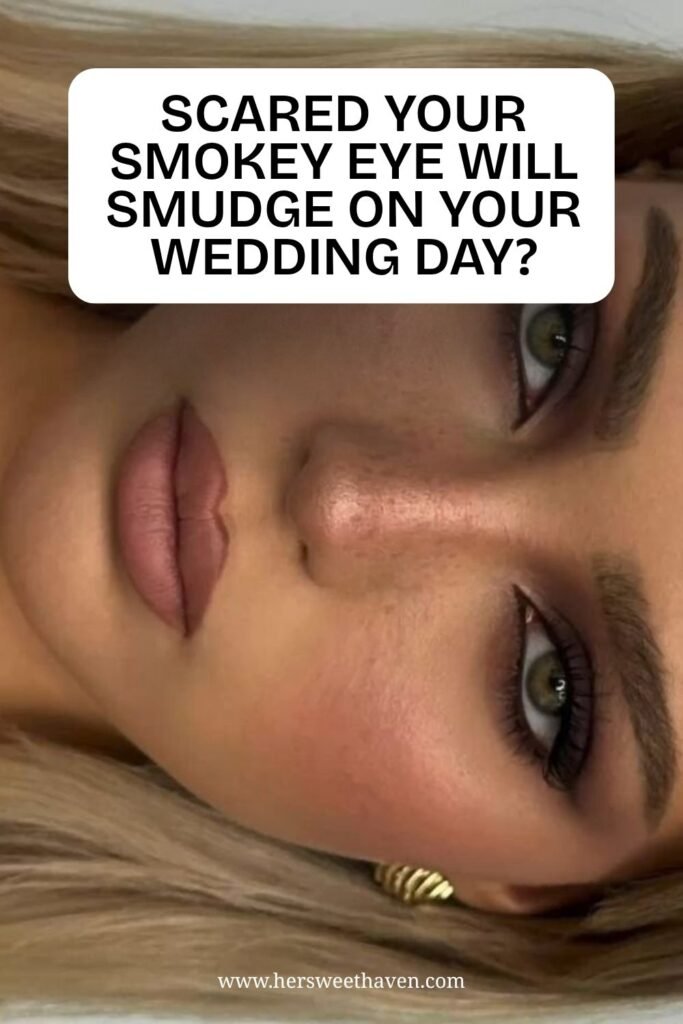
How Do You Keep It From Smudging Through Happy Tears?
Accept the tears, plan the defense. First: setting spray, misted generously after the whole face is done. It melts the powdery layers together into one flexible film, and it’s the difference between makeup sitting on you and makeup bonded to you.
Second, the crying technique, and yes, that’s a thing: when tears come, tilt your head slightly forward and let them fall, then press with a tissue. Blot, never wipe. A falling tear takes almost nothing with it. A wiping knuckle takes the whole outer corner. (Mascara tears at a wedding: a classic. Ask literally any bride.)
Third, build a palm-sized touch-up kit for a bridesmaid’s bag: cotton swabs, a little concealer, the shimmer shadow, and blotting papers. Ninety percent of “my makeup is ruined” moments are a thirty-second swab-and-dab fix. (Much cheaper than redoing a whole face at 9 p.m.)
Should You DIY Your Wedding Smokey Eye Makeup?
Depends on one honest question: does doing your own makeup sound calming or terrifying on the morning of? Brides who do their own faces daily often love DIY-ing the day.. familiar hands, familiar products, total control. If that’s you, this tutorial plus two practice runs is genuinely enough.
If makeup is a sometimes-hobby, hire the artist and bring photos of soft smokey looks you love. Either way, do a trial run four to six weeks out, wearing white, and have someone photograph you with flash. Flash photography is the final exam.. some shadows and SPF products bounce light in ways mirrors never show.
And whichever route you choose, the prep chapter above still applies. Ask your artist about primer and waterproof formulas, and if they wave it off, that’s your sign to keep shopping.
The budget math, for the deciders: a bridal artist typically runs $100 to $300 plus a trial fee, while the full DIY kit, primer, one neutral palette, waterproof liner and mascara, setting spray, lands around $60 to $80 and does your makeup for years afterward. Neither answer is wrong. One buys expertise and a calm morning, the other buys practice and a new skill you keep.
There’s a middle road too: artist for you, DIY for the bridesmaids using this exact routine. One palette covers four soft smokey eyes easily, and the photos will look wonderfully coordinated.
Midnight, and Still Perfect
Picture the end of the night for a second. It’s past midnight, your shoes are somewhere under a table, the photographer is catching the last dances.. and your eyes still look like the ceremony version, just a touch softer, like they were meant to wear in.
That’s what all the layering buys you: not just surviving the day, but ending it photogenic. A month from now, when the sneak-peek photos arrive, the girl smiling in every single frame will have the same smoke, the same shimmer, zero smudge.
Primer, layers, waterproof everything, setting spray. Practice twice. Then go cry at your own wedding, fearlessly.
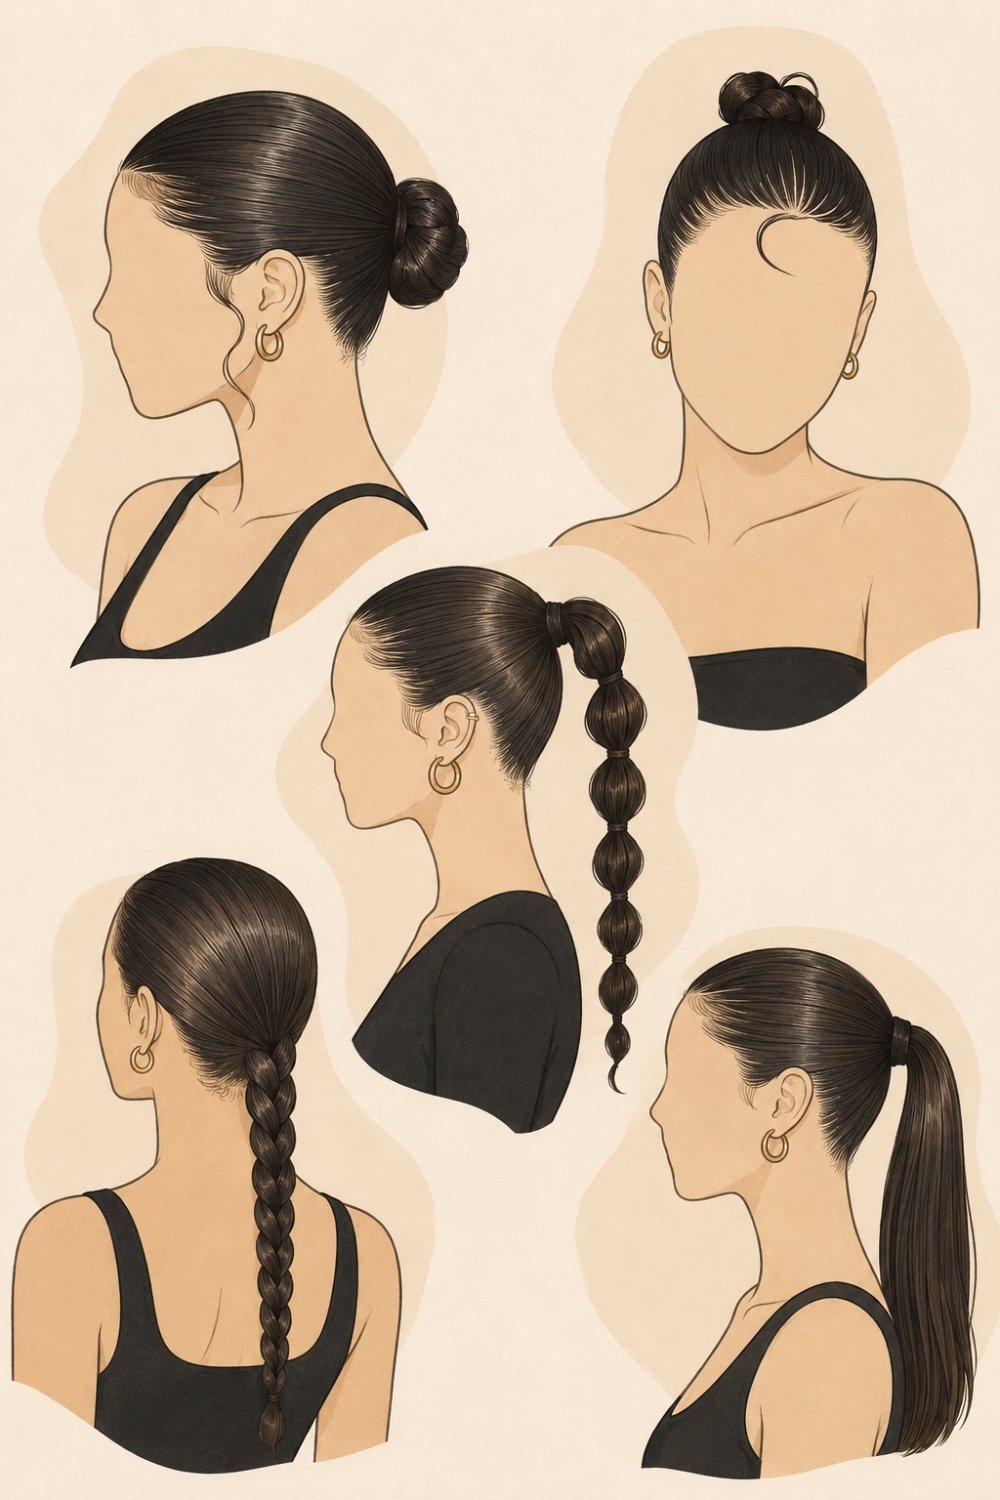
Finishing the bridal-party look? These are the bridesmaid hairstyles I’d pair with it, plus beach wedding hairstyles that survive salt and wind.
Leave a Reply