

A dark cotton t-shirt, a spray bottle, household bleach and about 15 free minutes. That’s the whole supply list for bleach clothing designs, one of the easiest DIY fashion projects to try at home. The results look like something from a boutique, and the materials cost a few dollars.
My first attempt did not go well. I wasn’t patient enough, rushed through the whole thing, and the bleach probably wasn’t strong enough, because the pattern came out much lighter than expected in some areas and barely visible in others. Once I figured out what went wrong and tried again, the difference was night and day. So if you’re starting from zero, here’s everything step by step, minus those mistakes.
What to know before making bleach clothing designs
Before you spray your favorite black tee, a few basics decide whether you get a clean design or a shirt with holes in it.
Which fabrics actually work?
This is where most beginners trip up. Cotton reacts fastest and gives the strongest contrast, and it produces those warm orange and copper tones on a dark shirt. Polyester barely reacts at all, so a mostly synthetic shirt either stays the same or turns patchy.
Aim for at least 60% cotton. Some cotton-poly blends work well, but test a small hidden spot first. Skip wool, silk and spandex entirely. Those fibers aren’t safe for bleach, and you’ll ruin the garment.
If you like reworking clothes you already own, this goes well with these viral upcycled clothing ideas.
Getting the bleach concentration right
This is the part I got wrong the first time. Too little bleach and the design barely shows. Too much and it eats right through the fabric.
A ratio that works for most projects is 1 part bleach to 1 part water. Pour it into a clean spray bottle and shake gently. For brush work you can go a little stronger, but never put full-strength bleach on thin fabric. That’s how holes happen.
Bleach also loses strength over time. A bottle that’s been under the sink for two years won’t give the same result as a fresh one.
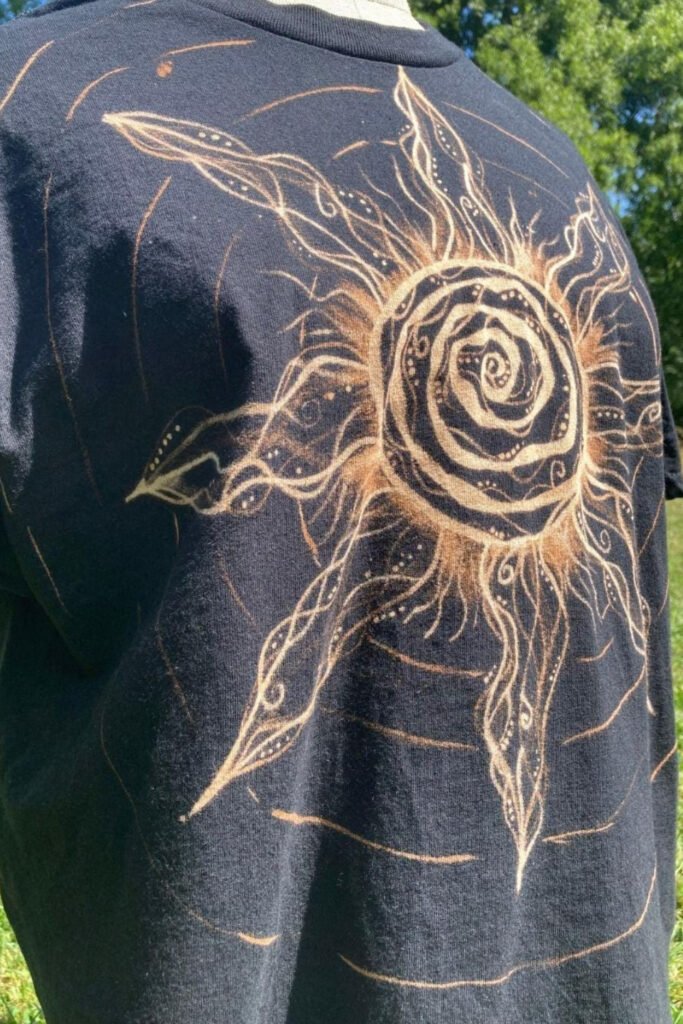
Bold, warm-toned designs like a sun or a big flower on the back of a shirt rely on that fresh bleach and a cotton tee. Large shapes are also more forgiving than fine lines while you’re learning how fast your fabric reacts.
Safety and workspace basics
Work outside or next to an open window, wear gloves and old clothes, and expect a few splatters. Clear the area too: keep the area clear of anything you don’t want bleached, because a stray mist travels further than you’d think. Never mix bleach with ammonia, vinegar or other cleaners, since the fumes are dangerous.
Cover your work surface with old towels or newspaper, and always slide a piece of thick cardboard inside the shirt so the bleach doesn’t soak through to the back.
Your beginner supply list
You don’t need a craft room. Most of this is already at home, and the rest is at the dollar store.
The basics
A dark cotton t-shirt (black gives the most contrast), regular household bleach (not the splashless kind), a spray bottle, rubber gloves, cardboard that fits inside the shirt, hydrogen peroxide for neutralizing, and a bucket of water for rinsing. You can get everything for under $5 if you already have the shirt.
Nice-to-haves for cleaner results
Freezer paper or adhesive vinyl for stencils. Spray adhesive to keep stencils from shifting on the fabric. A fine-tip brush for details, chalk for sketching, and paper towels for blotting bleach before it spreads.
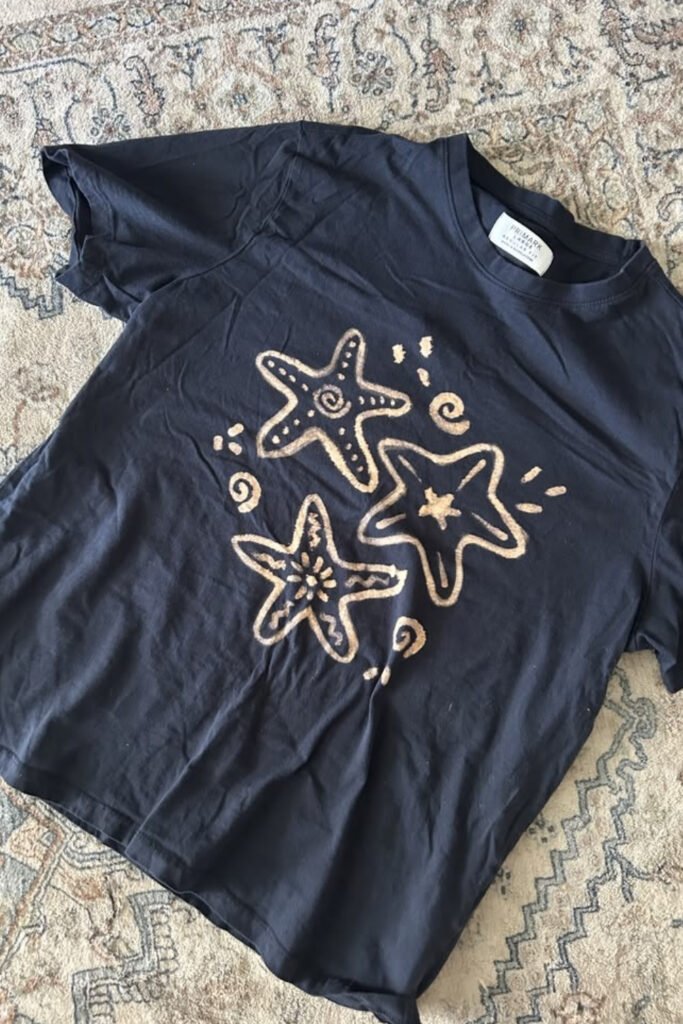
None of these are required, but they’re the difference between a design that looks planned and one that looks accidental. Small, repeated motifs like starfish or shells are a good first stencil project, because each shape is simple and the pattern hides small imperfections.
Can you really make bleach clothing designs with zero experience?
Yes. The stencil method is the most forgiving technique for a first try, and it’s the one to start with.
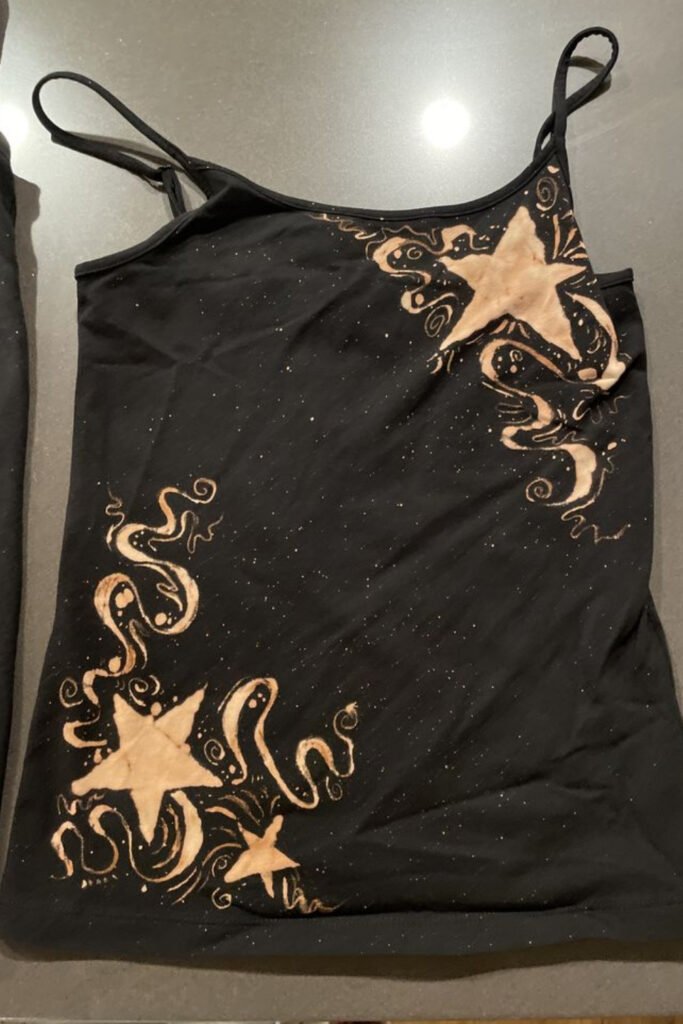
Pick a simple shape with clean edges: hearts, stars, leaves, letters. Cut the stencil from freezer paper, vinyl or a manila folder, place it on the shirt and secure it with spray adhesive or pins so it doesn’t move.
Slide the cardboard inside. Mix the bleach solution 1:1 with water, set the nozzle to the finest mist, and test a few sprays into the sink to check the pattern.
Spray lightly around and over the stencil, without soaking it. A few light coats with a minute or two in between beat one heavy spray. The color starts changing within 5–10 minutes. Monitor the color as it develops and stop when you like it. Depending on the fabric and bleach, that can take 15 or closer to 30 minutes.
Blot the excess, lift the stencil, and rinse in cold water right away. Then neutralize it (see below), wash it on its own the first time, and hang it to dry.
3 easy designs to try on your first shirt
The reverse tie-dye swirl
The easiest start. Twist the shirt into a spiral, secure it with rubber bands, and spray or drip the bleach solution over the folds. The result is a reverse tie-dye pattern with a sunburst against the dark fabric. A little mess is part of the charm here.
Stencil art with freezer paper or vinyl
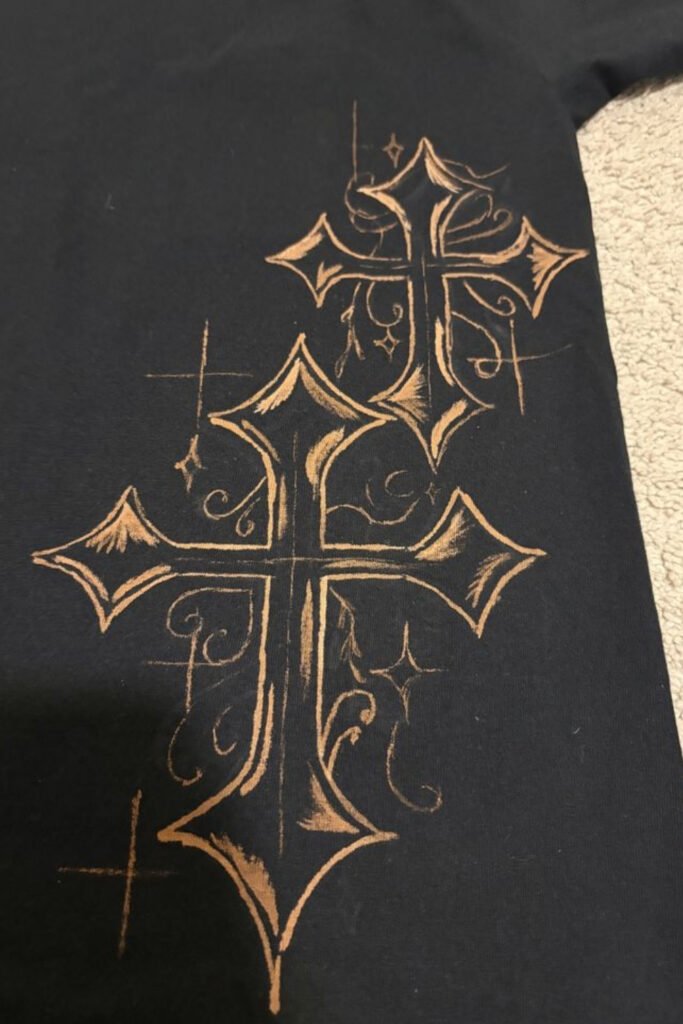
For something more precise, use stencils. Freezer paper irons straight onto fabric with its waxy side and seals the edges. You can cut intricate designs by hand or with a Cricut machine if you have one, but simple hand-cut moons, florals or ornate shapes look sharp too.
Pair the finished tee with jeans and sneakers for easy spring outfit ideas.
Freehand brush painting
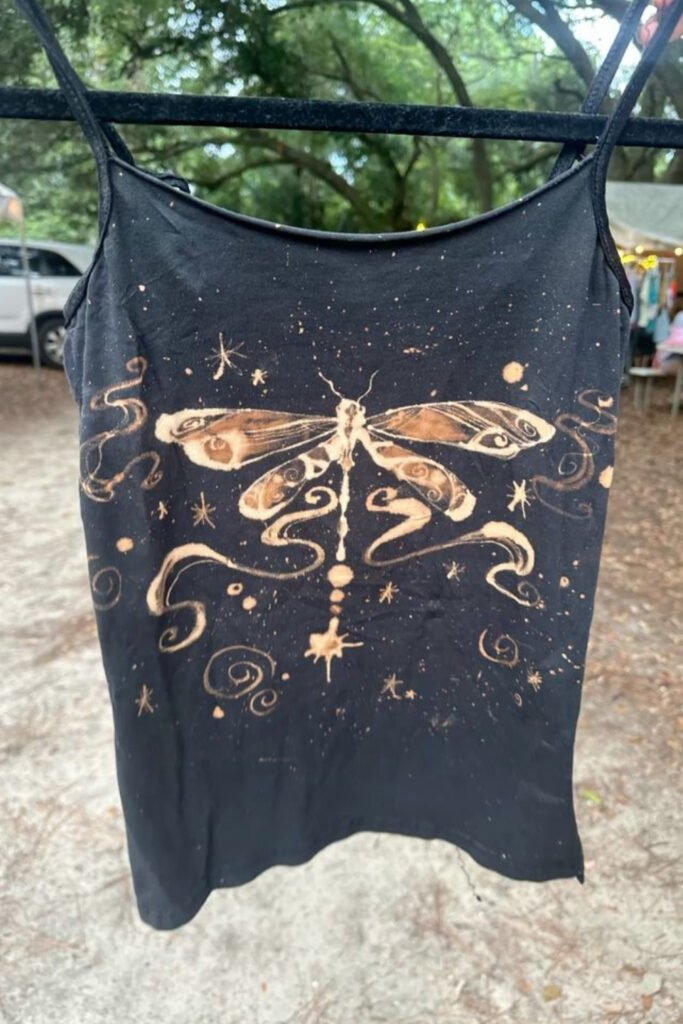
For more creative freedom, sketch your design on the shirt with chalk first, then paint over the lines with the bleach mix. Insects, flowers and swirls with fine details all come from this method. It takes patience, and the results can look hand-illustrated.
Work in layers: a thin first coat, a few minutes to develop, then go back in for highlights and details.
How do you stop bleach from ruining the fabric?
This step gets skipped all the time, and it’s why many bleached shirts fall apart after a few washes. Bleach doesn’t stop when the color looks done. It keeps working on the fibers until you neutralize it, which leads to thin spots and tiny holes later.
After rinsing in cold water, soak it in a solution of 1 part hydrogen peroxide to 10 parts water for about 10 minutes. The peroxide stops the bleach reaction completely and protects the fabric. Then run it through a normal wash cycle on its own to get the residue out. Don’t skip the separate first wash, or your other clothes may get spots too.
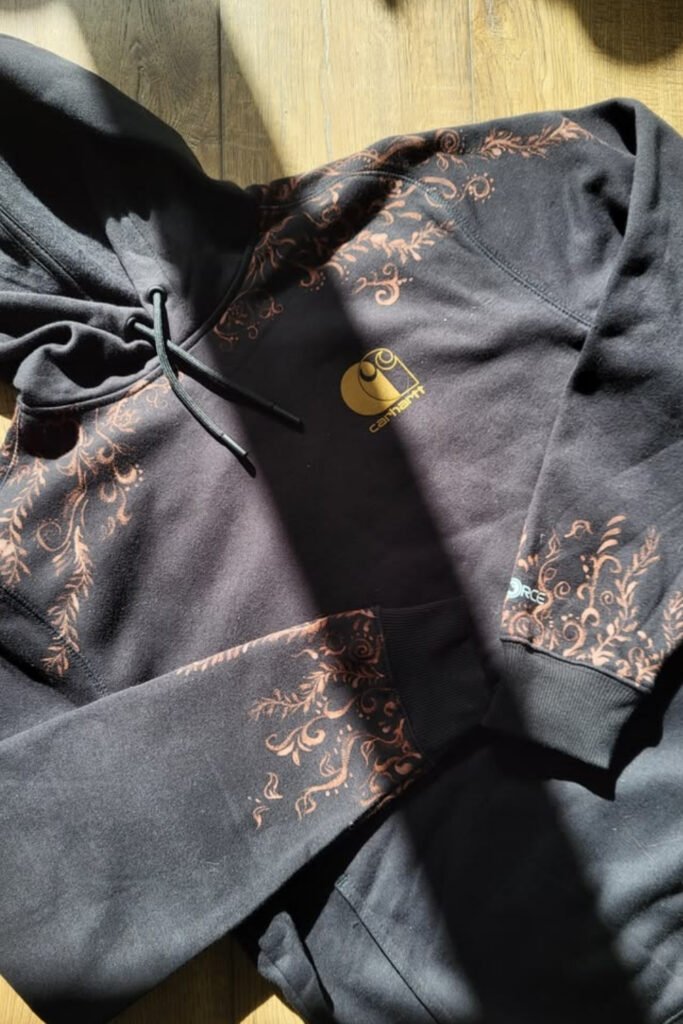
Neutralizing matters even more on thicker pieces like sweatshirts, where bleach can hide in the fabric and keep working long after the design looks finished. Small details on a sleeve or cuff are a nice way to try this on a sweatshirt without committing to a big design.
Where to go once you’ve got the basics down
Layering and adding fine details
Instead of one pass, build the design in layers with different strengths: a diluted spray for soft background tones, a stronger brush mix for crisp details. That’s where depth comes from. You can also use a black marker to correct small mistakes or add fine details after the bleach work is done.
The same freehand technique works on fabric covers for creative journaling projects.
Beyond t-shirts: hoodies, tote bags, and jeans
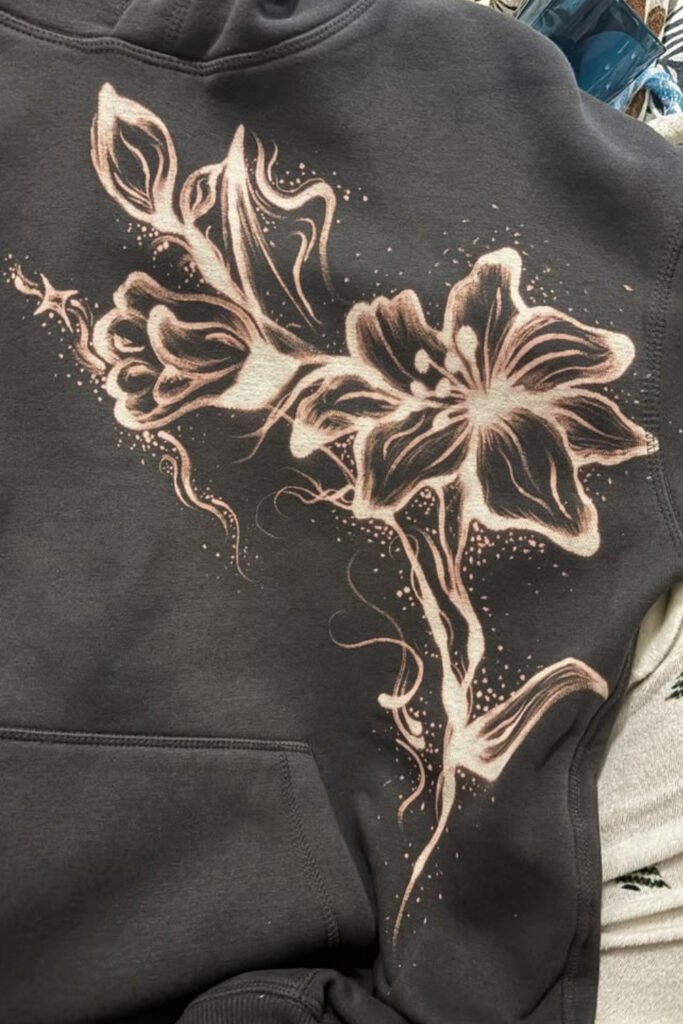
Bleach designs aren’t limited to tees. Hoodies take bleach well, and the bigger surface gives a large floral design room to breathe. Denim works too: spray, paint or stencil onto jeans for a custom faded look.
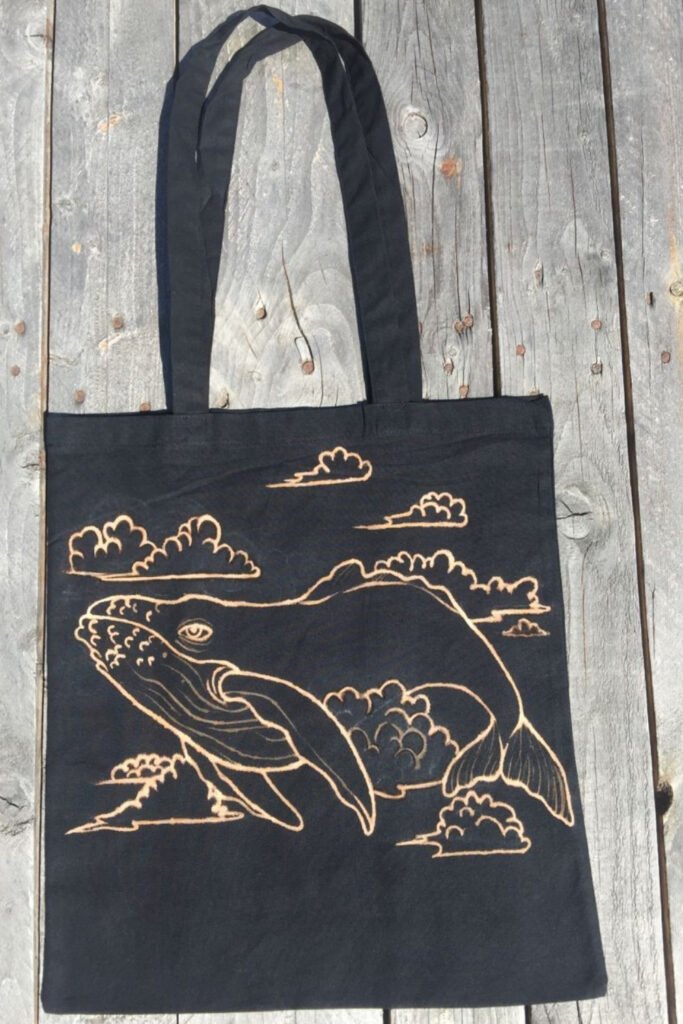
Cotton tote bags are ideal for practice and handmade gifts. A single scene, like an animal with a few clouds, fills the front nicely.
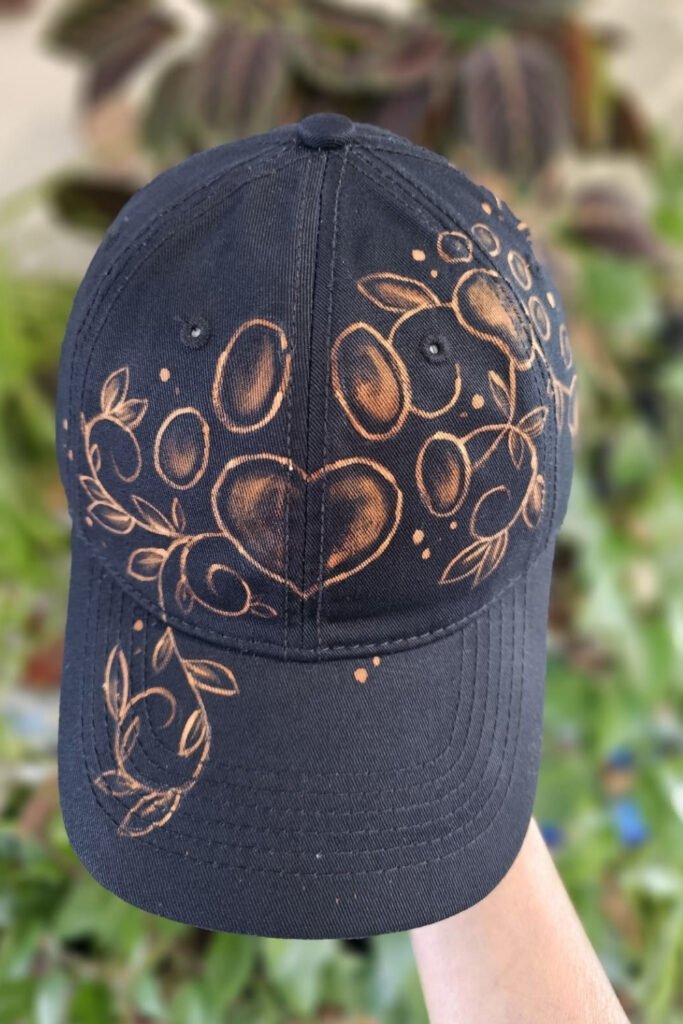
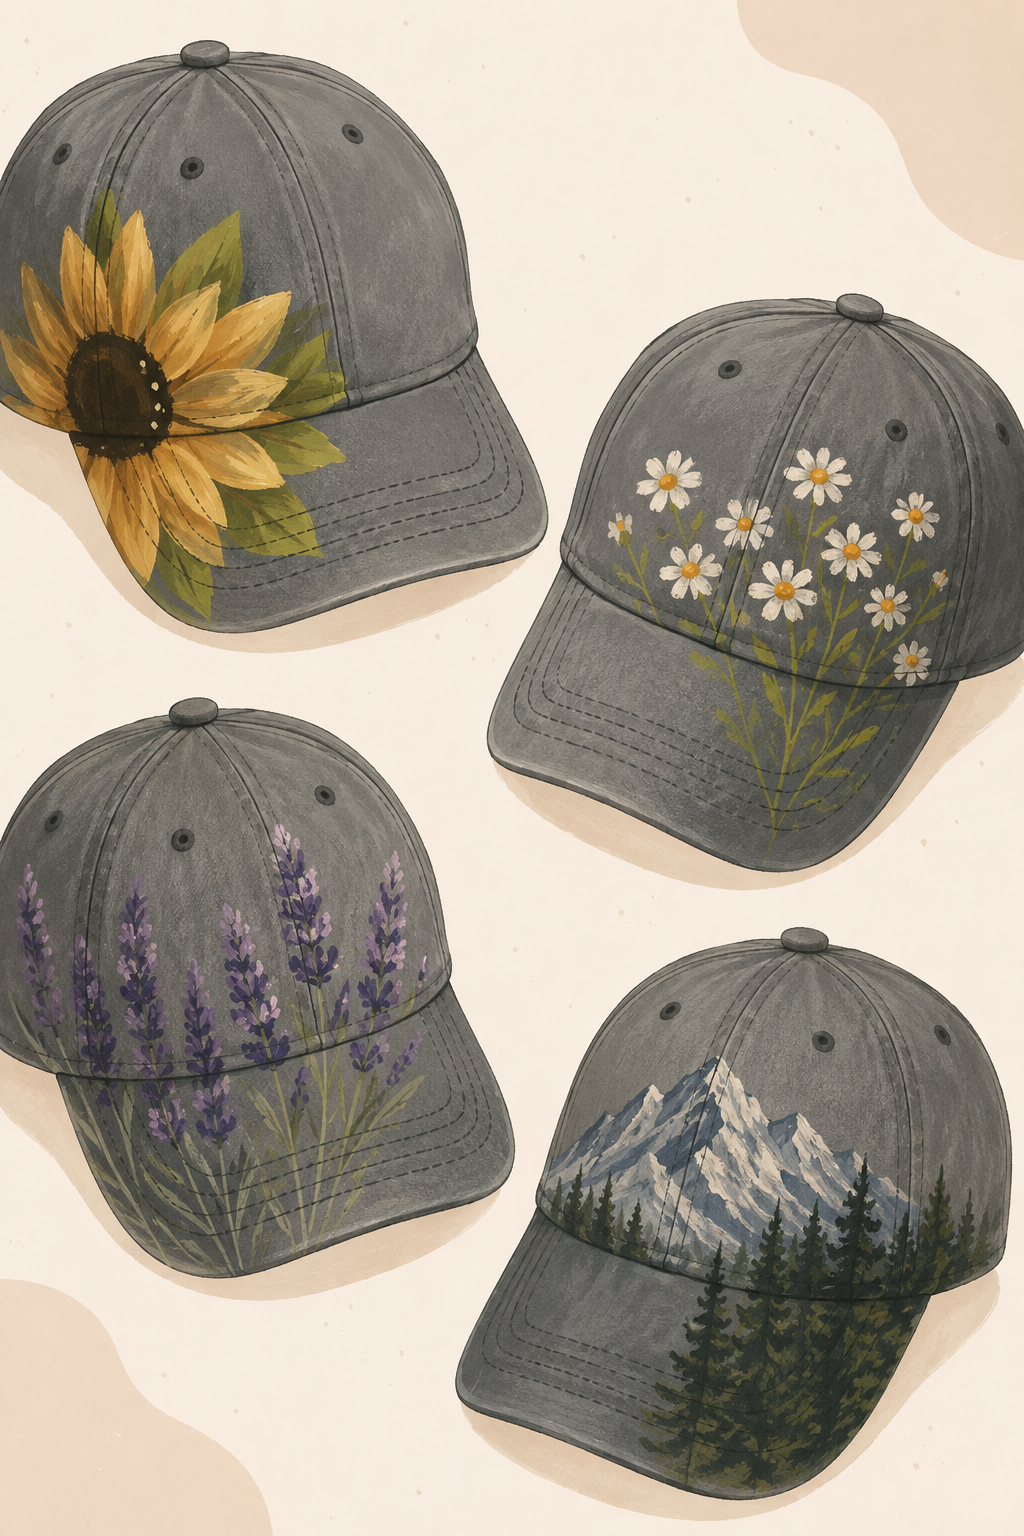
Even a plain cotton cap can take a small design. Test a hidden spot inside first, because many caps have mixed fabrics or a stiff lining.
To sum up: $3–10 in supplies, about 30–45 minutes for the first shirt, and a piece nobody else owns. Grab a cheap dark tee, mix the bleach fresh, and remember the peroxide soak. Worst case, you’ve ruined a $5 shirt and learned exactly how your fabric reacts.

Leave a Reply