

Homemade wind chimes don’t have to be a flimsy kids’ craft that falls apart in the first storm. With the right materials and the right cord, a DIY chime can sound as good as a garden-center one, often better, for a fraction of the price. This guide covers what makes a homemade wind chime sound nice, the mistakes that ruin most of them, and several projects you can make with things you probably already have.
Shells, driftwood, old bottles, keys, wooden beads: almost anything that clinks can become a chime. The trick is choosing pieces that survive the weather and spacing them so they actually touch.
Why make your own wind chimes?
The problem with store-bought wind chimes
Many big-box wind chimes are mass-produced with thin metal tubes and plastic fittings. They look fine on the shelf, but a few months outside is often enough for the finish to peel, the fittings to crack, and the tone to go dull and flat.
Making your own puts you in charge of the parts that matter: the material, the weight of each piece, the cord, and the spacing. It also means the chime can hold things that mean something to you, like shells from a family trip or a few old keys.

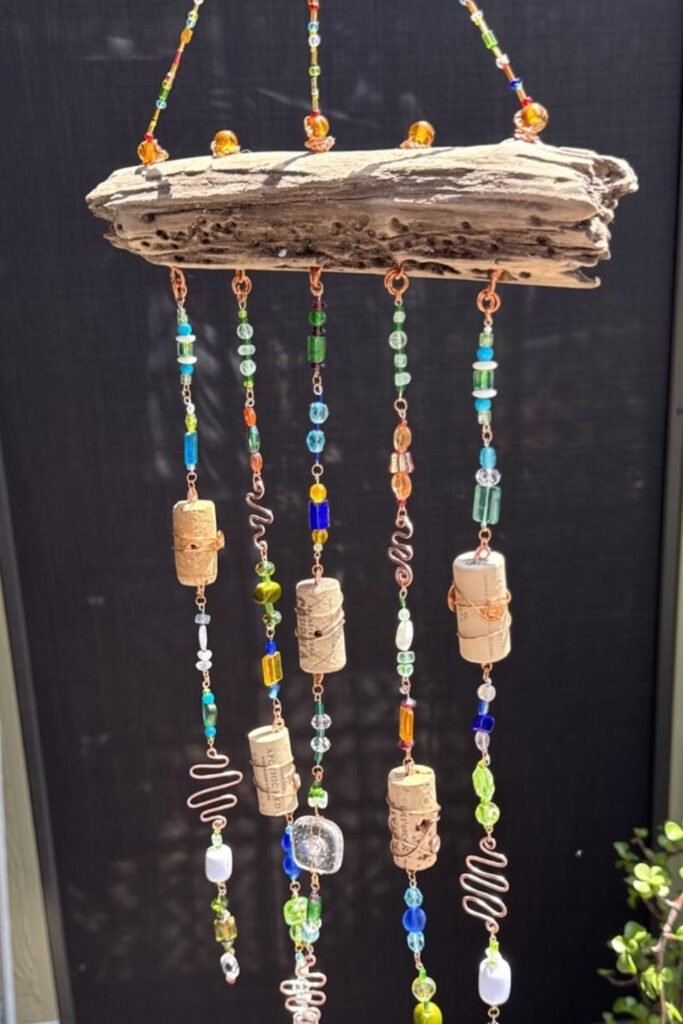
A piece of driftwood, a few small bottles, beads and a bell show how much variety one chime can hold. Mix sizes and materials, and each strand adds its own sound.
What makes homemade wind chimes sound better?
Sound comes down to two things: material and spacing. According to wind chime material experts, aluminum gives deep tones that ring on for a long time. You don’t need aluminum tubing for a nice sound, though. Seashells make a soft clink, wooden beads a hollow knock, and clean tin cans a bright rattle.
The pieces need to hang close enough to touch in a light breeze, but not so close that they tangle into a clump. When you build it yourself, you can adjust the spacing strand by strand until it sounds right.
Homemade wind chime mistakes that fall apart in the rain
Using the wrong glue or cord
Hot glue is the most common reason DIY wind chimes fall apart. It’s fine indoors, but it softens in heat and lets go in damp weather. For anything that hangs outside, use a weather-resistant adhesive like E6000 or a marine-grade epoxy.
Cord matters just as much. Plain cotton string soaks up water, weakens and eventually snaps, and basic craft twine can fail within weeks outdoors.
Picking materials that can’t handle weather
Papier-mâché, untreated cardboard and regular craft paint don’t belong in an outdoor chime. They can look sweet for a few days, until the first rain. Stick with materials that shrug off moisture: metal, glass, ceramic, shells, treated wood or UV-resistant plastic beads.
Why paper, cardboard, and pipe cleaners don’t last

This is where many kids’ tutorials go wrong. Pipe cleaners rust, construction paper dissolves, and foam shapes warp and fade. They’re fine for an indoor mobile, not for a porch. A small beaded chime with a metal charm is just as quick to make and lasts far longer outside.
Stop using fishing line for homemade wind chimes
Fishing line looks like the obvious choice: clear, strong, cheap. Its weak point is sunlight. Standard monofilament breaks down in UV light, turns brittle and can snap within a few months. One DIY blogger noted that twine held up better than fishing line on her shell chime, and it looks more natural too.
Better options, depending on the weight of your pieces:
- Coated jewelry wire for heavier pieces like shells and ceramic. It’s flexible and rust-resistant.
- Waxed cotton cord for lighter pieces. It resists moisture better than regular cotton and suits natural materials.
- Fine chain, like ball chain from a hardware store, is the most durable. Sunlight doesn’t bother it.
- Braided fishing line rated for saltwater, if you really want line. It lasts much longer than standard monofilament.
How to make a homemade wind chime from found items
You probably have most of the supplies already. Beach finds, things from the yard, and a drawer of odds and ends are a good start.
Seashell wind chime DIY
A bag of shells sitting in a drawer after a beach trip is the classic starting point. Here’s the basic process:
Clean the shells. To clean your shells thoroughly, scrub them and soak them in a 1:1 bleach and water mix for about 10 minutes, then let them dry completely. Wear gloves and work in a ventilated spot.
Drill small holes near the top of each shell with a fine bit (a 7/64-inch bit works well). Set the shell on cardboard or scrap wood and go slowly, because shells crack when you rush.
String them onto cord or wire, with a small bead between shells for color and spacing. Tie a knot above and below each piece so it stays put.
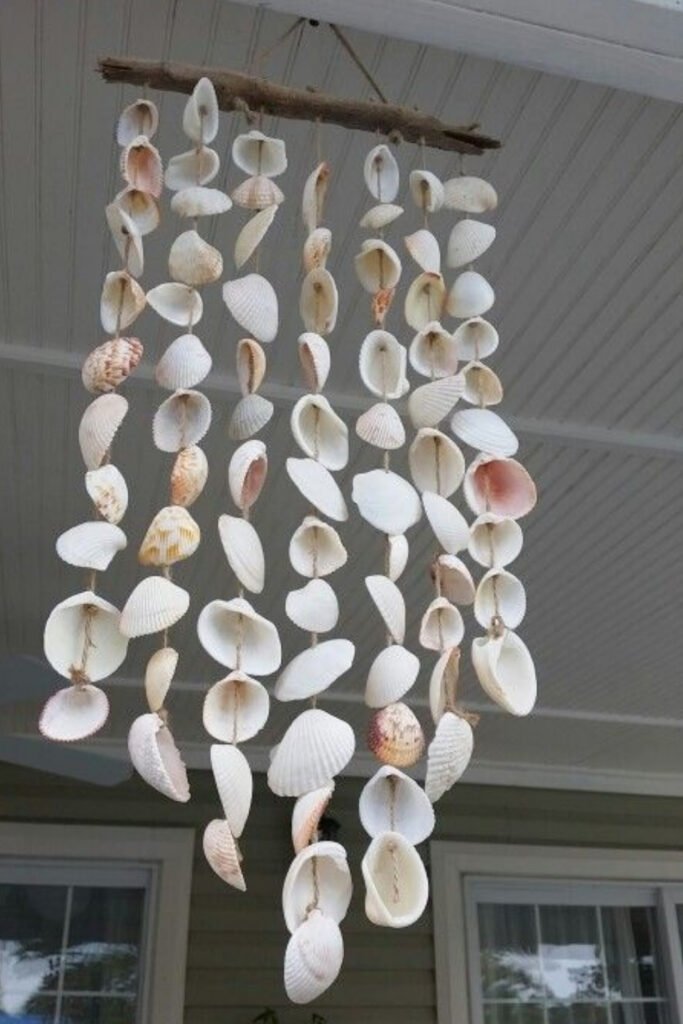
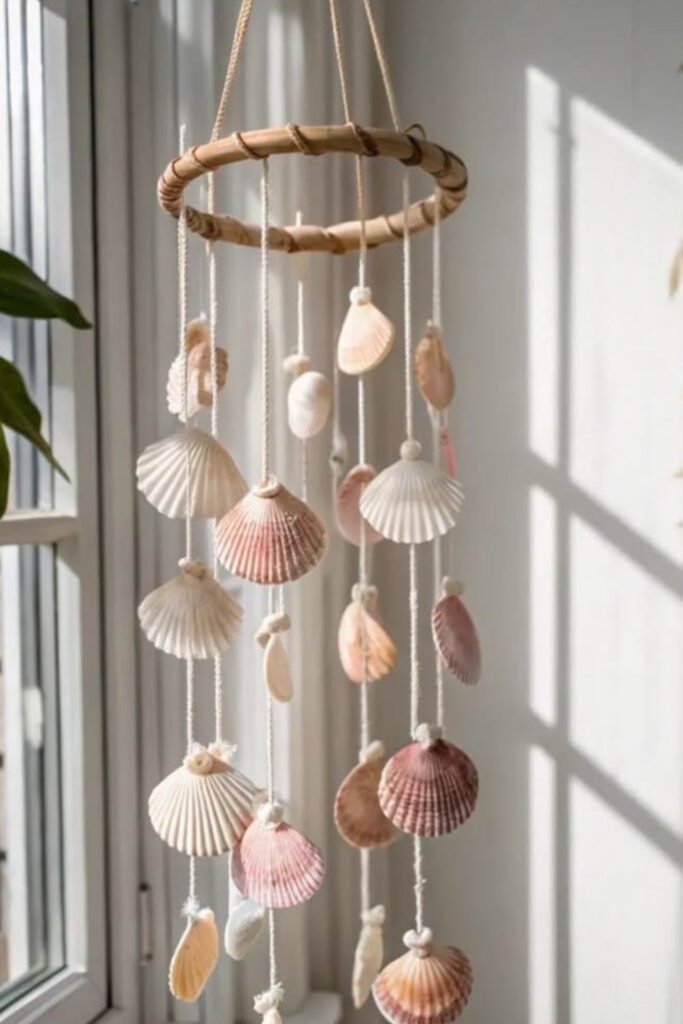
Attach the strands to driftwood, a dowel or an embroidery hoop. Some crafters use embroidery hoops wrapped in twine for a round frame that holds several strands evenly. Lots of long, closely spaced strands give a fuller sound than a few short ones.
Once the shells are prepped, stringing and hanging takes about 30 minutes.
Bottle cap and tin can wind chimes
The recycling bin is a good supply store. Flattened bottle caps on wire make a colorful, rattly chime, and clean tin cans give a deeper sound than you’d expect. Punch a hole in the bottom of each can, thread the cord through, and knot it inside. Paint the outside and finish with a clear outdoor sealer. Hang the cans at slightly different heights so they knock against each other.
Repurposed materials you already have at home
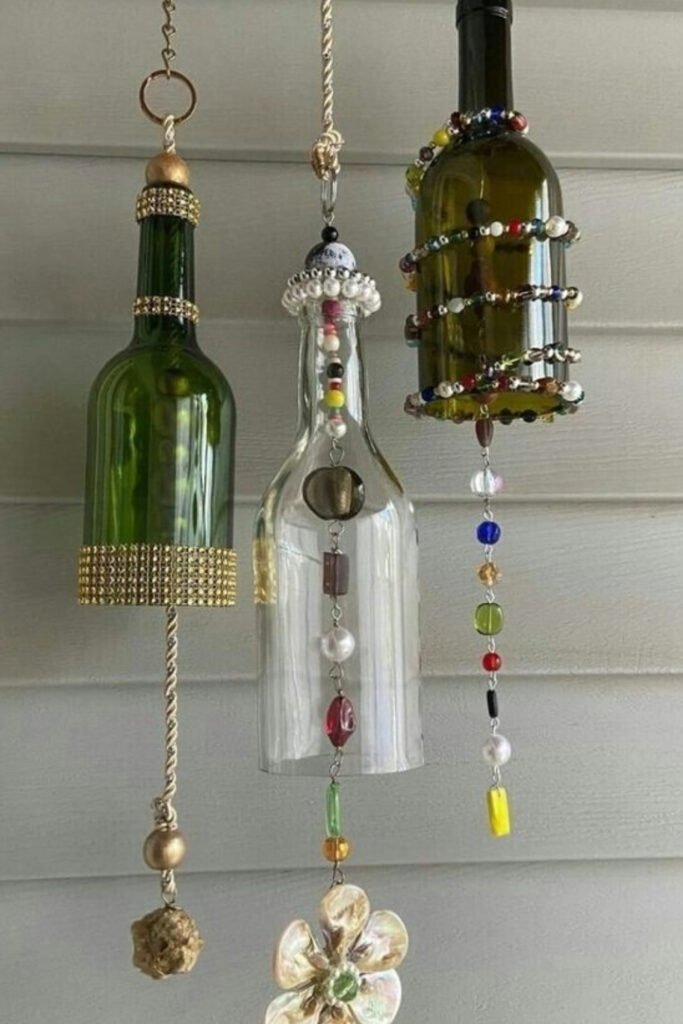
Old keys, vintage silverware, copper pipe scraps, cut glass bottles and beads from broken jewelry all make good chime material. Every piece comes with its own history, which a store-bought set can’t copy. Cutting glass bottles takes care and safety glasses, so if you’re new to it, start with bottles that hang whole.
If you like working with found materials, try DIY fairy garden decor next. Same idea, different corner of the yard.
Can kids help make homemade wind chimes?

Yes, and it’s a good project for kids because the steps are simple and the result is instant.
For younger kids (ages 3–6), skip the drilling. Use large wooden beads, big shells that already have holes, and thick cord they can thread themselves. Pre-cut the cord, let them pick the pattern, and tie the knots for them.
Older kids (7 and up) can help with almost everything: stringing, choosing the layout, tying knots, and drilling shells with an adult right there. One crafter shared that making a shell wind chime with her kids took about 30 minutes each. A finished chime also makes a nice gift for grandparents or teachers.
Beginner-friendly homemade wind chime projects to try
None of these need special skills or expensive supplies.
Shell wind chime with driftwood
Shells, one piece of driftwood and waxed cord. This is the classic DIY shell wind chime, with a soft, natural clink that suits a porch or patio.
Beaded crystal suncatcher chime
Faceted acrylic crystals and glass beads on jewelry wire, hung from a small metal ring. It doubles as a suncatcher and throws little rainbows on the wall when the sun hits it.
Recycled CD wind chime
Old CDs catch the light and make a gentle clicking sound. Drill a hole near the edge of each disc, string them at different lengths and hang them from a round frame.
Wooden bead wind chime

Large wooden beads on leather or waxed cord, hung from driftwood. The sound is a soft, mellow knock instead of a sharp clink, so it’s a good pick if you want something quiet. Mixing in a few colored glass beads adds sparkle and a lighter tone between the knocks.
Mix and match from here. If you’re in the mood for a bigger outdoor project afterward, here’s a beginner-friendly DIY fire pit tutorial.
Wooden vs metal homemade wind chimes: which sounds better?
It depends on the sound you want.
Metal chimes (copper, aluminum, steel) ring bright and clear, and the sound carries further. Aluminum in particular is known for deep, resonant tones and handles weather well. If you want to hear it from across the yard, go metal.
Wood and bamboo sound softer and more hollow, almost like a small drum. Bamboo chimes produce tones that blend naturally with outdoor sounds and are usually quieter than metal, which your neighbors may appreciate. Corks and wooden beads mixed with a few metal pieces land somewhere in between.
Shell and glass chimes give a light tinkle. They’re more fragile, so they do best on a covered porch or patio.
For a large, open yard, metal or a metal-and-wood mix works well. For a small balcony or covered patio, shells or wooden beads fit better, and they pair nicely with budget-friendly patio decor. Size matters too: smaller pieces produce higher-pitched tones, while larger ones go deeper.
How to build a wind chime at home without any tools?
No drill, no saw, no problem.
- Use shells with natural holes. Many scallops and broken conch pieces already have small holes from wear. Collect those, and the drilling step disappears.
- Knot instead of drilling. Wrap the cord around each piece and secure it with a lark’s head knot or a double knot. This works well with flat stones, sea glass and odd-shaped wood.
- Glue instead of holes. Marine-grade epoxy bonds shells, stones and glass to wire. Use a small dab and let it cure for 24 hours. It’s less secure than threading, so keep it for light pieces.
- Start with pre-drilled pieces. Craft beads, wooden rings and metal charms already have holes. A stick from the yard, some cord and your hands are enough.
This approach suits renters and small balconies. For more ideas on tight outdoor spaces, see these small garden design tips.
Where should you hang your homemade wind chimes?
Placement makes a bigger difference than most people expect. Wind chimes typically start making sound at 6 to 10 mph wind speed, so the spot needs a steady breeze.
Porches, covered patios and pergolas work well. Hang the chime from a hook, a tree branch or a shepherd’s hook in a bed, with enough room to swing without hitting a wall or railing.
Keep fragile chimes (glass, thin shells) out of strong, gusty spots, where they knock too hard and chip. Save the sturdier materials for exposed places. And if you hang more than one, leave a few feet between them so they don’t drown each other out.
Making it yours
To sum up: weatherproof materials, glue that can handle rain, cord that can handle sun, and pieces spaced so they just touch. Start with one simple chime, a stick and a handful of shells or beads, then change one thing on the next one and listen to the difference. For more weekend projects, browse the rest of the DIY ideas here on the blog.




Leave a Reply