Indoor herb gardens are having a real moment right now, and for good reason. Fresh basil two steps from the cutting board. Mint for tea on a Tuesday. Rosemary that didn’t cost $4.99 for three sad sprigs in a plastic clamshell. Plus, when they’re styled right, they double as some of the best kitchen decor you can put on a windowsill.
This guide skips the fluffy “buy a cute pot and pray” advice. You’ll get the pro method (light, water, and airflow as a system), the troubleshooting steps for plants that keep dying, and the styling ideas that make your setup look put-together instead of haphazard. Short version: by the end, you’ll know exactly what to fix, what to plant, and how to make it pretty.

Why Everyone’s Growing Indoor Herb Gardens Right Now
The herb garden boom isn’t a coincidence. It sits at the intersection of three things people care about right now: cooking more at home, saving money on groceries, and bringing greenery into small spaces.
Buying fresh herbs at the store is borderline insulting. You pay $3 to $5 for a bunch, use a quarter of it, and watch the rest slime out in the crisper drawer. A single basil plant on your counter costs about the same and feeds you for months.
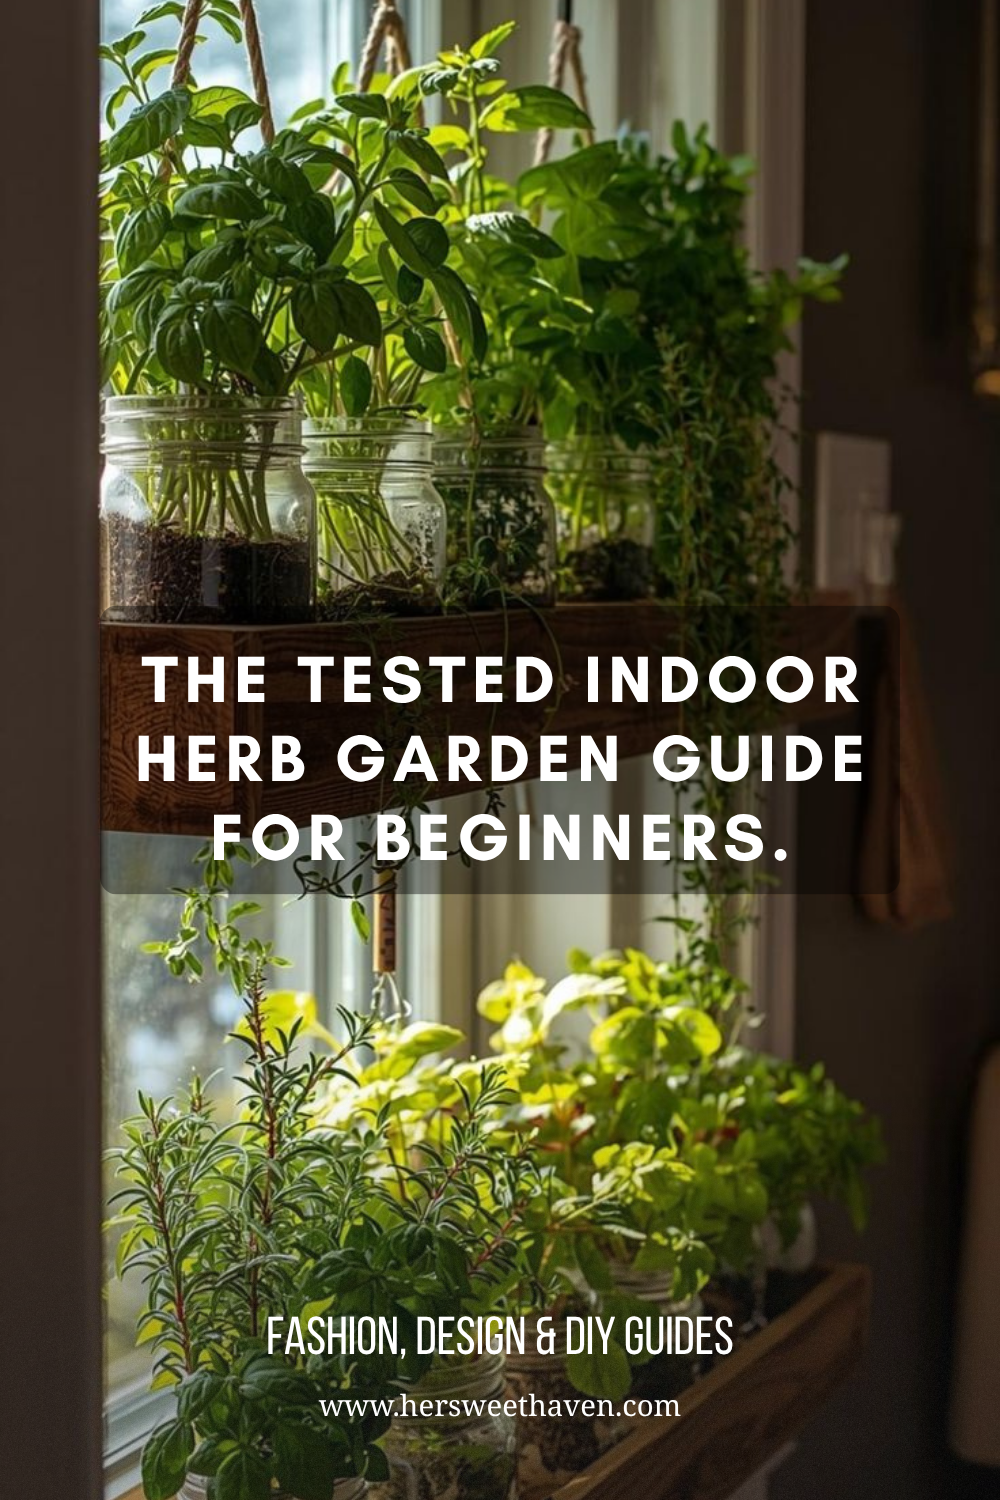
Then there’s the look. A row of mason jars on a sunny ledge or a tidy wooden box of labeled herbs reads as intentional design. It signals that someone actually cooks here. It also fills the visual gap most kitchens have between the sink and the window.
The Real Benefits Beyond Aesthetic
You get flavor on demand, year-round, without driving anywhere. You skip the pesticides and the plastic packaging. And you build a small daily habit (snip, water, check) that quietly makes you feel more connected to your food.
For renters and small-space dwellers, indoor herb gardens are also one of the few “gardens” you actually own outright. No yard required. No landlord permission needed.
The Pro Secret Most Indoor Herb Garden Guides Skip
Most articles tell you to “water when dry” and “give them sun.” Cool. That’s about 30% of the picture.
Here’s the secret pros use: indoor herb gardens thrive on a triangle of light, water, and airflow, and all three have to be right at the same time. Fix one, ignore the others, and your plants still die. Just slower.

The Light + Water + Airflow Triangle
Light fuels growth. Water moves nutrients. Airflow prevents the fungal problems that root-rot stagnant herbs to death. Most beginners focus only on light (window placement) or only on water (a strict schedule) and wonder why their basil collapses anyway.
A south-facing window with no air circulation will cook your herbs. A perfect watering schedule in a dark corner won’t matter, the plant can’t photosynthesize. A gorgeous spot with a draft will dry out the soil faster than you can refill it.
The 30-Second Diagnostic Check
Before you buy anything, stand where your herb garden will live for 30 seconds. Ask three questions: How long is the sun on this spot? Is there a vent or a draft hitting it? Can you easily reach it with a watering can?
If you answered “less than 6 hours,” “yes,” and “kind of,” fix those first. The right plants in the wrong spot still struggle. The wrong plants in a perfect spot can sometimes still pull through.
Why Does Your Indoor Herb Garden Keep Dying?
If you’ve already killed two or three setups, you’re not unique. You’re just hitting the same three killers everyone hits. Here’s how to spot which one is yours.

The Drainage Problem
Pretty pots without drainage holes are responsible for more dead herbs than any pest. Water pools at the bottom, roots sit in wet soil, and rot takes over within a week. According to Gardenary’s indoor herb guide, overwatering in poorly-draining containers is the single fastest way to kill an herb.
The fix is simple. Use containers with drainage holes (or drill them yourself with a masonry bit if you love the look of a specific pot). Put a saucer underneath, and dump the saucer every time, not just sometimes.
The Light Shortage
Most herbs want six to eight hours of direct sunlight a day. Anything less and you get leggy, pale, sad-looking growth that tastes like nothing. North-facing windows almost never deliver enough light by themselves.
If your only good window faces north or is blocked by a building, you need supplemental light. A simple LED grow light fixes 90% of these cases.
The Overcrowding Mistake
Buying that adorable five-herb tin from Trader Joe’s? Trap. Five plants in one tiny shared pot fight for water, nutrients, and root space, and most of them lose. Each herb wants its own container (or at least a generous shared planter with proper spacing).
Mint specifically will bully every other herb out of a shared pot. Always give mint its own home unless you want a mint monoculture by month two.
Stop Overwatering: The Watering Rules That Actually Work
Overwatering is the single most common indoor herb garden mistake, full stop. Epic Gardening’s herb watering guide is blunt about it: a good soak once a week beats daily sprinkles every time.

The Finger Test (And Why It Beats Schedules)
Stick your index finger one inch into the soil. If it’s dry, water. If it’s still cool and damp, wait. That’s it. That’s the test.
Schedules fail because watering needs change with humidity, season, pot size, and how fast the plant is growing. The finger test adapts. Use it for every pot, every time, and you’ll stop the most common killer in one move.
Thirsty Herbs Vs. Drought-Tolerant Herbs
Not all herbs drink the same. Garden Therapy’s herb watering breakdown groups them clearly: basil, mint, and parsley are water-loving. Rosemary, thyme, oregano, and sage are drought-tolerant and would rather be slightly dry than slightly soggy.
If you mix herbs in one planter, group them by water needs. Pair basil with parsley. Pair rosemary with thyme. Mixing a thirsty mint with a drought-loving rosemary in the same pot is a guaranteed lose-lose.
Drainage Hacks For Cute Pots With No Holes
You bought the pot. It’s perfect. It has no drainage hole. You have two real options.
Option one: drill a hole using a masonry or ceramic bit at low speed (works on terracotta, glass, and most ceramics). Option two: use the pretty pot as a “cachepot,” with the actual herb growing inside a smaller plastic nursery pot tucked inside. Lift the inner pot out to water, drain it in the sink, and slide it back in. No water ever sits at the roots.
Can An Indoor Herb Garden Thrive Without Direct Sunlight?
Short answer: yes, but with caveats. Long answer: it depends on which herbs you pick and whether you’re willing to supplement.

Best Low-Light Herbs
Some herbs handle dim conditions much better than others. Gardening Know How’s low-light herb guide recommends mint, chives, parsley, chervil, and lemon balm for spots with bright indirect light but little direct sun.
Basil and rosemary, on the other hand, will sulk. They want strong direct sunlight and won’t fake it. If you only have north-facing windows, skip these two until you add a grow light.
When To Add Grow Lights (And Which Ones)
If your spot gets less than four hours of direct sun, a grow light is the difference between thriving and barely-surviving. Iowa State Extension’s growing herbs indoors guide recommends full-spectrum LED fixtures placed 6 to 12 inches above the leaves, running 12 to 16 hours a day.
You don’t need a fancy hydroponic tower. A $25 clip-on LED grow light from any hardware store works fine for a small windowsill setup. Look for “full-spectrum” on the label and avoid the cheap purple-only ones.

Window-By-Window Placement Guide
South-facing windows are the gold standard (six to eight hours of direct sun, perfect for basil, rosemary, thyme). East-facing gets gentle morning sun, great for parsley, chives, and mint. West-facing gets harsh afternoon sun, fine for sun-lovers but can scorch tender leaves in summer.
North-facing windows alone won’t cut it for most herbs. Pair them with a grow light or stick to the low-light list above. If you’re working with limited outdoor space too, you can pair your indoor setup with a simple raised garden bed build on a budget for seasonal overflow.
The 3-Step Indoor Herb Garden Setup For Beginners
Skip the 47-step guides. Here’s the real version. Three steps, zero experience needed, and your garden will be running by the weekend.

Step 1: Pick 3 Herbs You Actually Cook With
Walk into your kitchen. Open the spice drawer. Which fresh herbs do you reach for in recipes? Start with three of those. Not ten. Three.
The most beginner-friendly trio is basil, mint, and parsley. They grow fast, forgive minor mistakes, and they’re the herbs most home cooks use weekly. Add chives or thyme as your fourth if you want one more.
Step 2: Match The Container To The Spot
Pick containers that fit both the herbs and the location. A row of small terracotta pots looks great on a wide windowsill. A wooden box with five compartments suits a counter run. Mason jars hanging in a window catch light beautifully.
Whatever you pick, make sure it drains, holds at least a quart of soil per herb, and looks like something you’d actually want to see every morning. If you want extra vertical space, this DIY tiered planter stand from crates is a budget-friendly weekend build that fits indoor or outdoor setups.
Step 3: Build The Weekly Rhythm
The setup is 20% of the work. The rhythm is 80%. Here’s the simple weekly cycle: finger-test the soil twice a week, water only when needed, harvest leaves regularly to keep plants bushy, and rotate pots a quarter-turn every few days so they grow evenly toward the light.
Harvesting matters more than people think. Pinch off the top sets of leaves regularly (never more than a third of the plant at once) and your herbs grow fuller and bushier. Leave them alone for weeks and they get tall, leggy, and bolt to seed.
Beautiful Indoor Herb Garden Ideas To Try This Weekend
Function matters. So does form. The best indoor herb gardens look like they belong in your kitchen, not like a science experiment camping on your counter.

Mason Jar Windowsill Setups
Mason jars are the budget favorite for good reason. They’re cheap, they look good in almost any kitchen, and they fit five-across on most standard windowsills. The catch: mason jars have no drainage, so use the cachepot trick (plant in a small plastic pot, slide it inside the jar) or add a one-inch gravel layer at the bottom and water sparingly.
Group three to five jars in a wooden tray for a cohesive look. Add small chalkboard labels or twine-tied tags with herb names. The whole setup costs about $20 and takes 15 minutes to build.

Wooden Box Planter Rows
Long wooden boxes with multiple compartments are the most Pinterest-friendly setup. They give each herb its own section while looking like one intentional piece. Chalkboard-front boxes with handwritten labels add instant character.
Place one along a kitchen window, on a counter, or even on a floating shelf. They work especially well with kitchens in soft, earthy palettes (think a sage green and cream kitchen palette or warm cottagecore vibes).
Wall-Mounted Herb Gardens
If counter space is tight, go vertical. Wall-mounted herb gardens use the dead space above your counter or beside your window. They’re particularly good for renters since most systems mount with a few small screws.
Wooden crate-style wall planters, galvanized buckets on a rail, or modular vertical systems all work. The trick is making sure each level still gets light (don’t stack too tight). For more vertical inspiration, the container garden design ideas collection has crossover ideas that translate indoors.
Hanging Jar Displays
For windows with no usable sill, hang your herbs. Mason jars looped through twine and hung from a curtain rod or a simple wooden bar make a beautiful, light-catching display.
This setup works best for water-friendly herbs like basil and mint, since hanging jars dry out faster. Mist them lightly between waterings if your home runs dry.
How Do You Style An Indoor Herb Garden So It Looks Put-Together?
The difference between a haphazard plant pile and a styled herb garden is usually three small choices. Get these right and even a $15 setup looks like a magazine spread.
Match Your Kitchen Palette
Pick container colors and materials that echo your kitchen, not fight it. White ceramic pots suit modern kitchens. Terracotta and wood suit warm, cottagecore, or grandma core kitchen aesthetics. Black metal containers suit industrial or moody spaces.
Mixing materials is fine, but stick to two or three at most. Five different pot styles on one windowsill reads as chaos, not charm.
Group By Height And Texture
Tall, spiky herbs (rosemary, dill, chives) belong at the back or middle. Bushy, soft-leaved herbs (basil, parsley, mint) sit in the front. Trailing herbs (thyme, oregano) go on the edges where they can spill.
This same rule works in 6-inch pots and 6-foot wall planters. Visual rhythm beats randomness every time.
Add Labels For Charm
Small handwritten labels do two things: they make your garden look intentional and they help you remember which seedling is which (every basil and mint sprout looks identical for the first three weeks). Wooden plant markers with hand-written names, chalkboard tags on twine, or even painted river stones all work.
Skip the printed-from-a-laminator labels. Slightly imperfect handwriting reads as warm and real.
Wrapping It Up
Three takeaways worth remembering. Light comes first (six hours minimum, or supplement with a grow light). Water comes second (finger test only, drainage always). Beauty comes third (matching palettes, grouped textures, real labels) because a thriving garden gives you so much more to style.
Pick one herb you actually cook with. Pick one spot that gets real light. Pick one container that drains. Start there this weekend, then add a second pot in two weeks once you see what’s working.
Save this guide for your next watering question, and drop a comment with the herb you’re starting with. The basil-vs-mint debates in the comments are the best part.