
Think you need years of hook time before you can make something people actually want? Not even close. Crochet is one of the friendliest hobbies to start, because the basic version asks almost nothing of you: a couple of stitches, a ball of yarn, and an evening on the couch.
Here’s the fun part nobody tells beginners: those same two or three stitches open up a shocking amount of stuff. A bouquet that never wilts. A custom bandana for your dog. A little coquette bow for your bag. A hat a kid refuses to take off. Same skills, four completely different worlds.
So this post is your map. First the tiny supply list and the handful of stitches that do all the work, then four project worlds you can dip into in any order, and the beginner mistakes worth skipping. Grab a hook and let’s make something.
Why Crochet Is the Perfect Low-Stakes Hobby
Before the projects, a quick pep talk, because the reasons crochet is so beginner-friendly are also the reasons it’s worth starting at all.
It’s cheap. A single skein of yarn runs a few dollars, and most of the projects below use one ball or less. Compare that to almost any other creative hobby and it’s basically free. It’s forgiving, too. A slightly wonky stitch disappears into the texture, and if something goes really wrong you just pull it out and reuse the exact same yarn. There’s no wasted material and no ruined canvas.
And here’s the quieter reason. Crochet can’t be rushed or automated. It forces you to sit still for an hour and make something slowly with your hands, which in a same-day-shipping world is its own kind of reset. The finished object is nice. The making is the actual point.
The Whole Supply List (It’s Tiny)
You can start every project in this post with about ten dollars of supplies. Genuinely.
You need one ball of yarn, one hook, and two small extras: a tapestry needle for weaving in ends and a pair of scissors. A soft measuring tape helps for anything that has to fit (pets, kids’ heads), and a bobby pin works as a stitch marker, so skip the fancy gadget sets for now.
Yarn choice matters more than gear. For most of these, a soft cotton, acrylic, or cotton blend beats scratchy wool, and a worsted weight paired with a 5 to 5.5 mm hook is the easy default. Cotton holds crisp shapes (good for bows and pet gear), while soft acrylic makes drapier, cozier pieces.
As for stitches, the whole toolkit is basically three: the chain, single crochet, and double crochet (with half double crochet as a lovely in-between). If you can make those, even slowly and unevenly, you can make everything below. Practice each on a small flat square for twenty minutes before you start a real project. That little bit of swatching saves hours of confused unraveling later.
Forever Flowers for Your Home
Here’s a hard truth: the bouquet on your counter is already dying. Cut flowers look good for five to seven days and rarely stretch past two weeks, as flower-care guides confirm, which means a bouquet-a-week habit is $500 to $1,300 a year on something that ends up in the trash. Crochet flowers cost a few dollars of yarn and look exactly as good in three years.
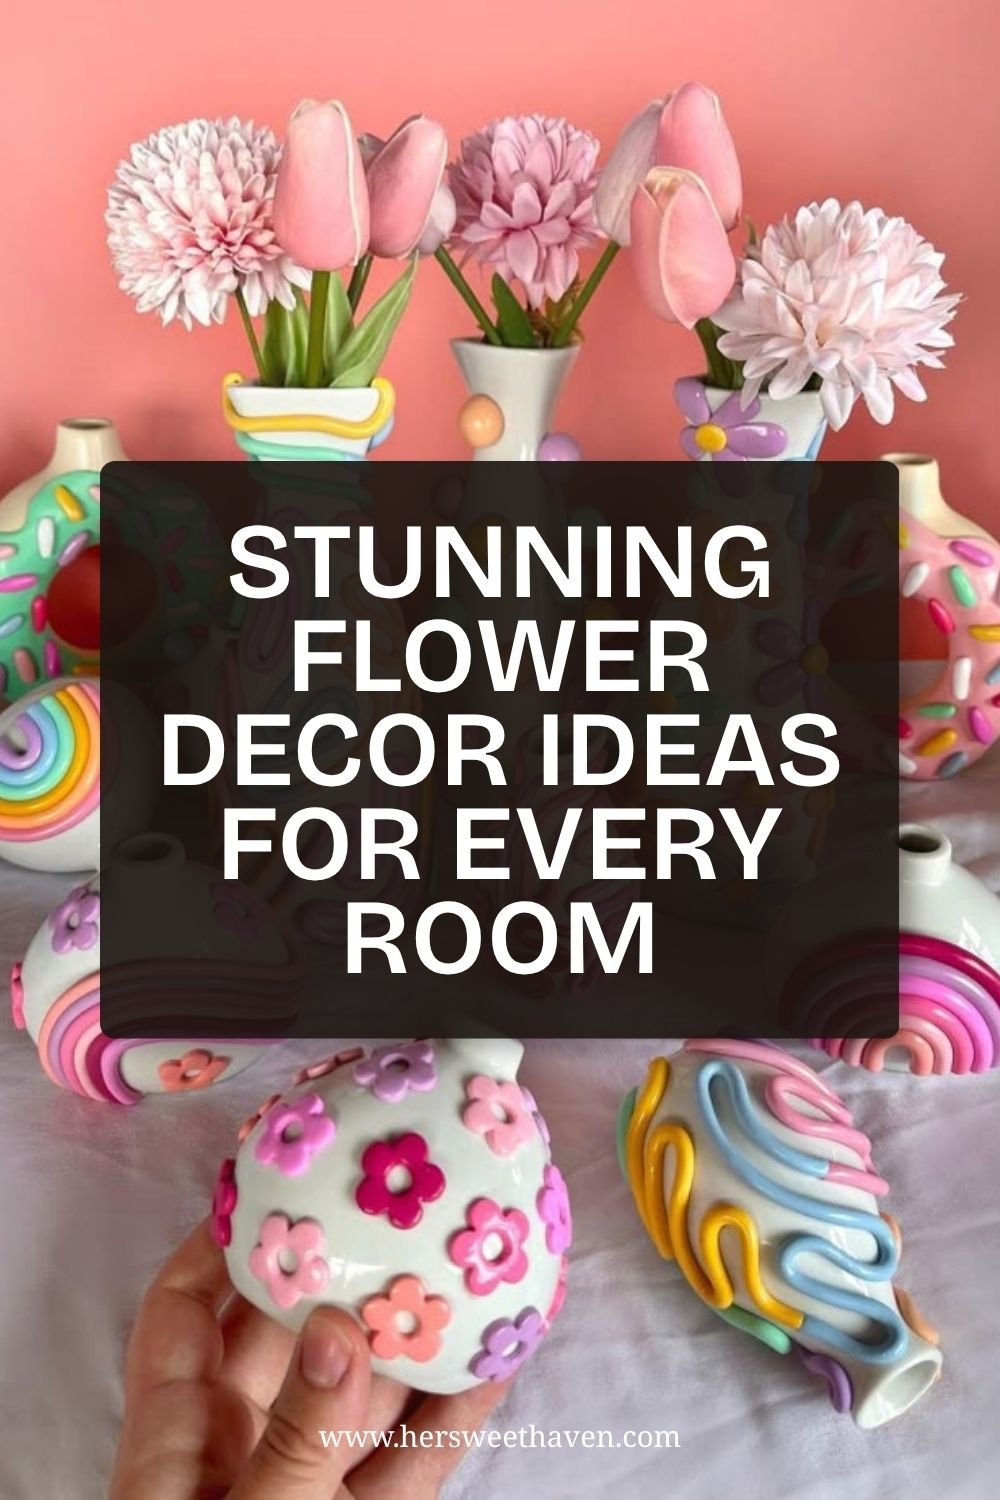
Crochet is the queen of forever-florals right now. A yarn bouquet of tulips or roses reads surprisingly real from across a room, and collections like these free crochet flower bouquet patterns cover daisies to lilies without costing a cent. One flower is an evening of work, so bigger pieces grow week by week, which is honestly part of the charm.
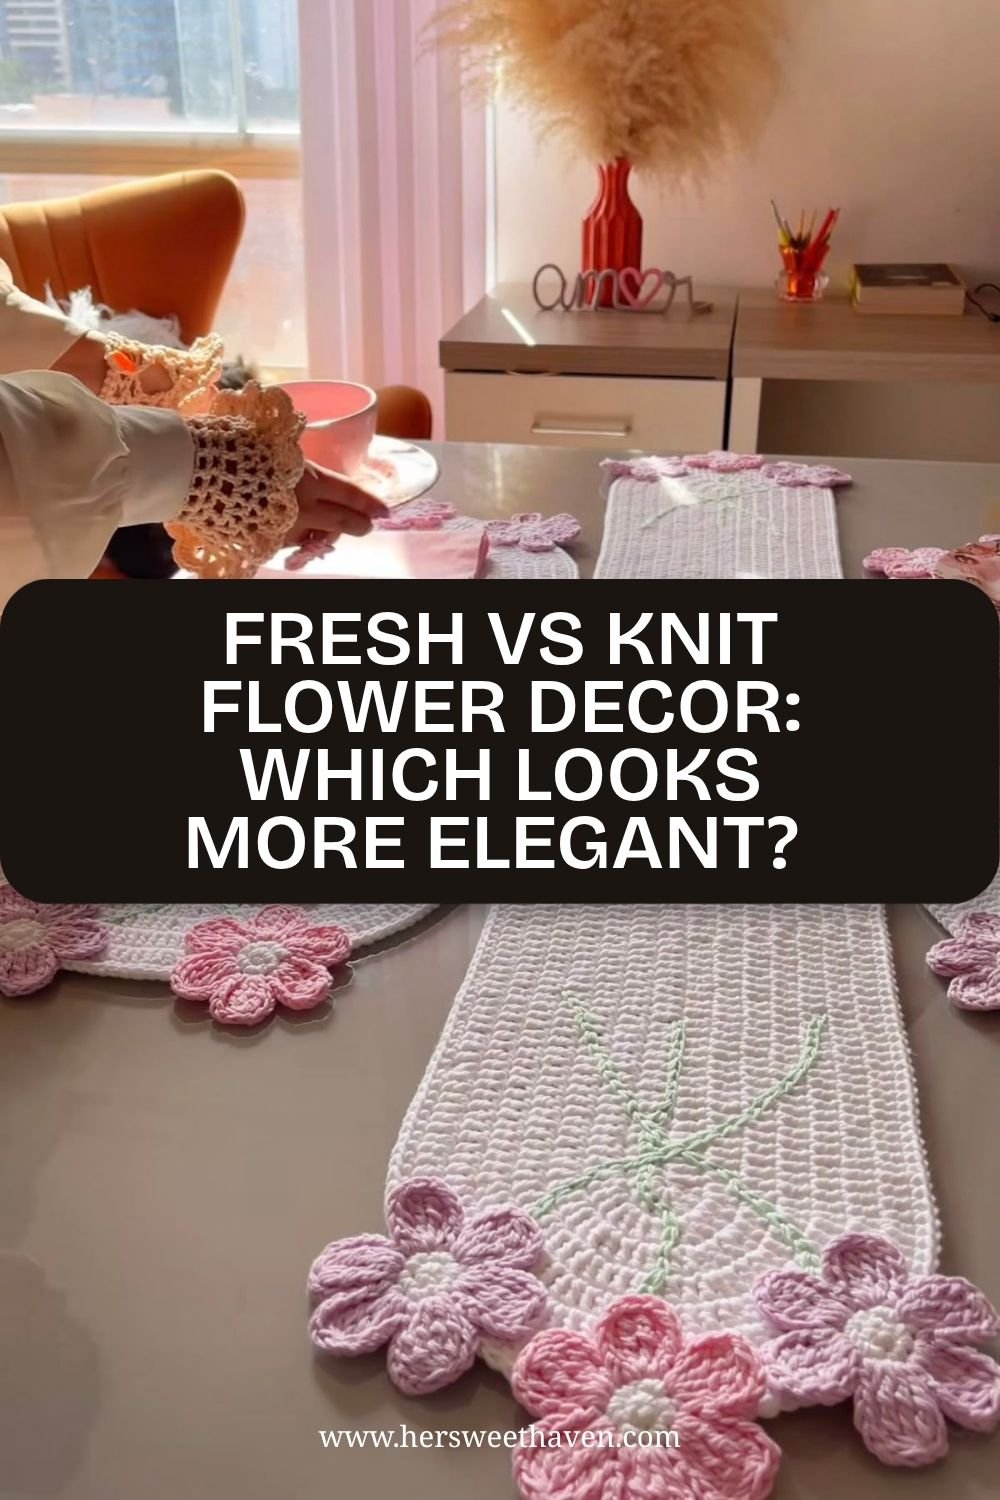
Beyond the vase, the same flowers become statement pieces: stitched around a mirror frame, strung into a garland over a mantel or doorway, or tacked onto a plain pillow as appliqués. Not a crocheter yet? Etsy is full of makers selling finished bouquets, so you can buy one and support a small business instead of a supermarket cooler.
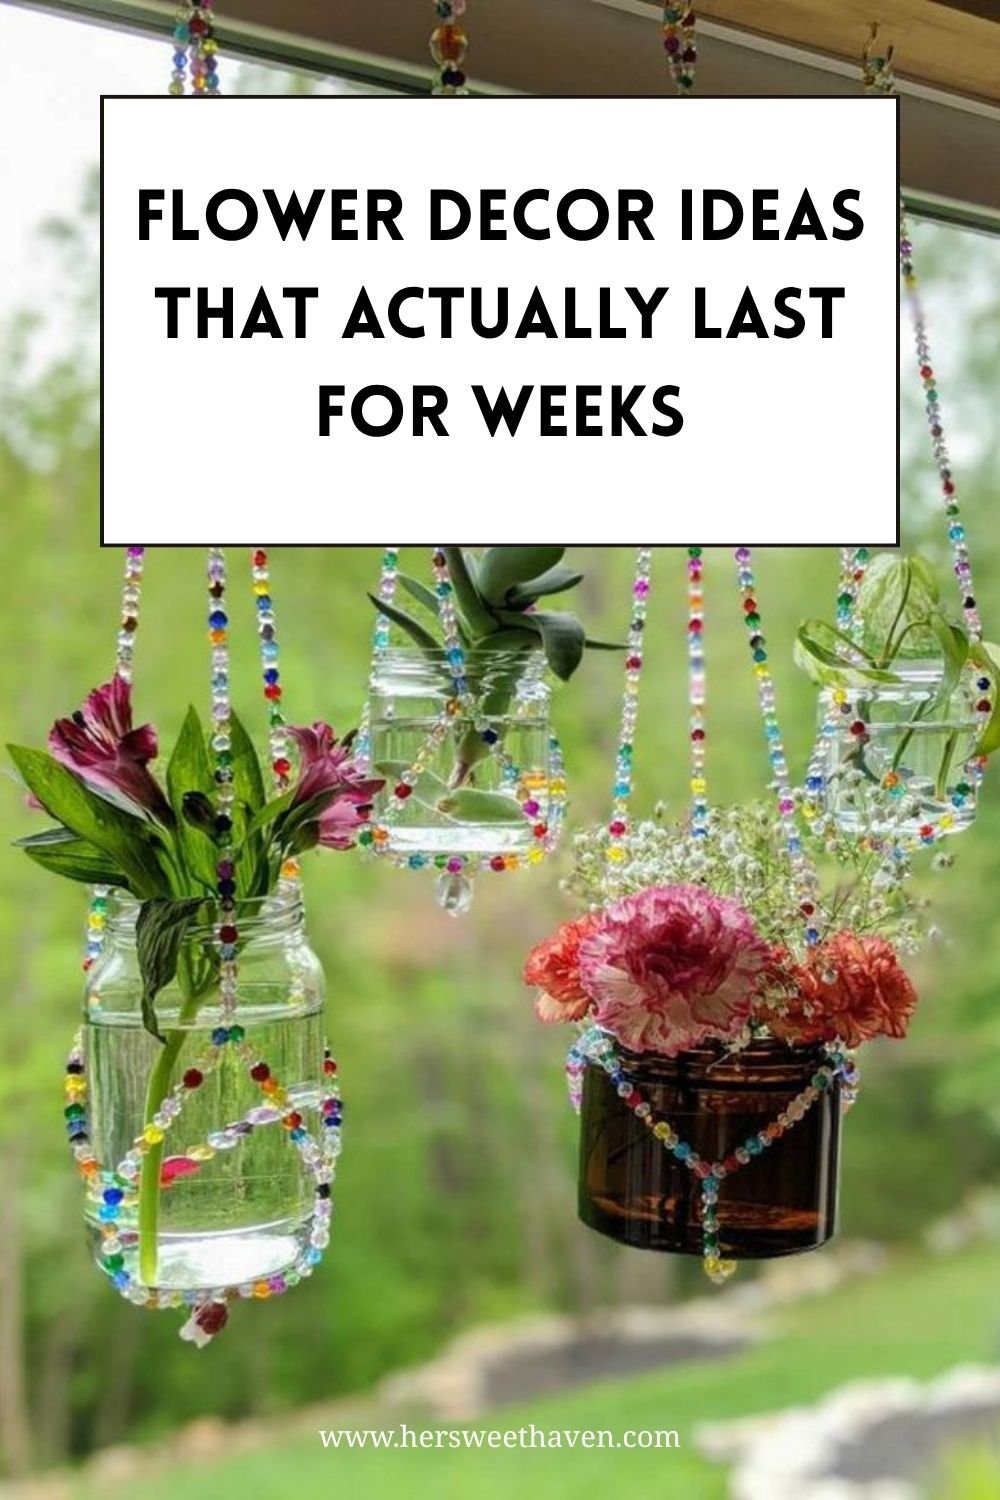
If crochet feels like too much to start, the bedazzled route is pure instant gratification. Hot-glue half-pearls over any glass vase and paint it one solid color, and this DIY beaded vase method gets you a boutique-looking piece in about an hour (plastic pearls, nobody can tell). Air-dry clay flowers pressed onto a plain vase, dried blooms hung upside down from your last fresh bunch, and crepe-paper flowers all land in the same place: cheap materials, one sitting, years of shelf life.
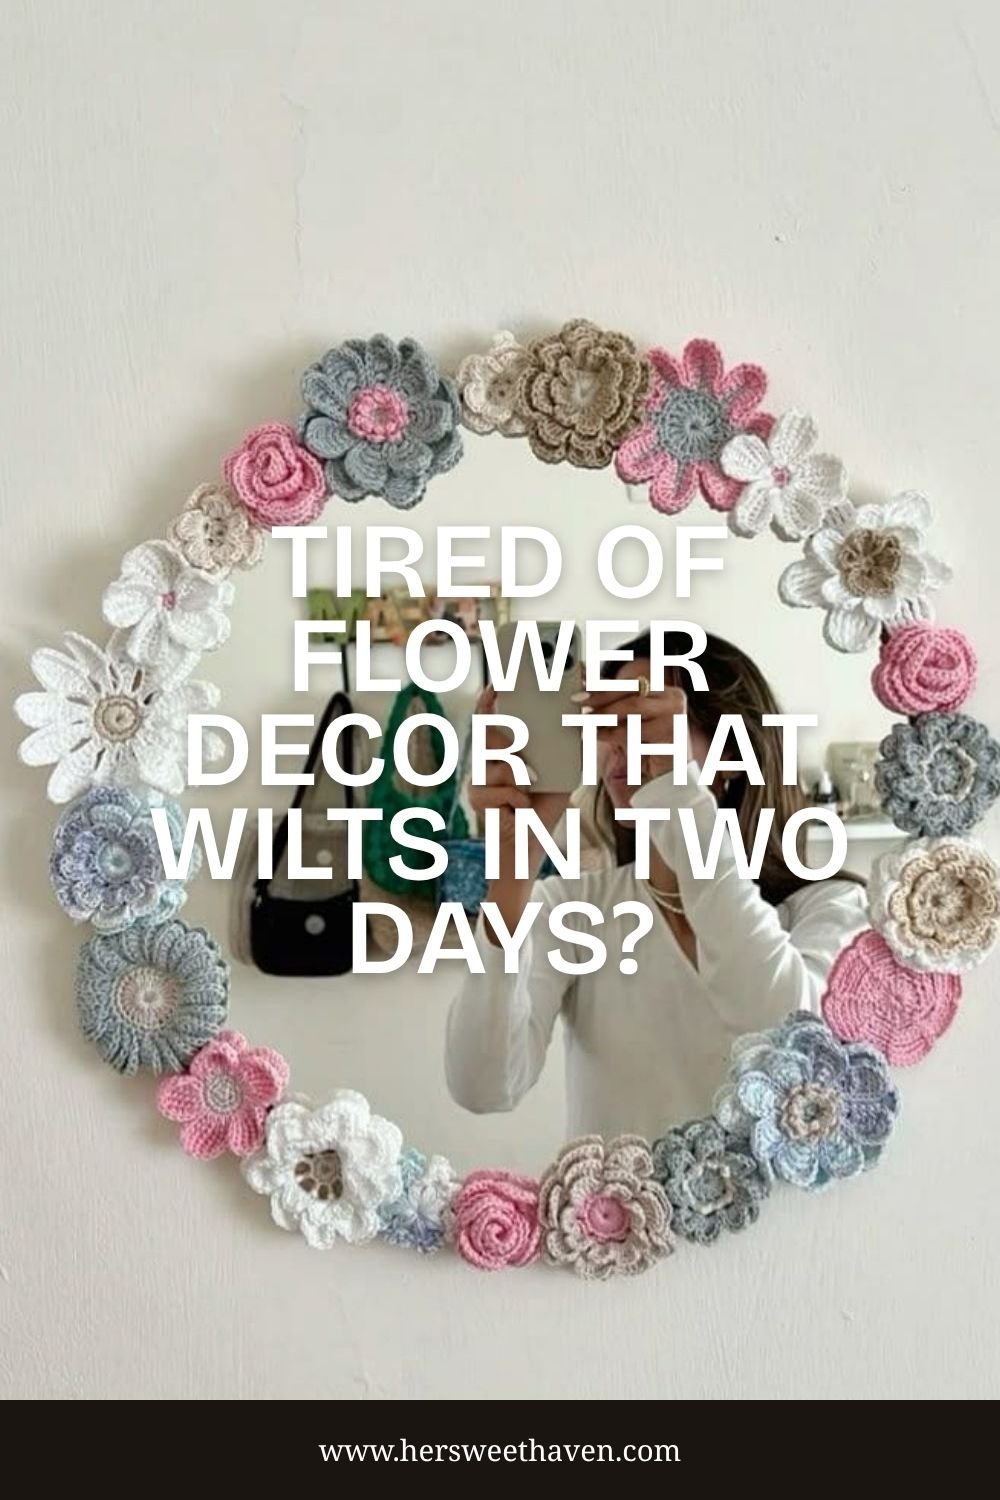
One styling rule keeps this from becoming clutter, because nothing here ever dies to make room: give each room a single floral hero and keep a tight color story. When every surface blooms, none of them do. And upkeep is a blast from a cool hair dryer once a month, versus daily water top-ups and weekly stem trims.
Pet Accessories That Actually Fit
A trendy pet boutique charges $45 for a simple knit dog bandana. Or you could spend one afternoon and $5 on a single ball of yarn. When you make it yourself, you pick the exact color and you guarantee the fit.
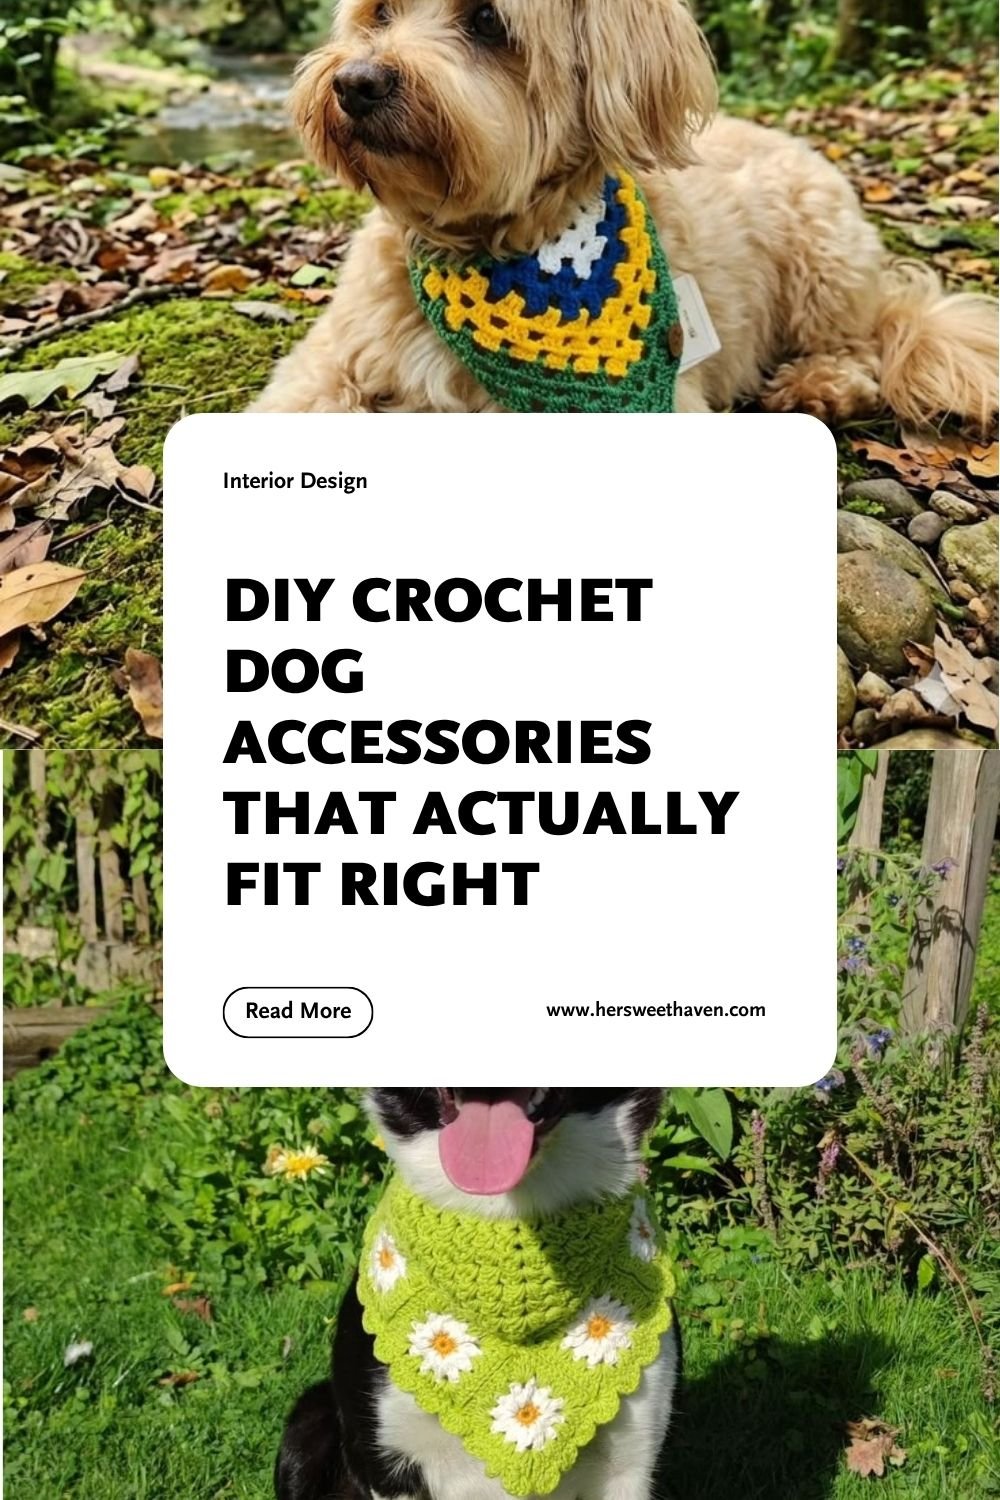
Yarn safety comes first here, since it’s going on an animal. Skip cheap scratchy acrylic, which doesn’t breathe and can irritate skin, and reach for 100% cotton or a soft cotton blend that survives the washing machine. Avoid anything that sheds loose fibers (dogs can swallow them while grooming), and build in soft yarn ties instead of plastic buttons or glued-on rhinestones, which are choking hazards.
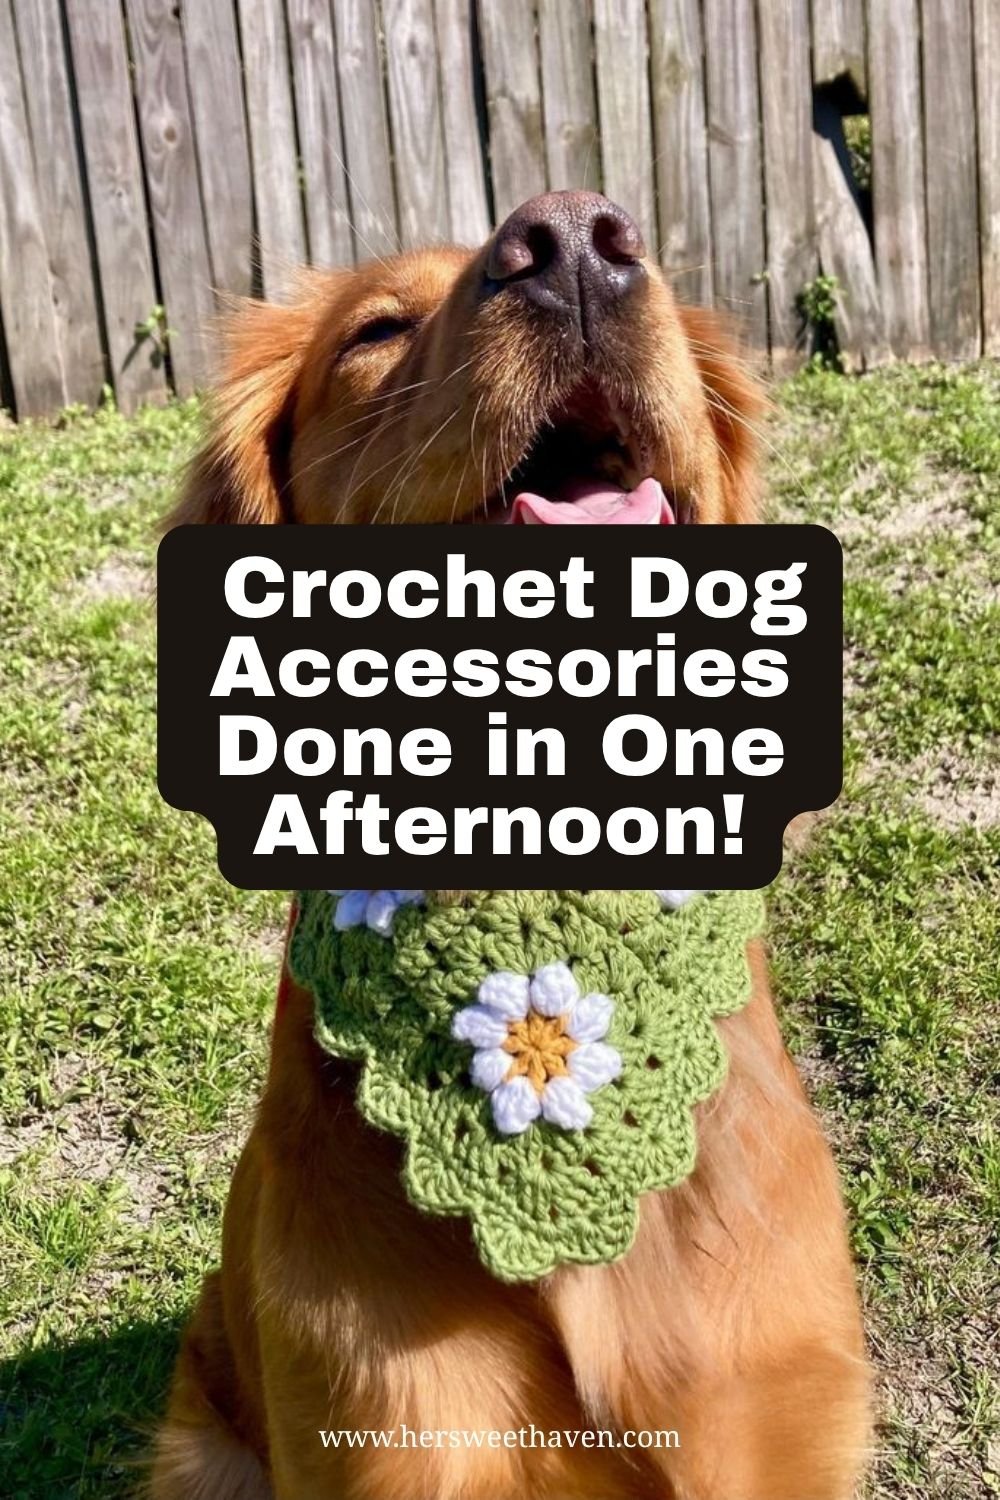
You don’t need a pattern, just basic shapes. A bandana is a flat triangle. A neck warmer is a rectangle folded into a tube. Because every dog is shaped differently, learning the shape beats hunting for a pattern written for someone else’s dog. Just measure before you start: wrap a soft tape around the base of the neck with two fingers of room, and measure the widest part of the head for anything that slips over the ears.
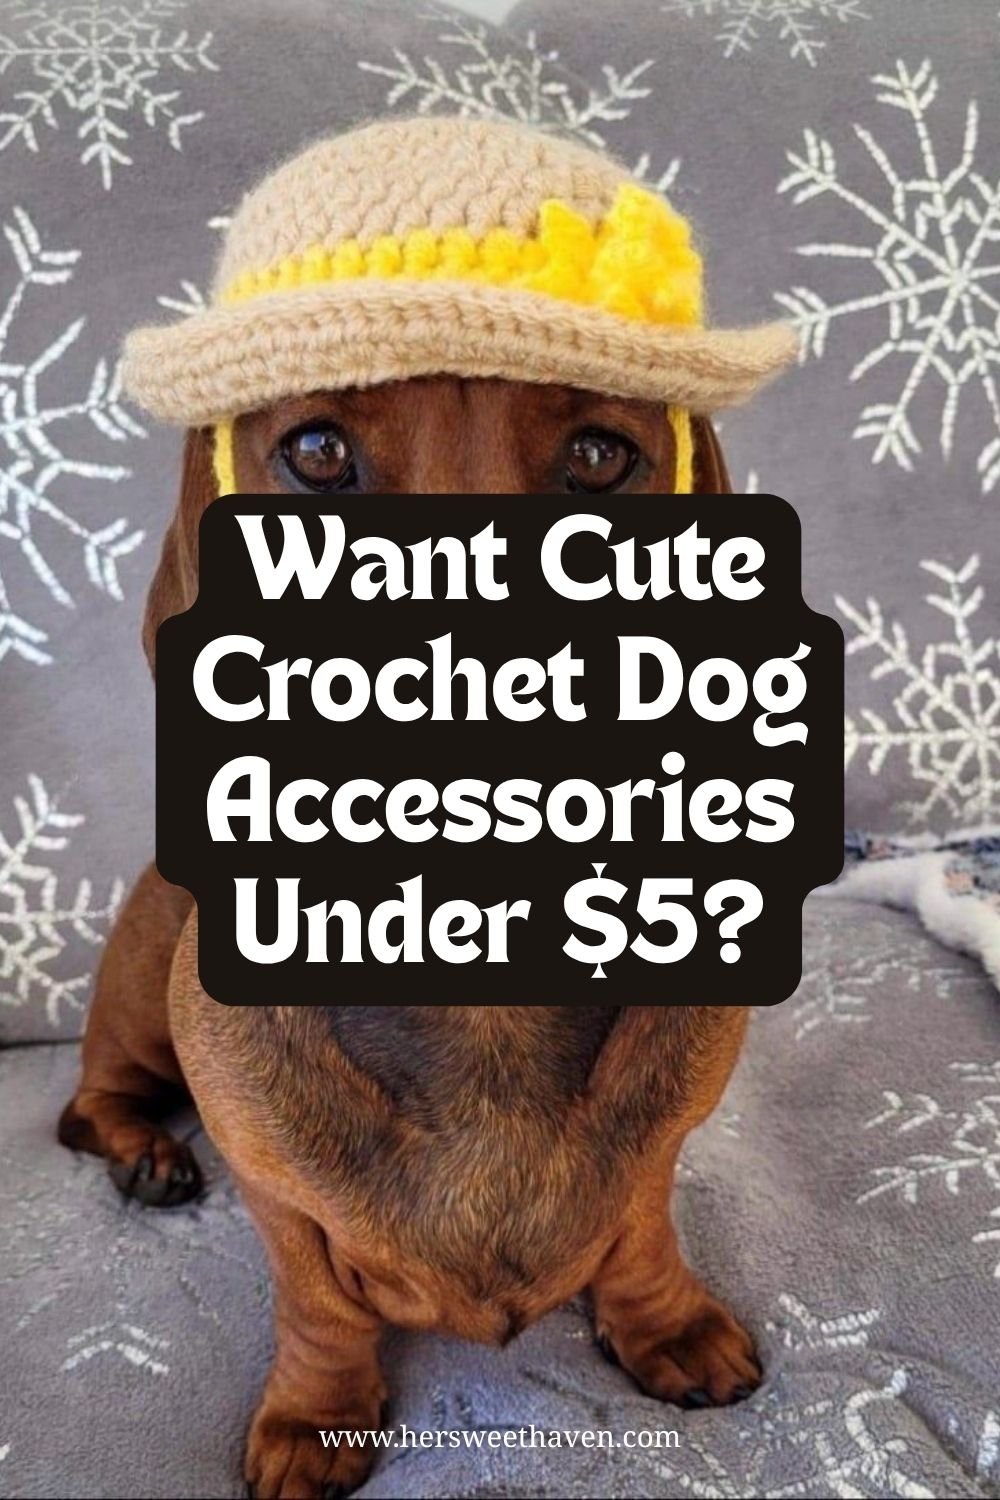
Five beginner projects use only chain, single, and double crochet. The granny square bandana grows as flat triangle rows, then ties softly behind the neck. The ribbed snood keeps long ears out of the food bowl, worked in back loops only for stretch. The daisy sun hat starts as a flat circle with two ear-hole gaps and a wavy brim. The slip-on bow tie is a pinched little rectangle with a loop that slides onto their everyday collar. And safe, stuff-free toys use tight tension (hook two sizes down) and no polyfill, just a flat bone or star that acts like a chew rag.
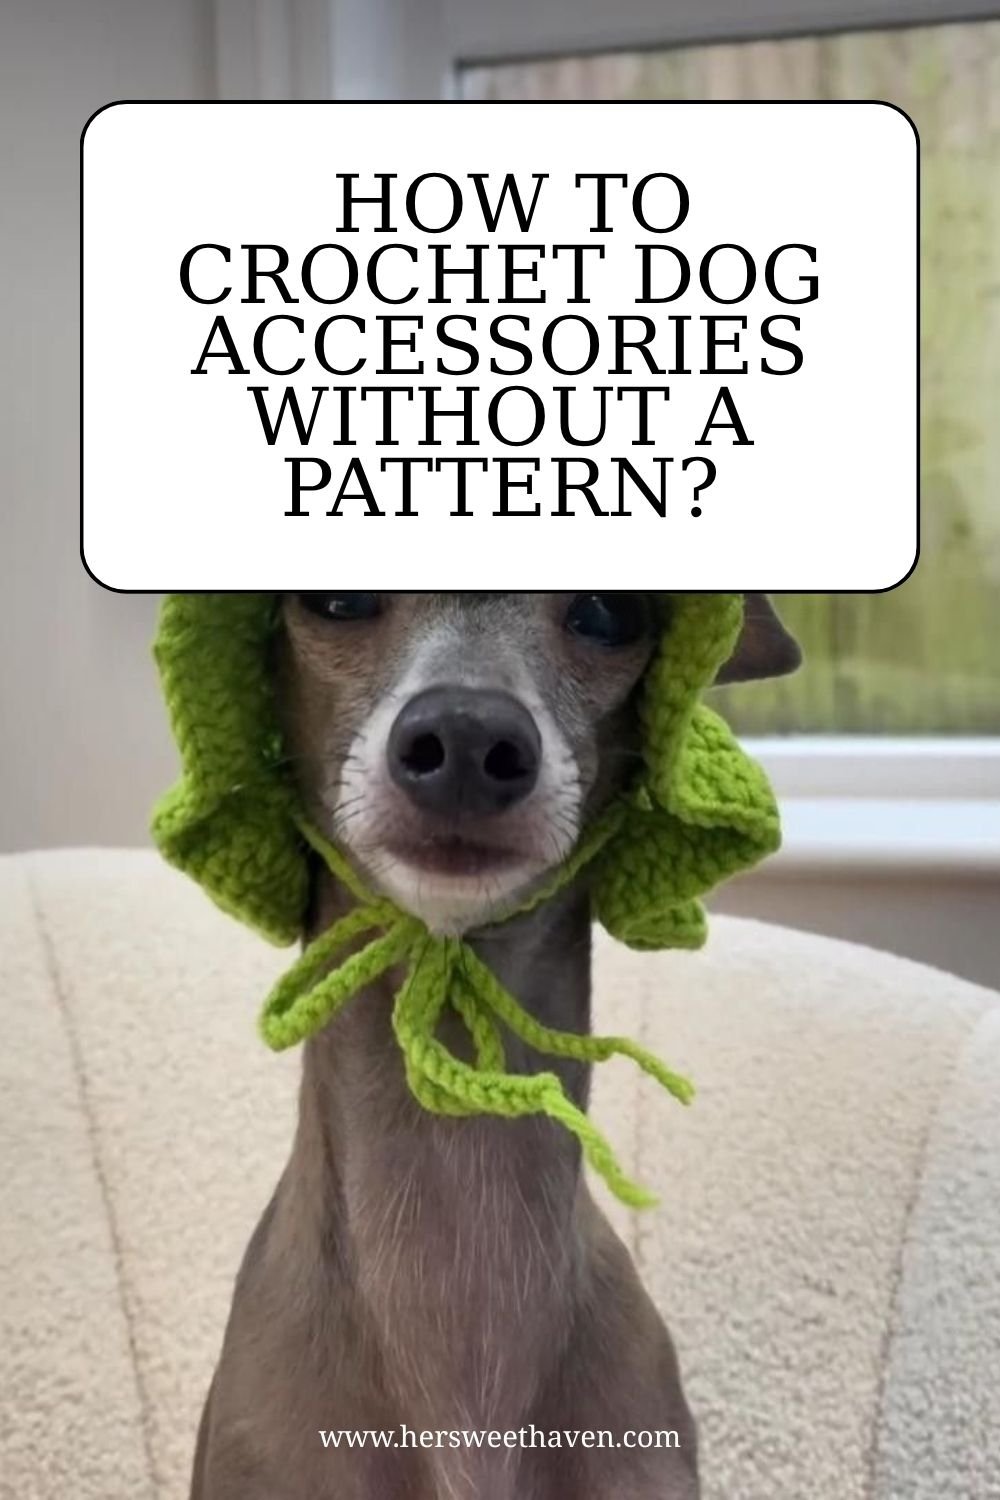
Want it done fast? Switch to bulky yarn and an 8 mm hook, and a three-hour project becomes thirty minutes. Chunky yarn also makes sturdier gear that lays flat instead of curling. A 50/50 cotton-acrylic blend is the gold standard, and a quick colorfast test (soak a snippet, press it on a paper towel) saves you from turning white fur pink in the next rainstorm.
Coquette Bows & Ruffles for Your Wardrobe
There’s a whole aesthetic built on soft yarn, softer colors, and a bow on absolutely everything, and crochet slots into it perfectly, because handmade already feels romantic. A ribbon bow from the store is cute. A crocheted bow someone made stitch by stitch is a love letter.
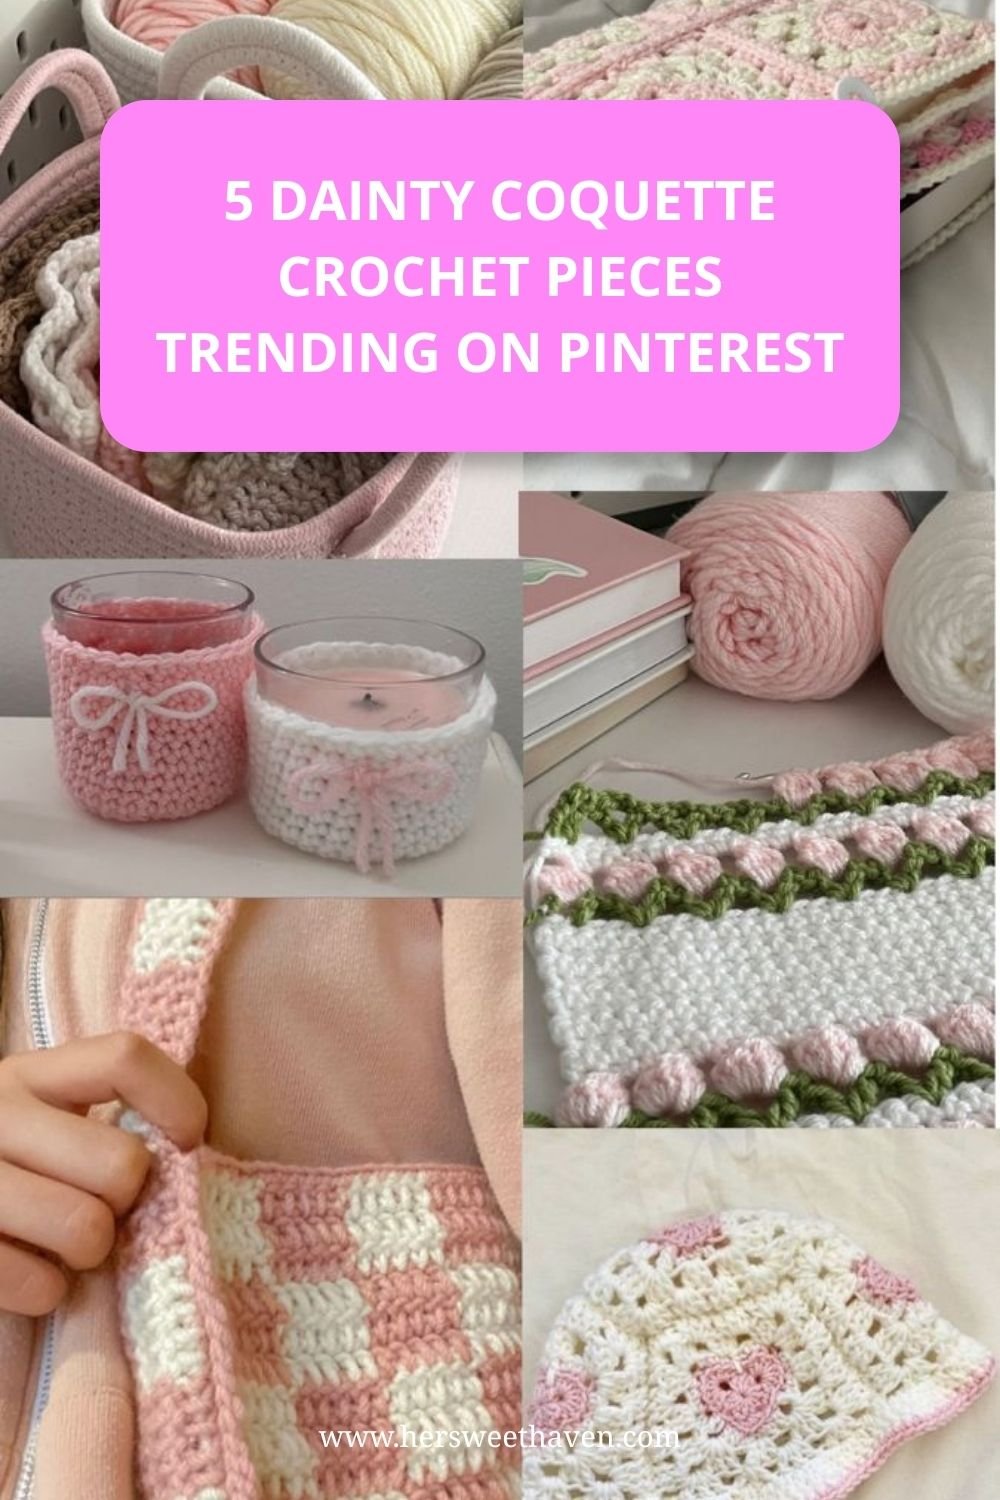
The aesthetic is hyper-feminine on purpose: bows, ruffles, pearls, blush pinks and creams. Style guides like The Style Click’s coquette breakdown trace it through balletcore and cottagecore, and the rare magic of it is that the DIY version is the aspirational one. Made better at home for two dollars of yarn.
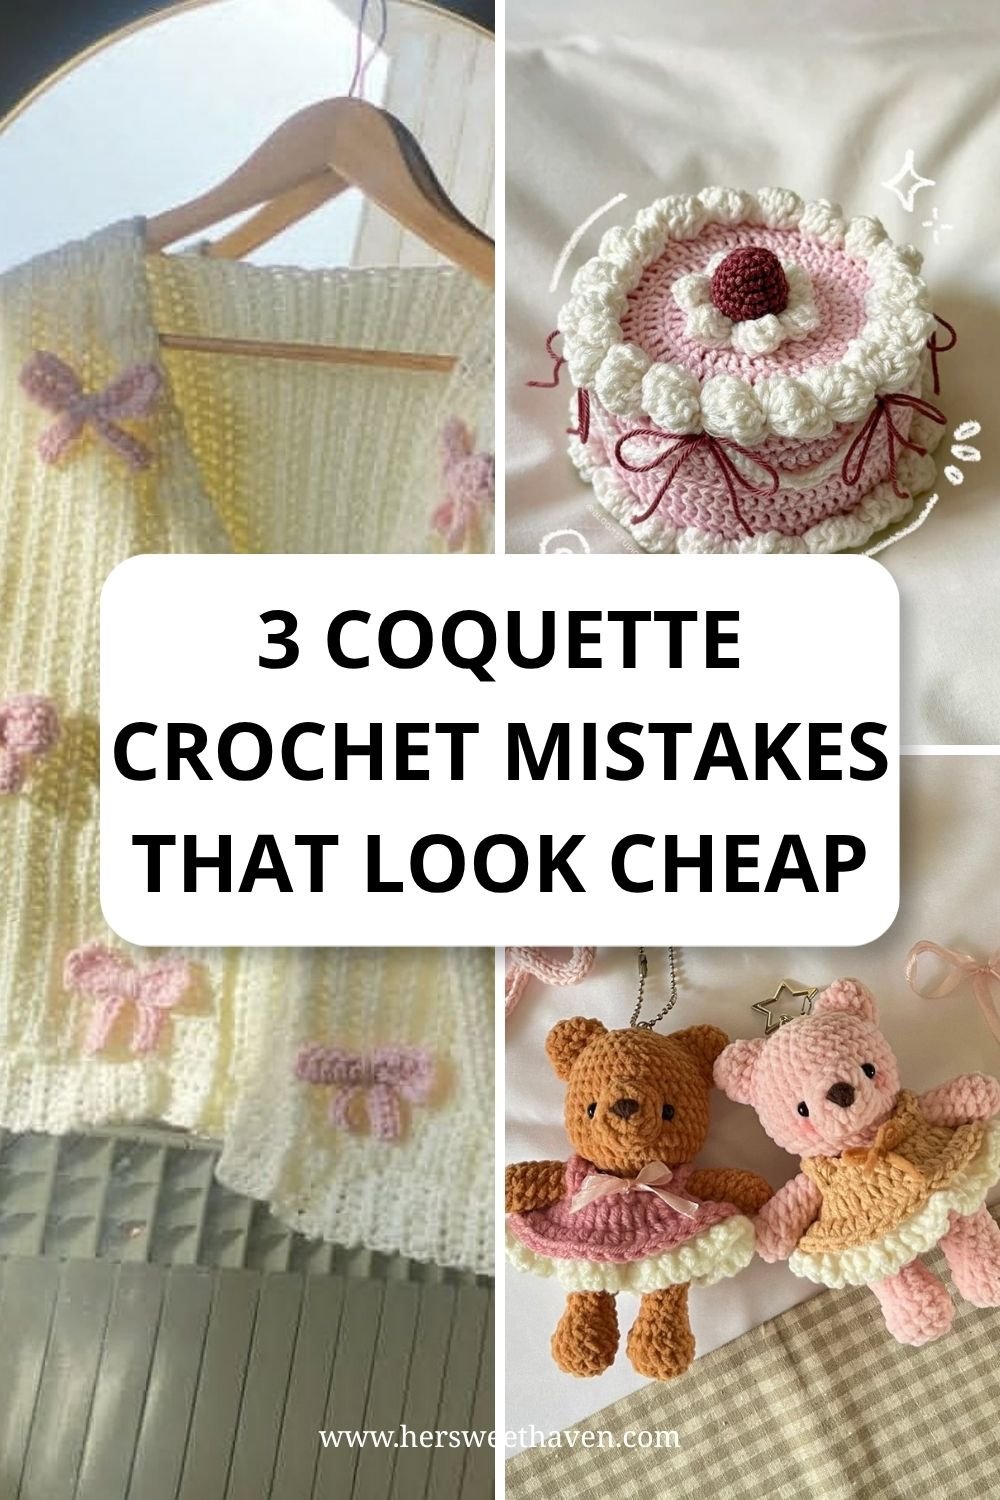
The projects come in three sizes. Wearables are the slow lane: a cream cardigan dotted with pink bows, ruffle-cuff socks, bow-strap tops. (If you’re new, buy the cardigan from a small maker and crochet the bows for it yourself.) Tiny accessories are where most people actually live: a scalloped bookmark with a bow, a charm on a tote, a cup cozy with a ribbon tie, each an evening of scrap yarn. And home touches like a ruffle edge on a plain pillowcase read as “collected over time,” which is the whole point.
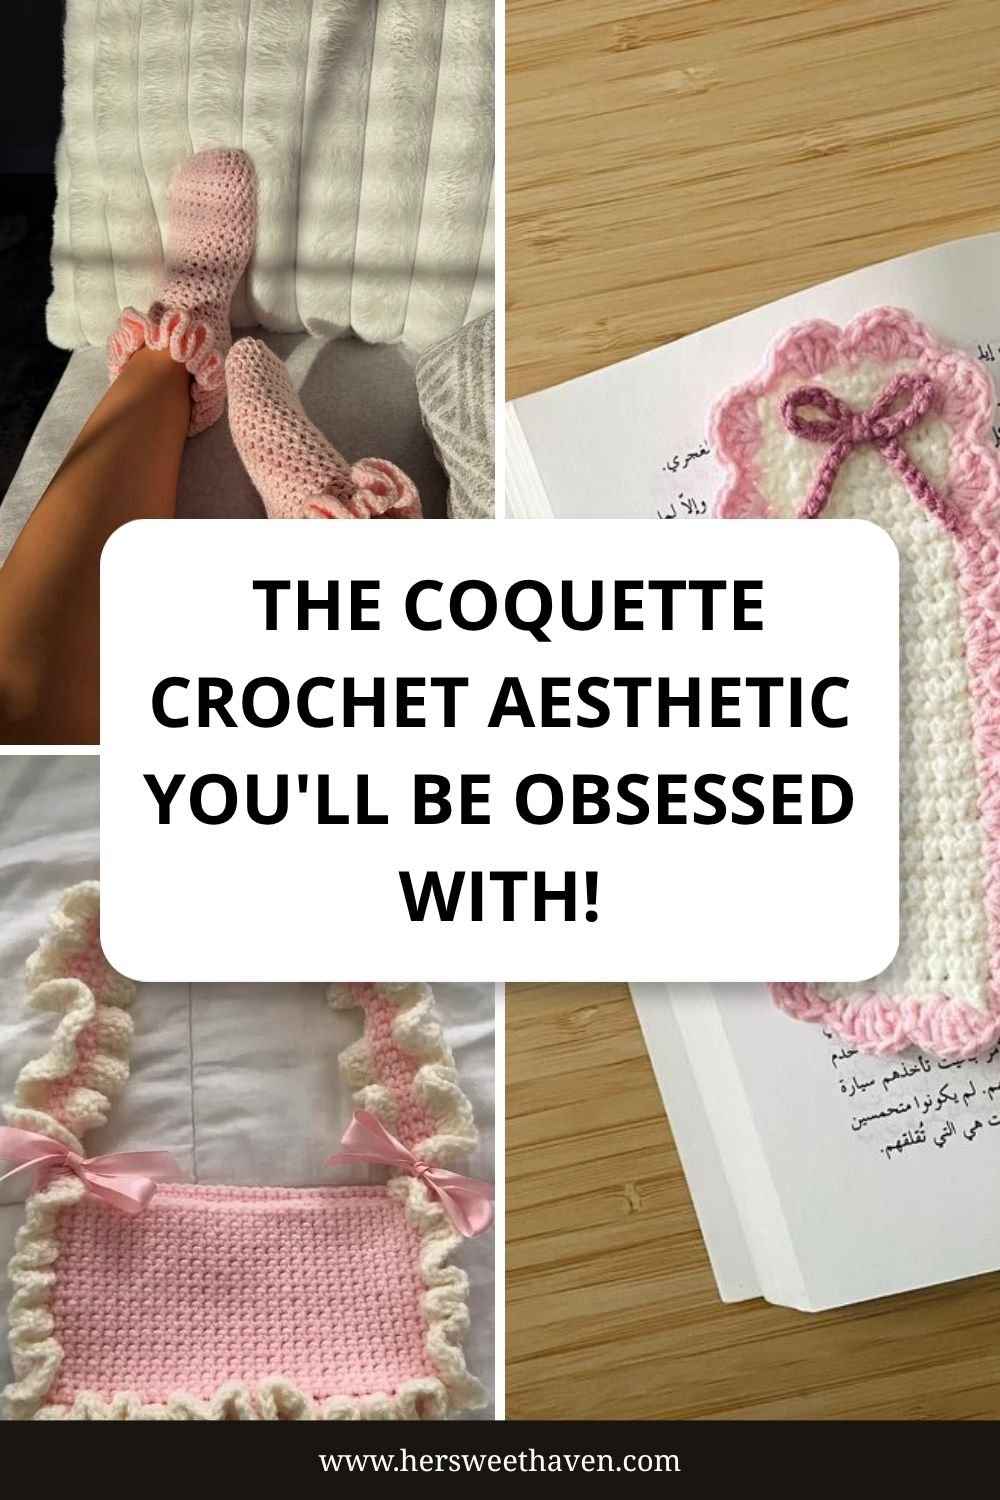
If I were handing a friend her first two coquette projects, they’d be these. First, the 20-minute bow, which is just a small rectangle cinched in the middle. Learn it once and you can put it on hair clips, bags, sweaters, and gift wrap. Free patterns like Creativebug’s easy crochet bows walk through several styles.
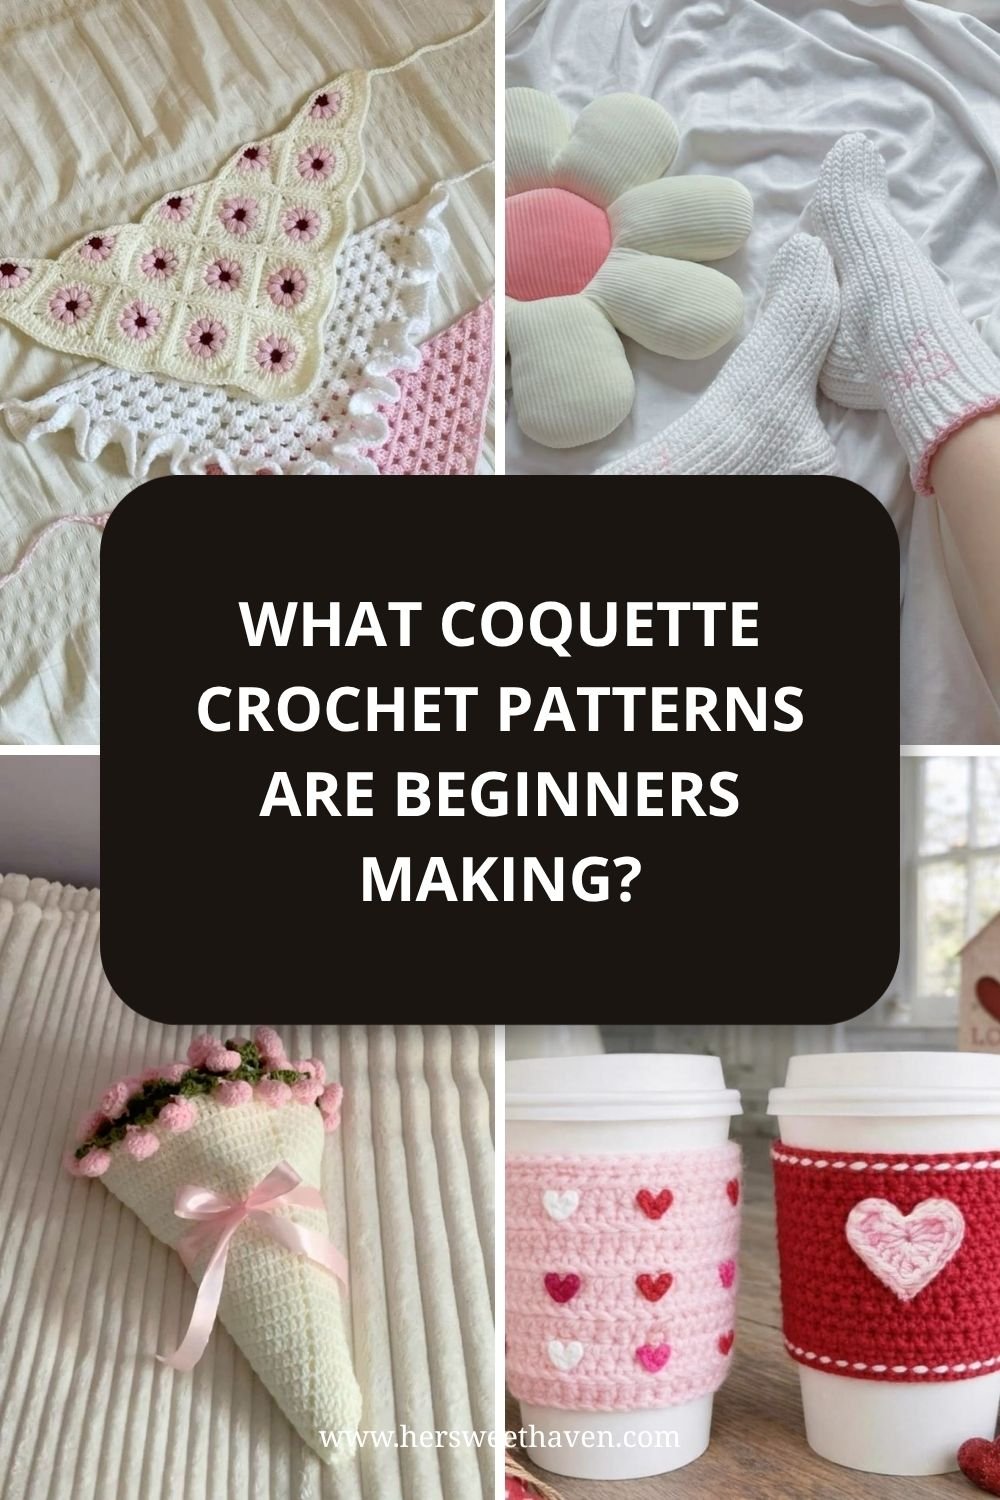
Second, the ruffle edge, which is just “too many stitches in one spot” behaving beautifully. Cram three stitches where one belongs and the fabric waves into that dreamy scalloped edge. Practice it on a small granny square, then start ruffling the edge of everything you own. And don’t stress about the name outlasting the trend: bows and blush pink have cycled through fashion forever, and the skills transfer to black or rust the second pink stops feeling like you.
Kids’ Hats in One Evening
Kid-sized projects have a secret advantage: less yarn, fewer rounds, faster finish line. You get the full start-to-done experience in a single evening instead of dragging a half-finished blanket around for three months.
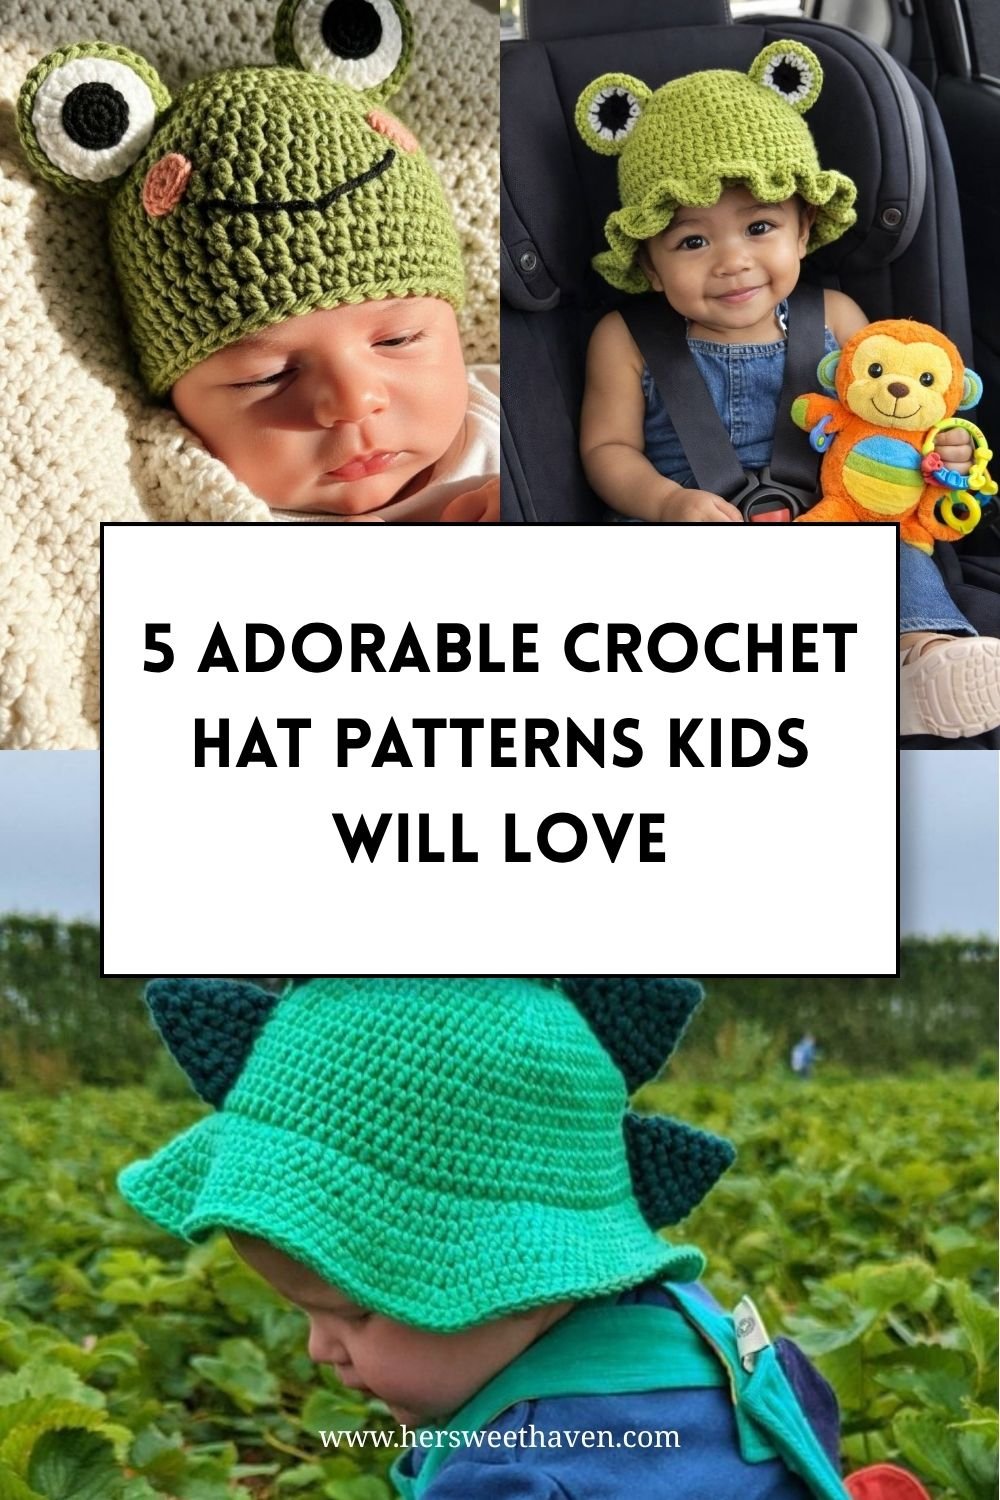
Kids are brutally honest fabric critics, so the yarn has to pass the itchy test. Soft acrylic, cotton, or a blend beats wool, and this guide to the best yarns for kids’ hats explains why washability matters just as much (these hats meet mud and snack juice). One ball of a worsted acrylic and a 5 to 5.5 mm hook is the whole kit, around five dollars.
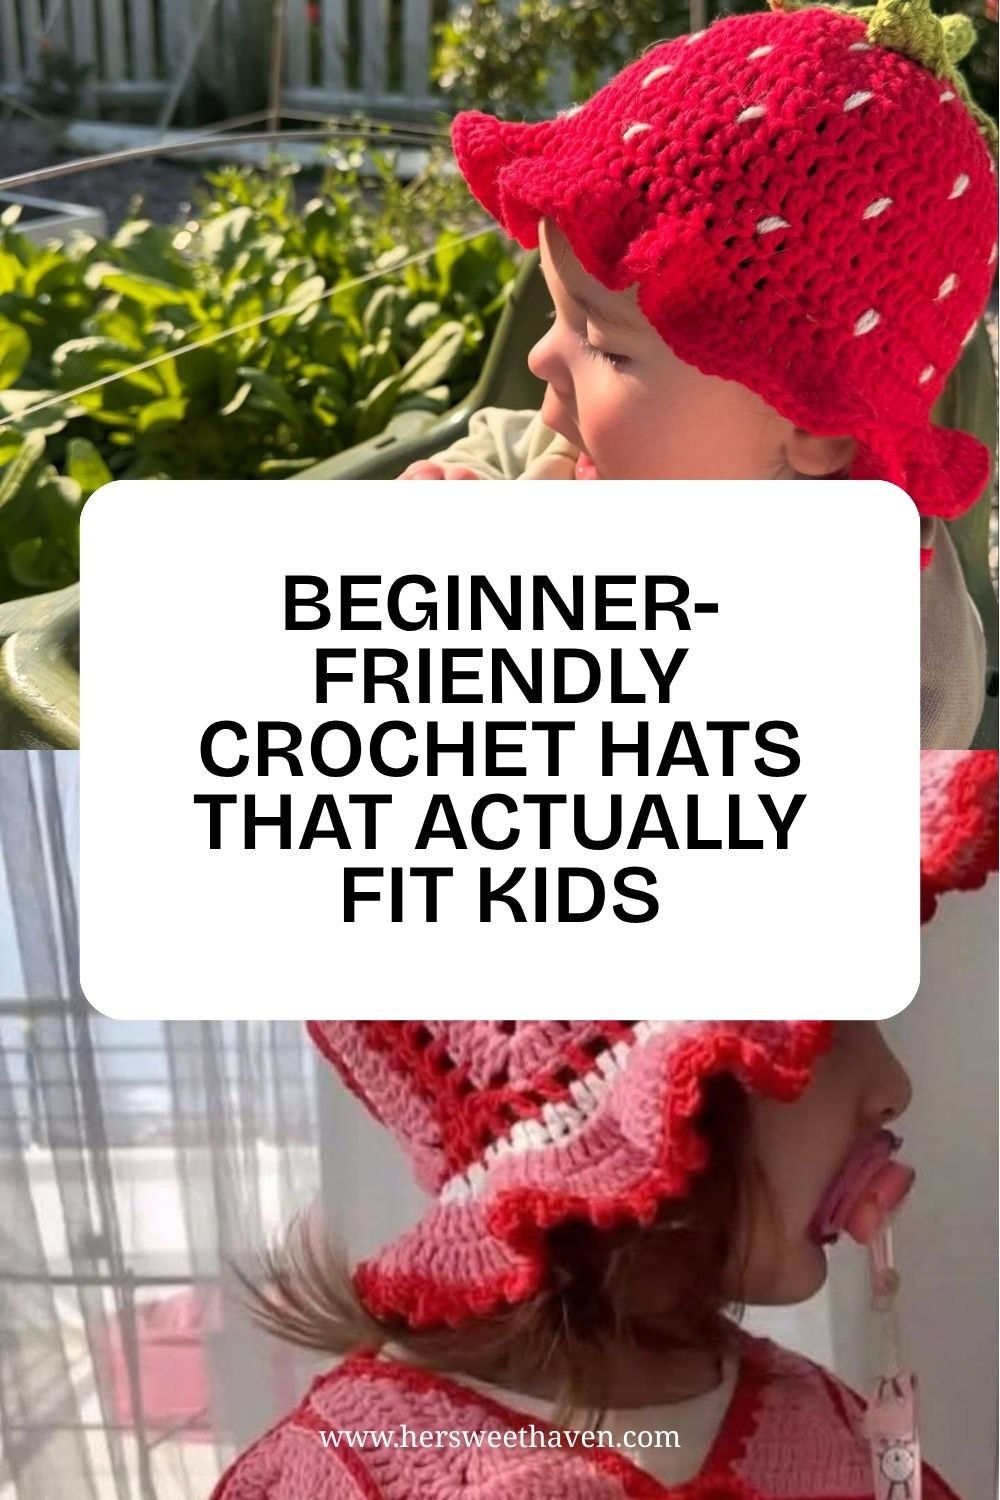
Sizing is where beginners slip, so measure, don’t guess. Wrap the tape around the widest part of the head, then subtract about an inch and a half, because crochet stretches and a hat made to the exact measurement slides over their eyes by lunch. The B.Hooked hat size chart lists averages by age if you can’t measure the actual kid.
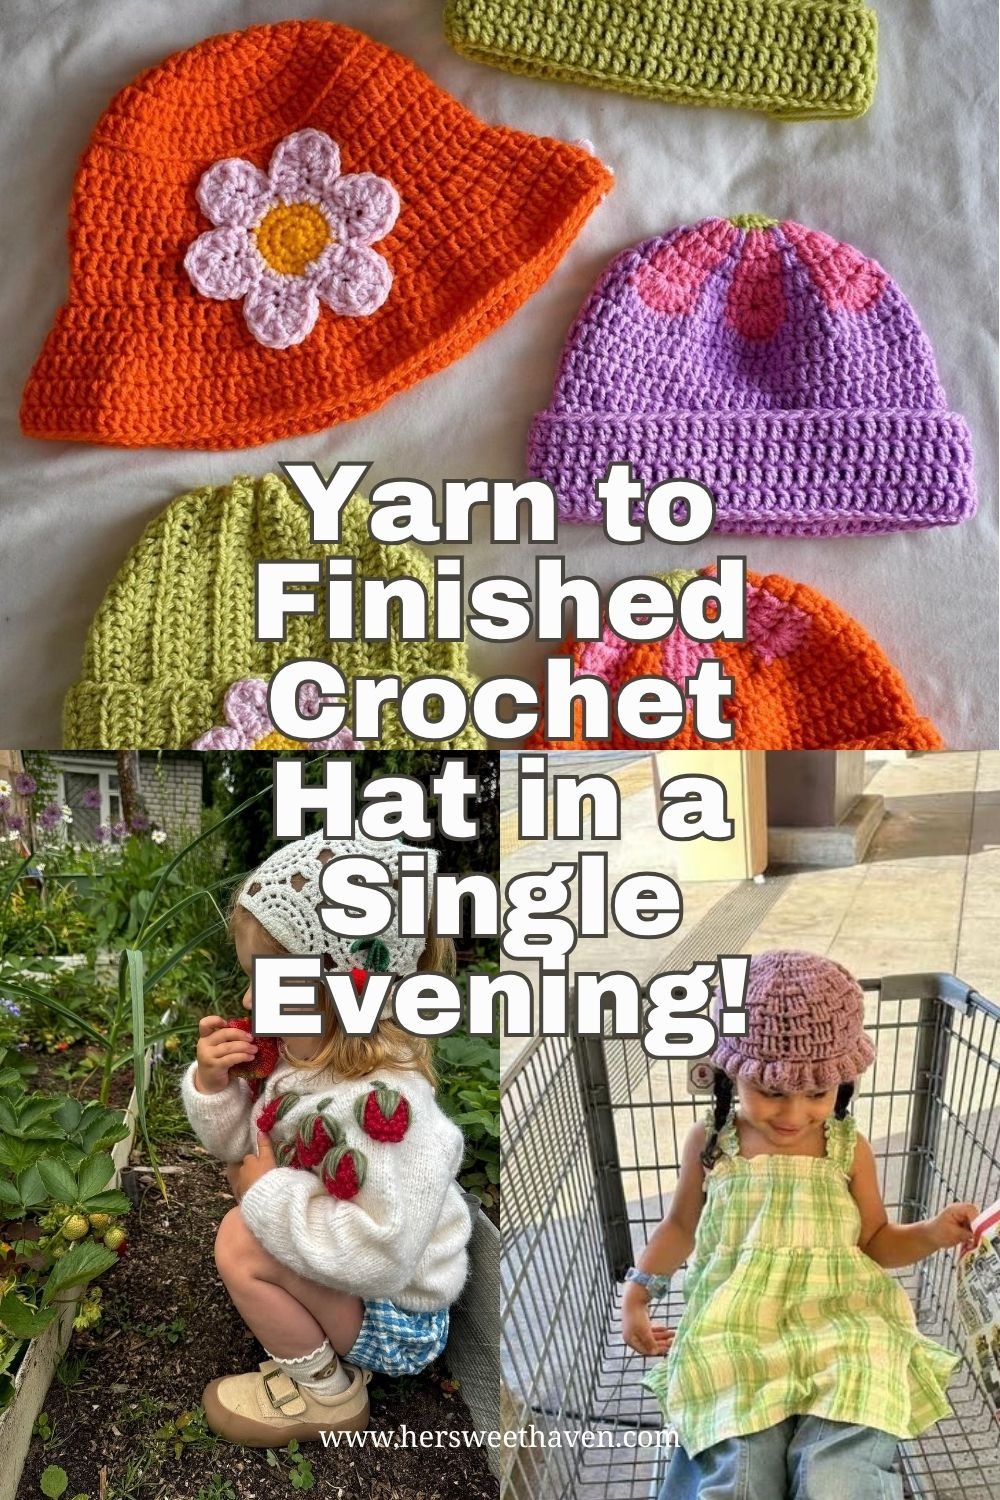
The beanie itself works from the top down, like a flat circle that curls into a bowl. Start a small crown, increase in rounds until the circle is about five inches across for a toddler, then stop increasing and work one stitch in each stitch, round after round. The geometry does the shaping for you. Finish with a round or two of single crochet for the brim, then weave in your ends. If you want exact counts, this one-hour child’s hat pattern is the one I’d hand any beginner.
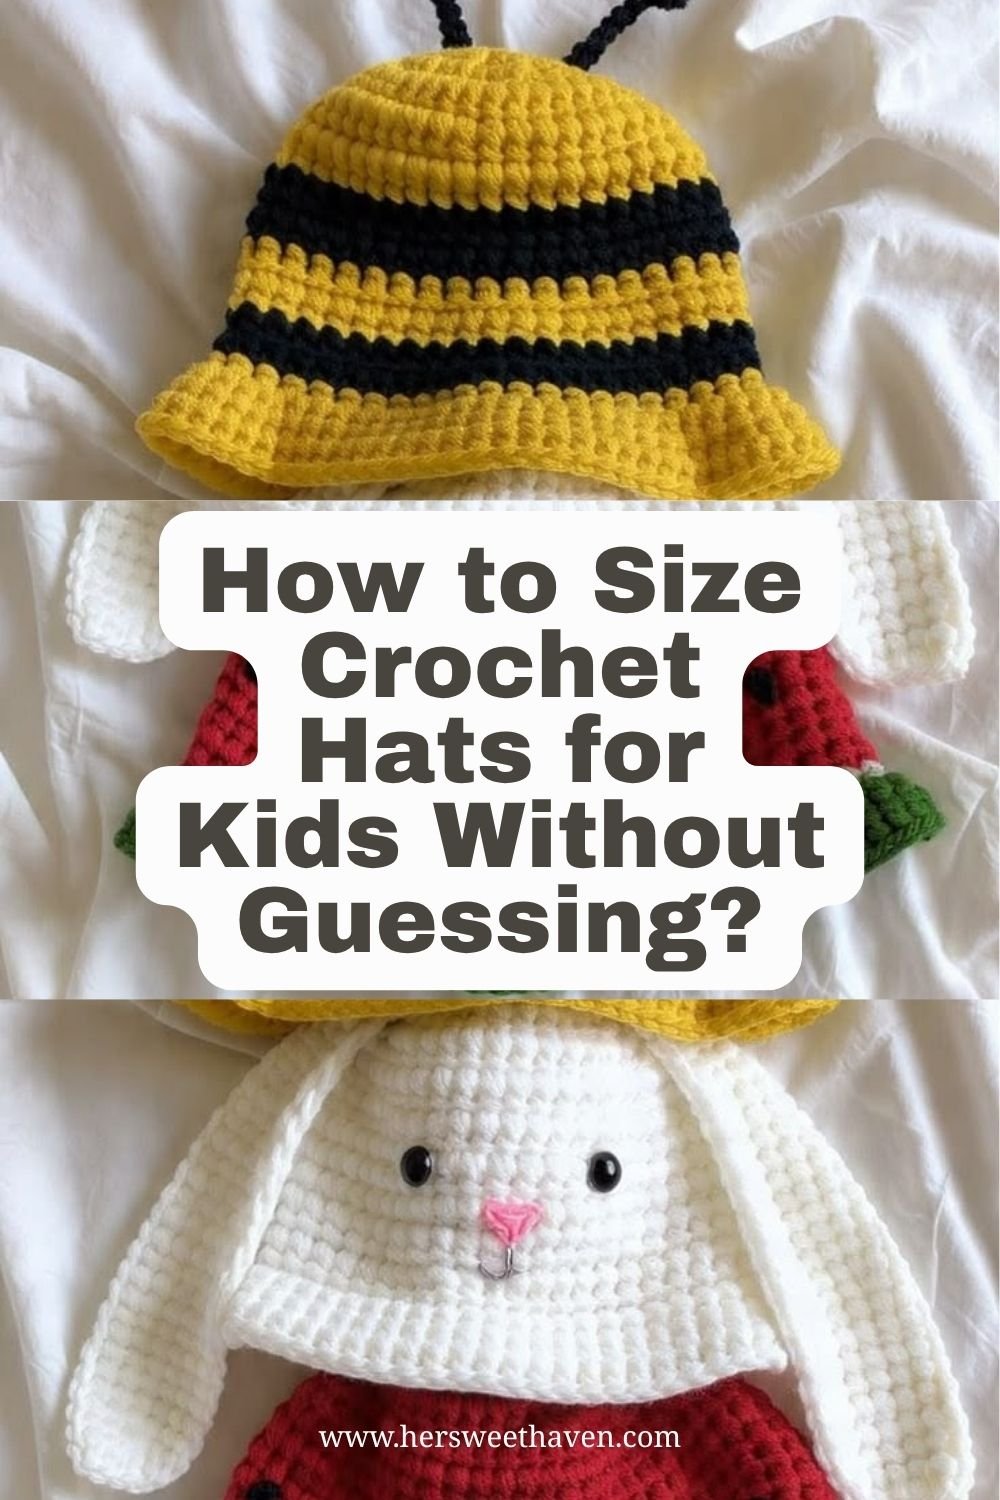
The trick to a hat that actually gets worn: let the kid pick. Color, style, whether it gets frog eyes or dino spikes. A kid who chose their own lime-green monster hat will refuse to take it off at dinner. And the novelty bits are easy, frog eyes are two crocheted circles, dino spikes are triangles sewn in a line.
Beginner Mistakes to Skip
Everyone makes these once. Consider this your shortcut past the frustrating part.
Crocheting too tight. Death-gripping the yarn makes a stiff, cardboard-feeling fabric and achy hands. Relax your yarn hand and let the loops slide easily on the hook. If your hat could double as a bowl, pull it out and go up a hook size.
Mismatching yarn and hook. The yarn label lists a recommended hook size, and ignoring it is how you get holey, floppy pieces or stiff little suits of armor. When in doubt, trust the label.
Skipping the try-on and the stitch count. Check fit partway through anything that has to fit, not at the very end when fixing it means unraveling half the project. And count your stitches after each increase round, because losing one here and there is how a round crown becomes a gentle spiral of chaos.
Rage-quitting over the magic ring. That adjustable loop most patterns open with is the single most infuriating technique for new crocheters. Skip it guilt-free: chain four, join into a ring, work your first round into that, and cinch the tiny hole closed with the tail later. Nobody inspects the top of a toddler’s head that closely.
It Was Never Just About the Object
Here’s what I keep coming back to across all four of these. The reason crochet feels so good has very little to do with the finished bouquet or bandana or bow. It’s the act itself: sitting down in the evening, making something soft with your hands, and ending up with a small, pretty thing that didn’t exist that morning.
That’s what a handmade object carries that a store-bought one can’t. Your first attempt won’t be perfect. Mine wasn’t, nobody’s is, and the dog wearing the slightly lopsided bandana could not care less. So pick your yarn color this week, chain four, and start your circle. One evening from now, you could be holding something you made, in a world that mostly just ships things to you. Start with whichever project made you smile, and let the rest follow.
Leave a Reply