

The real reason your paint chips off of your flower pots has nothing to do with your artistic skills (or lack thereof). It comes down to prep, the right paint, and one step almost everyone skips. Once you know the basics, painting terra cotta pots becomes one of the easiest, most affordable DIY projects you can do this summer.
In this post, I’m sharing 9 colorful painted flower pots ideas that look way more expensive than they are. You’ll also get the full breakdown on which paint to use, how to prep your pots, and the mistakes that cause peeling and chipping. Whether you want a fun weekend project or a personalized gift for under $5, these flower pot painting ideas have you covered.
Why Painted Flower Pots Are the Perfect Summer DIY
There’s a reason everyone is obsessed with DIY painted flower pots right now. They check every box: cheap supplies, beginner-friendly techniques, and results that actually look good. If you love projects like hand-painted tote bags or DIY fairy garden decors, you’re going to love this one too.
They Cost Almost Nothing to Make
A standard terra cotta pot costs between $1 and $3 at most hardware or craft stores. A set of acrylic paints runs about $5 to $10 and will last you dozens of pots. Add a can of clear coat sealer for around $6, and you’re looking at less than $5 per finished pot. Compare that to a decorative planter at a home store for $20 to $40, and the math speaks for itself.
Terracotta pots are a crafter’s best friend because they’re inexpensive, widely available, and take paint well.
You Don’t Need Artistic Talent
Here’s the thing: some of the best painted flower pots ideas are also the simplest. Polka dots, stripes, solid color blocking, and simple fruit shapes are all beginner-level designs that look incredible. A foam brush, a few colors of acrylic paint, and a little patience are all it takes.
If you can paint a circle, you can paint a strawberry. If you can make a line, you can do stripes. The imperfect, hand-painted look is part of the charm, and that’s what makes hand painted flower pots so appealing compared to factory-made planters.

9 Colorful Painted Flower Pots Ideas to Try This Season
Now for the fun part. Here are 9 flower pot painting ideas organized by theme and design style. Each one works on standard terra cotta pots and uses basic acrylic craft paint.
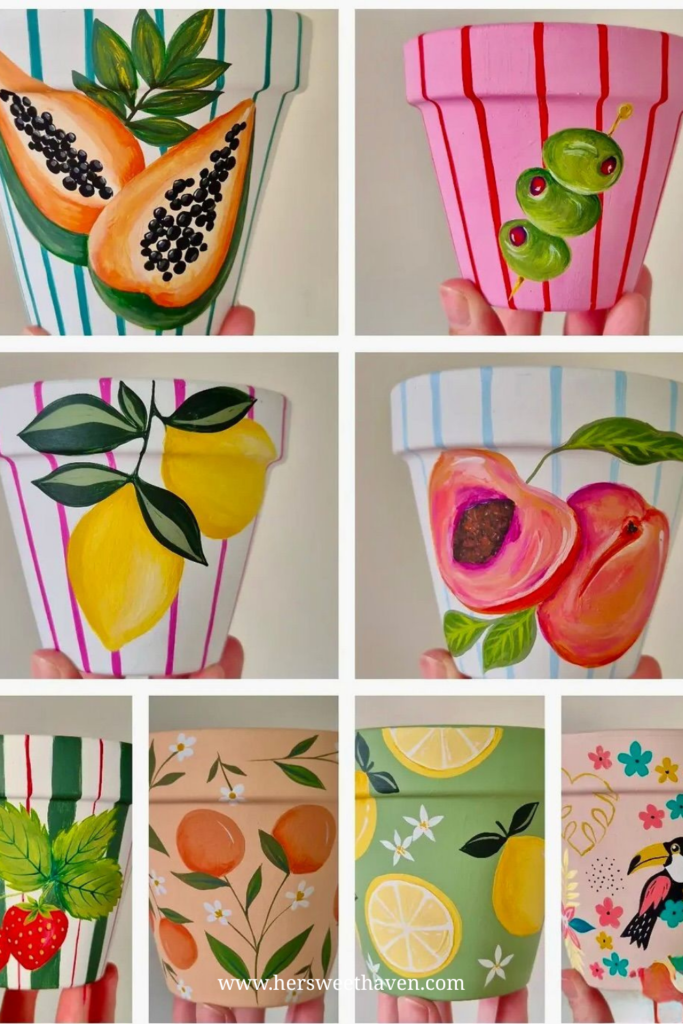
1. Fruity Citrus Pots
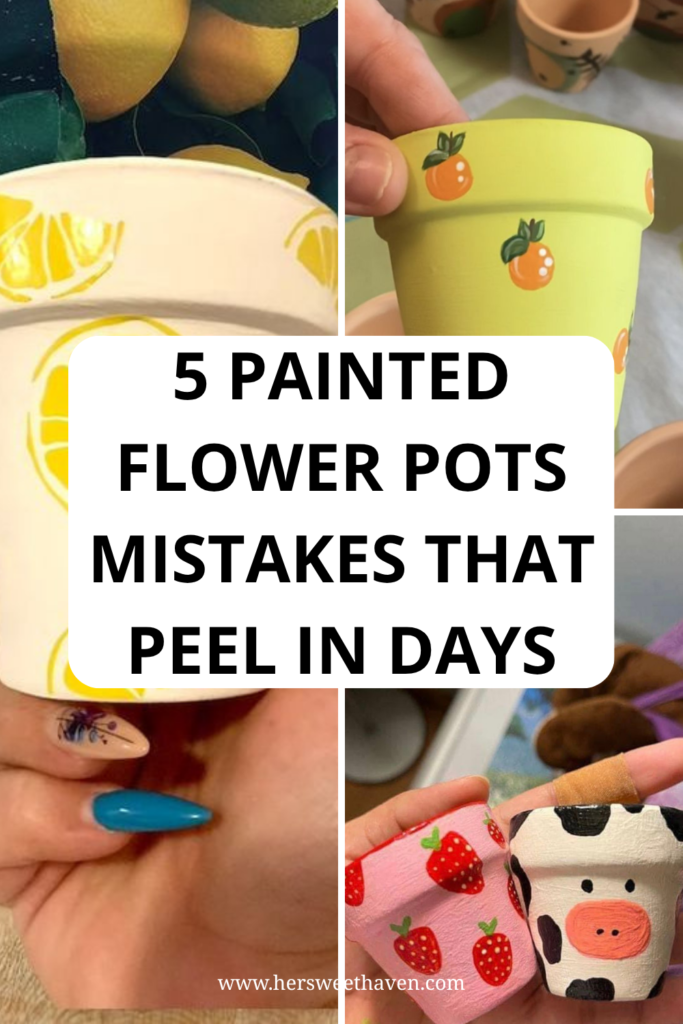
Lemons, oranges, and peaches on a painted flower pot are giving major summer energy. The trick to making these look polished is to start with a solid base color (white, soft peach, or light green work well) and then paint your fruit shapes once the base is fully dry.
Add small white daisy accents or green leaves between the fruit for extra detail. Pair a lemon pot with blue and white stripes for that coastal, Mediterranean feel. These are some of the most popular painted flower pots ideas on Pinterest right now, and for good reason.
2. Bold Food-Themed Pots
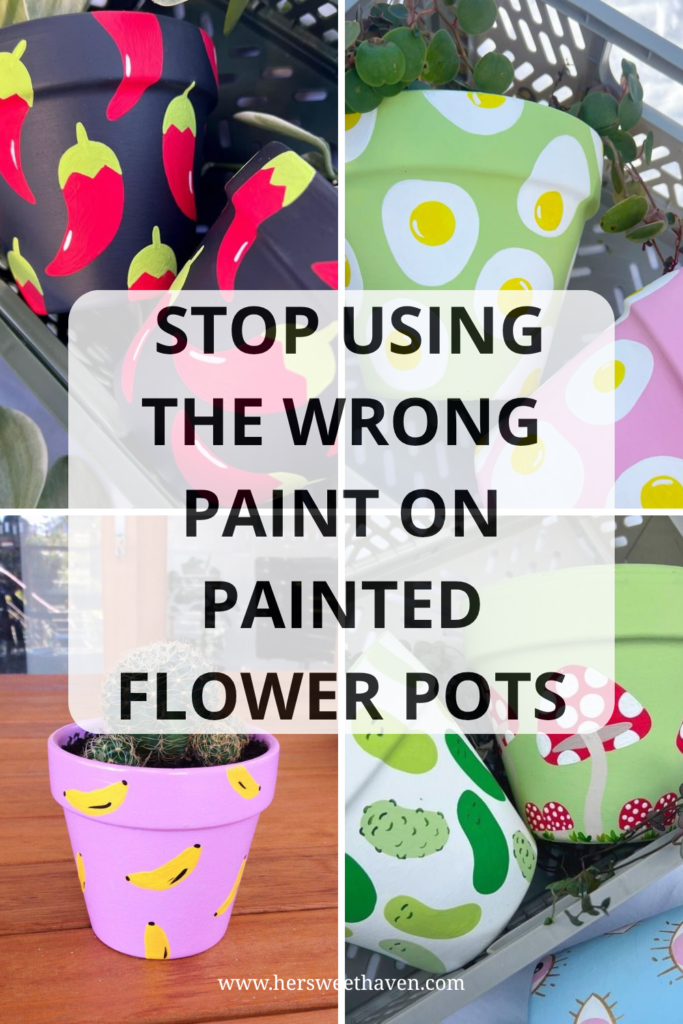
If citrus is too subtle for you, go bigger. Think chili peppers on a black base, fried eggs on green, bananas on lavender, or little mushrooms on sage green. These bold, food-themed designs are playful and make a real statement on a patio shelf or kitchen windowsill.
The key here is contrast. Pick a dark or saturated base color and paint your food motifs in bright, opposite tones. A purple pot covered in yellow bananas? That works. A dark navy pot with red and green chili peppers? Even better. This style of painted flower pot is perfect for anyone who wants their decor to have personality.
3. Sweet Berry Pots
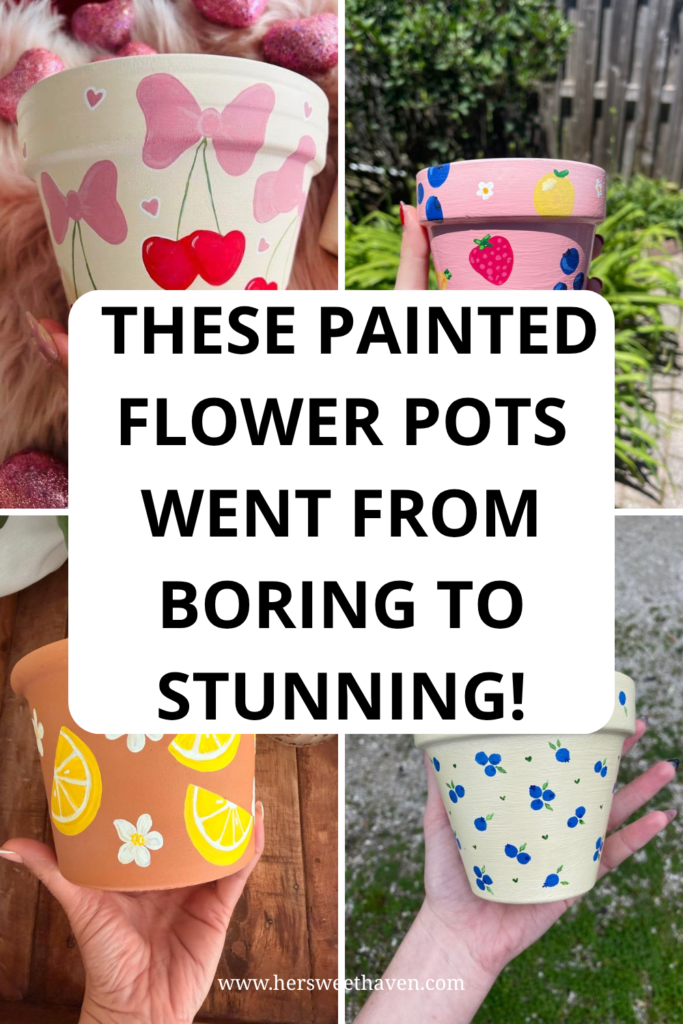
Strawberries and blueberries are some of the easiest designs for beginners. A strawberry is basically a red oval with yellow dots and a green top. A blueberry is a small blue circle with a tiny star shape.
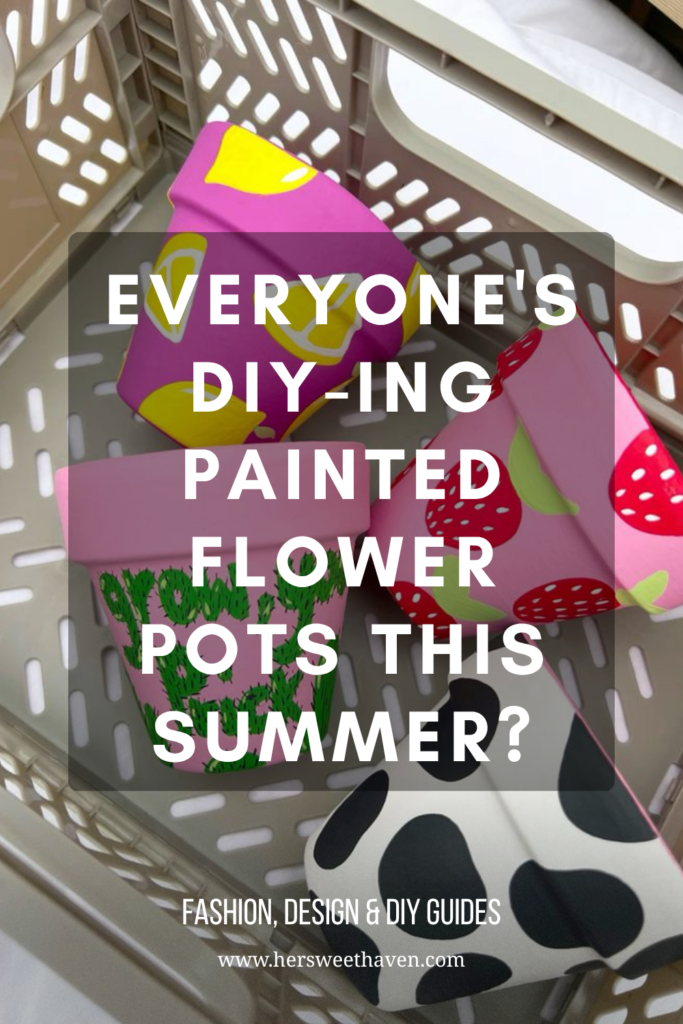
Paint your pot a soft pink or cream base, scatter strawberries across the surface, and you’ve got something that looks like it came from an artisan market. For blueberries, try a pale yellow or off-white base so the blue really pops. These berry-themed painted flower pots went from boring terra cotta to something you’d want to display on your front porch.
4. Cow Print and Animal Pots
Cow print is still going strong, and it looks ridiculously cute on a flower pot. The design is forgiving too: just paint your pot white, let it dry, and add irregular black patches. Done.
You can also try other animal-inspired designs. A simple pink pig face, a ladybug pattern in red and black, or a chicken design for a farmhouse vibe. Animal-themed flower pot crafts are great for kids’ rooms, garden shelves, or as gifts. The cow print pot in particular pairs well with trailing plants like string of pearls or pothos.
5. Stripe and Pattern Combos
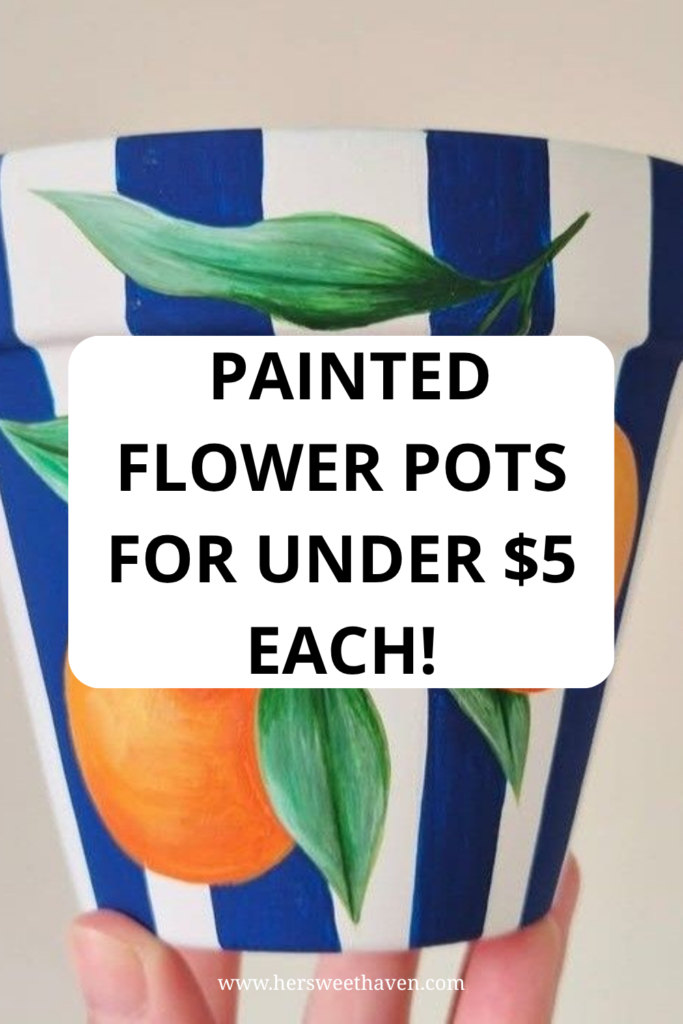
Vertical stripes on a terra cotta pot are a classic look that never goes out of style. Use painter’s tape for clean lines, or freehand them for a more relaxed, handmade feel. Alternate between two colors (blue and white, pink and red, green and teal) for a preppy, put-together look.
Take it up a notch by combining stripes with a painted motif. A blue-and-white striped pot with a big lemon painted on top? That’s the kind of design that gets saved and pinned thousands of times. The striped base adds structure, and the fruit overlay adds personality.
This combo style is where painted flower pots terra cotta really gets to shine, because the natural warm tone of the clay peeks through between the stripes and adds warmth.
6. Gingham and Vintage-Inspired Pots
For a farmhouse or cottage aesthetic, try painting a gingham pattern. It takes a bit more patience (you’re essentially painting a grid of overlapping color), but the result looks like something straight out of a country kitchen.
Add a small painted label and wrap the rim with a painted scallop edge or faux ribbon detail. This style works well with herbs or small flowering plants and makes a thoughtful housewarming gift.
7. Valentine and Seasonal Theme Pots
Pink bows, red cherries, hearts, and coquette-inspired designs are perfect for a Valentine’s themed painted flower pot. But you can adapt this approach for any season. Pastels and bunnies for spring, sunflowers for summer, pumpkins for fall, snowflakes for winter.
The benefit of painting your own pots is that you can switch up your decor seasonally without spending a fortune. One pot, four seasons, four completely different looks.
8. Tropical and Vacation-Inspired Pots
Papaya slices, olives on a cocktail pick, peach halves, and bright tropical color palettes bring vacation vibes right to your patio. These designs tend to use bolder, more saturated colors and larger motifs than the dainty berry or citrus styles.
For a cohesive look, paint three or four pots with different tropical fruits but use the same stripe pattern as the background. The variety keeps things interesting, and the matching stripes tie everything together.
9. Mix-and-Match Collections
Instead of painting one pot, paint a whole collection. Use a shared color palette but vary the designs: one pot with lemons, one with daisies, one with stripes, one with polka dots.
When grouped together on a shelf, windowsill, or porch step, a collection of painted flower pots has way more visual impact than a single pot on its own. This is also a great approach for a craft night with friends. Everyone paints their own design, and at the end, you line them all up for a colorful display.
What’s the Best Paint for Painted Flower Pots?
Picking the right paint is probably the single most important decision you’ll make in this project. Get it wrong, and your beautiful design will flake off within days. Get it right, and your pots will look great for years.
Acrylic Paint vs. Spray Paint vs. Chalk Paint
Acrylic craft paint is the most popular and practical choice for painting terra cotta pots. It’s affordable, comes in every color, dries quickly, and adheres well to clay surfaces. For outdoor pots, look for acrylic paint labeled “outdoor” or “multi-surface” for the best durability.
Spray paint is another solid option, especially for base coats or solid-color pots. It gives a smooth, even finish without brush strokes. Apply two thin coats rather than one heavy coat to avoid drips.
Chalk paint gives a matte, vintage-style finish that looks beautiful but is less durable outdoors without a sealer. It’s a better choice for indoor pots or decorative pieces.
One thing to avoid completely: tempera paint and watercolor paint will flake off or not stick well to terra cotta. These are designed to be washable and are not meant for permanent projects. Stick with acrylic or spray paint for results that last.
If you enjoy painting projects, you might also want to check out these outdoor furniture painting ideas for more ways to refresh your outdoor space with a brush and a can of paint.
Why Using the Wrong Paint Causes Peeling
When paint peels off a flower pot, it’s usually not the paint’s fault. Terracotta is porous, which means it absorbs water. When moisture travels through the clay wall, it pushes from behind the paint layer and forces it to lift.
Water-based acrylics marketed as “craft-friendly” aren’t all suitable for outdoor use. You need formulations specifically labeled “exterior,” “weatherproof,” or “multi-surface.” The same applies to plastic pots: painting plastic without proper priming means the paint has nothing to grip, and it will chip off within weeks.
How to Make Painted Flower Pots That Actually Last
Here’s the step-by-step process that separates a painted pot that lasts for years from one that starts peeling after the first watering.
Step 1: Clean and Prep Your Terra Cotta Pot
Start with a clean, dry pot. If you’re reusing an old pot, scrub it with warm soapy water and a stiff brush to remove all dirt and mineral deposits. For new pots, wipe them down with a damp cloth to remove dust.
Let the pot dry completely. This is not optional. Moisture trapped in the clay will cause problems later, no matter how good your paint and sealer are. Give it at least a few hours, or overnight if possible. For an even smoother finish, lightly sand the surface with fine-grit sandpaper to help paint grip better.
Step 2: Seal Before You Paint
This is the step most people skip, and it’s the reason most painted flower pots fail.
Terra cotta is like a sponge. Every time you water your plant, moisture seeps through the clay walls and pushes against the paint from behind. That pressure forces the paint to lift off the surface. The fix is simple: seal the inside of the pot before you paint the outside.
Use a clear, water-based sealer or a terracotta-specific primer on the inside of the pot (and the saucer), let it dry for 24 hours, and then start painting. This prevents water and soil from seeping through the porous terracotta and ruining your design.
Step 3: Apply Thin Coats and Let Them Dry
Thin, even coats of paint are always better than one thick layer. Thick paint drips, cracks, and takes forever to dry. Apply your base color, wait one to two hours, then add a second coat if needed.
Once your design is finished and fully dry (give it at least 24 hours), seal the outside with a clear acrylic spray in matte or gloss finish. This final coat protects against UV rays, rain, and scratching.
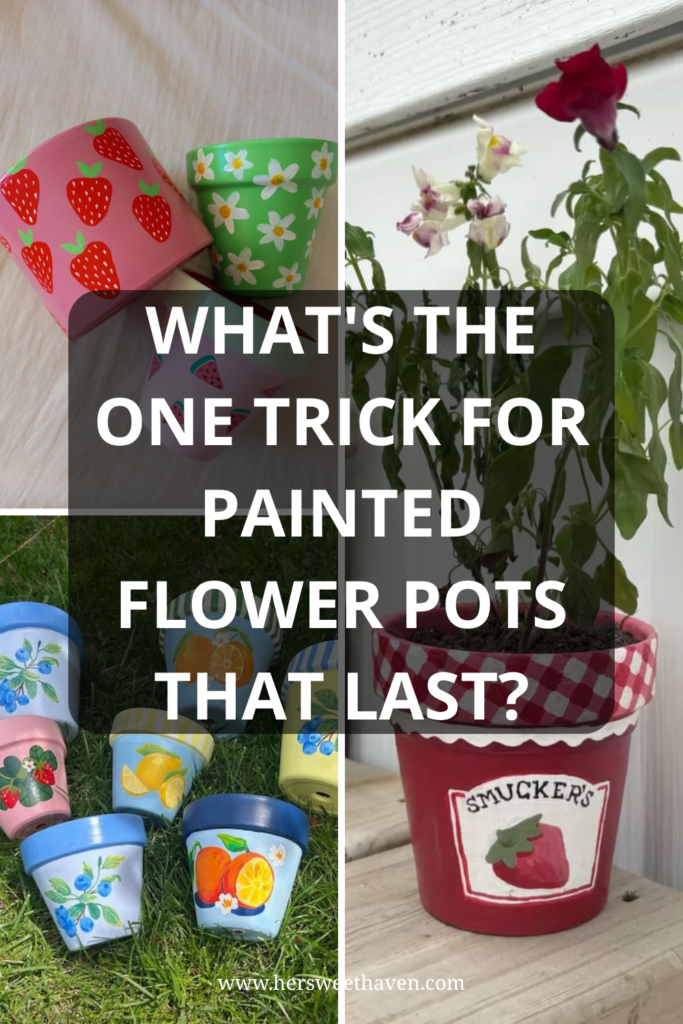
5 Painted Flower Pots Mistakes That Cause Peeling and Chipping
If your painted flower pots keep falling apart, chances are you’re making one (or more) of these common mistakes.
Skipping the Sealer
Already covered this above, but it’s worth repeating because it’s the number one reason paint fails on terra cotta. Sealing the pot before and after painting is the key to preventing chips and fading. Think of it as sunscreen for your pot: invisible, takes 30 seconds to apply, and saves you from a lot of damage.
Painting on a Damp or Dirty Pot
Any moisture or residue on the surface will prevent paint from bonding properly. If the pot isn’t spotlessly clean and dry before you start, even the best primer and sealer won’t save you. Wash it, dry it, then wait a little longer before you pick up the brush.
Applying Paint Too Thick
It’s tempting to slap on one heavy coat and call it done. Don’t do it. If you apply too much paint at once, it may bubble, crack, and peel. Two to three thin layers with drying time between each one will always give you a smoother, more durable finish.
Using the Wrong Type of Paint
Watercolor and tempera paints are washable by design. They’re made for kids’ art projects, not outdoor planters. Stick with acrylic craft paint or outdoor spray paint. If you plan to keep your pots outside, double-check that the label says “outdoor” or “multi-surface.”
Leaving Pots Outdoors Without a Clear Coat
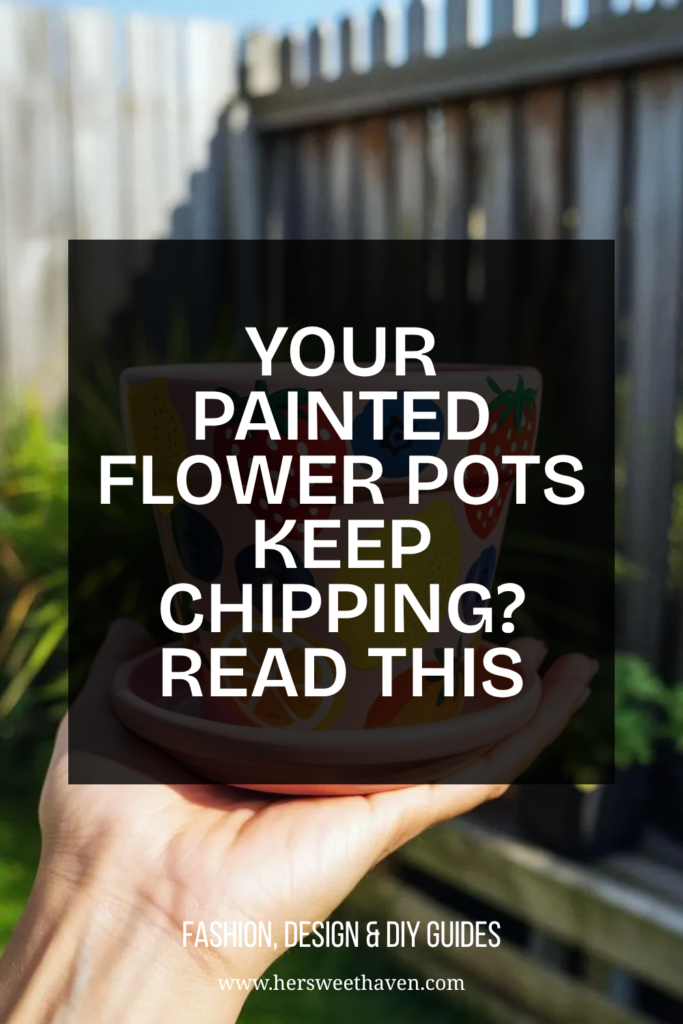
Even outdoor-rated acrylic paint benefits from a clear protective top coat. Without it, UV rays will fade your colors and rain will slowly break down the paint layer. A quick spray of clear acrylic sealer after your design is dry extends the life of your painted flower pot significantly.
During winter, bring your painted pots inside or into the garage to prevent cracking. If water freezes inside a sealed pot, it can crack both the pot and the paint.
Is Painting Flower Pots Worth It on a Budget?
Absolutely. Let’s break it down.
A pack of 4-inch terra cotta pots (6 pots) costs around $6 to $8. A set of acrylic paints runs about $8. A can of clear coat sealer is about $6, and a few foam brushes cost a couple of dollars. Total: roughly $20 to $25 for 6 to 10 finished pots. That’s $2 to $4 per pot.
Compare that to a single decorative planter at a home goods store, which easily runs $15 to $40. The DIY route wins every time.
Painted flower pots also make amazing personalized gifts. A hand painted flower pot with a small succulent or herb inside is a thoughtful, budget-friendly present for birthdays, housewarmings, or Mother’s Day. It shows effort and creativity without blowing your budget.
If you’re looking for more ways to freshen up your outdoor space without spending a lot, check out these patio decorating ideas on a budget and this roundup of DIY tiered planter stands made from crates.
Your Turn to Get Creative
Painted flower pots are one of those rare DIY projects that are beginner-friendly, affordable, and produce results you’ll want to show off. Pick one design from this list, grab a pot and some acrylic paint, and try it this weekend. Start simple with polka dots or stripes, and once you get comfortable, work your way up to fruity patterns and bold food themes.
The only real “rule” is to seal your pot before and after painting. Do that, and your hand painted flower pots will hold up through summer watering, sun exposure, and everything in between.
Which design are you going to try first? Save this post for later so you have it ready when the crafting mood hits.
Want another handmade piece for the porch? These homemade wind chimes sound as good as they look.

Leave a Reply