
Candle making is one of the easiest crafts to start, and fall is the best season for it. The colors are warm, the scents are cinnamon, orange and clove, and a homemade candle makes a gift, a centerpiece and an evening ritual all at once. Every project comes with the amounts, and the basics come first, because a candle that tunnels or smokes isn’t much of a gift.
What you need
You don’t need much to start, and most of it can be reused for every project.
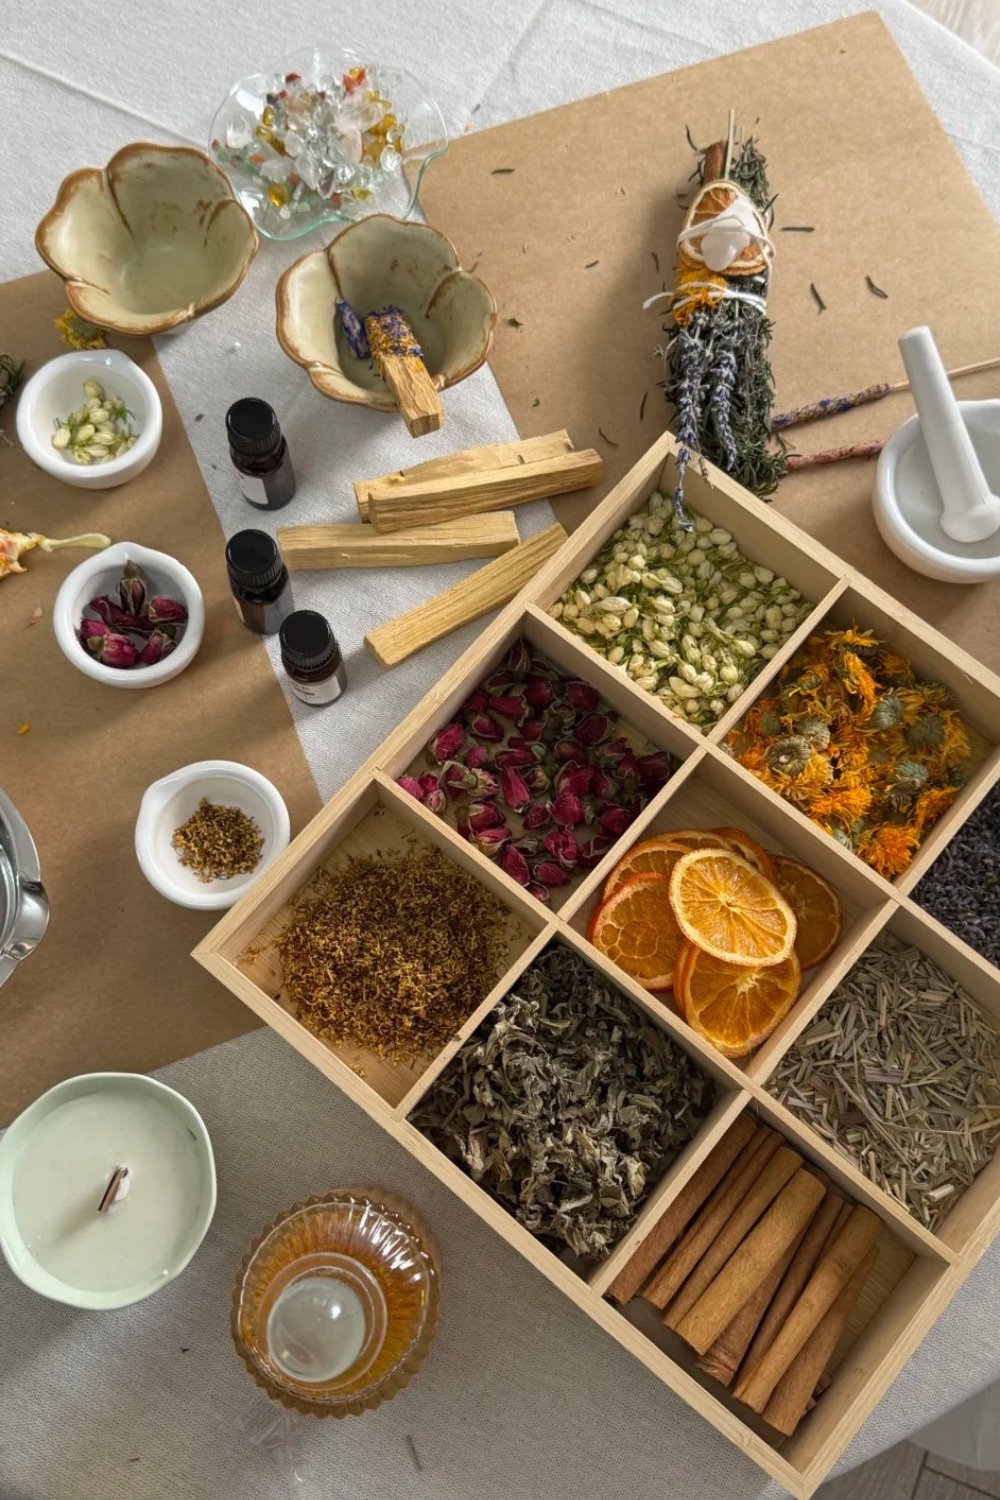
- Wax. Soy wax is the easiest for beginners: it melts at a low temperature, cleans up with soap and water, and holds fragrance well. Beeswax burns longer and smells faintly of honey on its own. Container wax and pillar wax are different: container wax is soft and sticks to the sides of a jar or bowl, while pillar wax is harder and holds a shape out of a mold. Use pillar soy, a soy blend made for molds, or beeswax for pumpkins and other shapes.
- Wicks. Cotton wicks with metal tabs for most projects, or wooden wicks for a crackling sound and a flat, wide flame. Wick size depends on the width of the candle, so check the supplier’s sizing chart.
- Fragrance oil. Use oils made for candles, not diffuser oils, which often burn off or smell weak.
- A thermometer. A simple kitchen or candy thermometer is enough.
- A pouring pitcher and a saucepan for a double boiler.
- Silicone molds in pumpkin, leaf or fruit shapes.
- Wick stickers and centering bars, or a pair of chopsticks and a clothespin.
The basic process
Every project below follows the same five steps. The temperatures are a general guide for soy wax; always check the wax and fragrance supplier’s recommendations, since blends vary.
- Melt. Heat the wax in a pitcher set in a saucepan of simmering water until it reaches about 185°F.
- Add fragrance. Take it off the heat and stir in fragrance oil at 6–8% of the wax weight. Stir gently for two minutes so it binds.
- Cool. Let the wax cool to about 135°F for containers, or a little warmer for molds.
- Pour. Pour slowly into the container or mold, with the wick centered and held upright.
- Cure. Let soy candles cure for one to two weeks before burning. The scent gets noticeably stronger in that time.
The first burn matters as much as the pour. Let a container candle burn until the melted pool reaches the edges, usually one hour per inch of width. If you blow it out too early, it starts tunneling down the middle and never recovers.
Fall scent combinations
Scent is half the fun of candle making, and fall blends are forgiving for beginners. A few combinations that work well together:
- Orange and clove, bright and spicy, like a pomander.
- Pumpkin, cinnamon and vanilla, the classic bakery scent.
- Cedarwood and apple, fresh and woody, good for a living room.
- Fig and amber, warmer and more grown-up.
Mix no more than two or three oils at a time, and write down the amounts in a notebook. Your notes become your own candle making recipes, and you’ll be able to repeat a scent you love.
Easy: container candles
These are the best homemade candle ideas for a first attempt, because the container does the hard work of holding the shape.
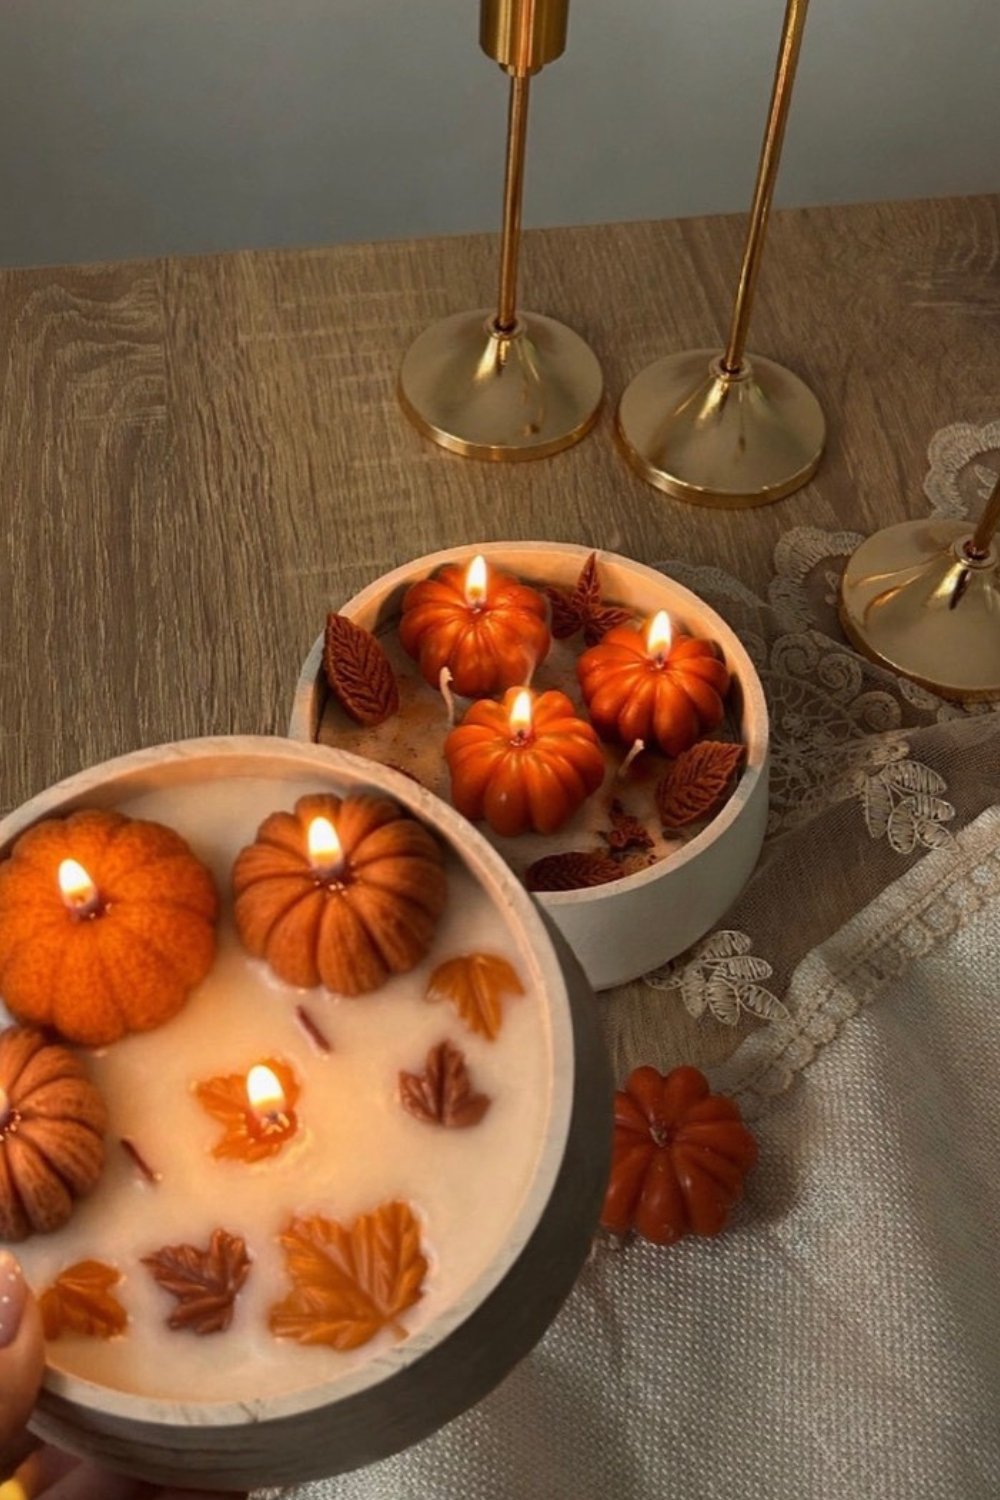
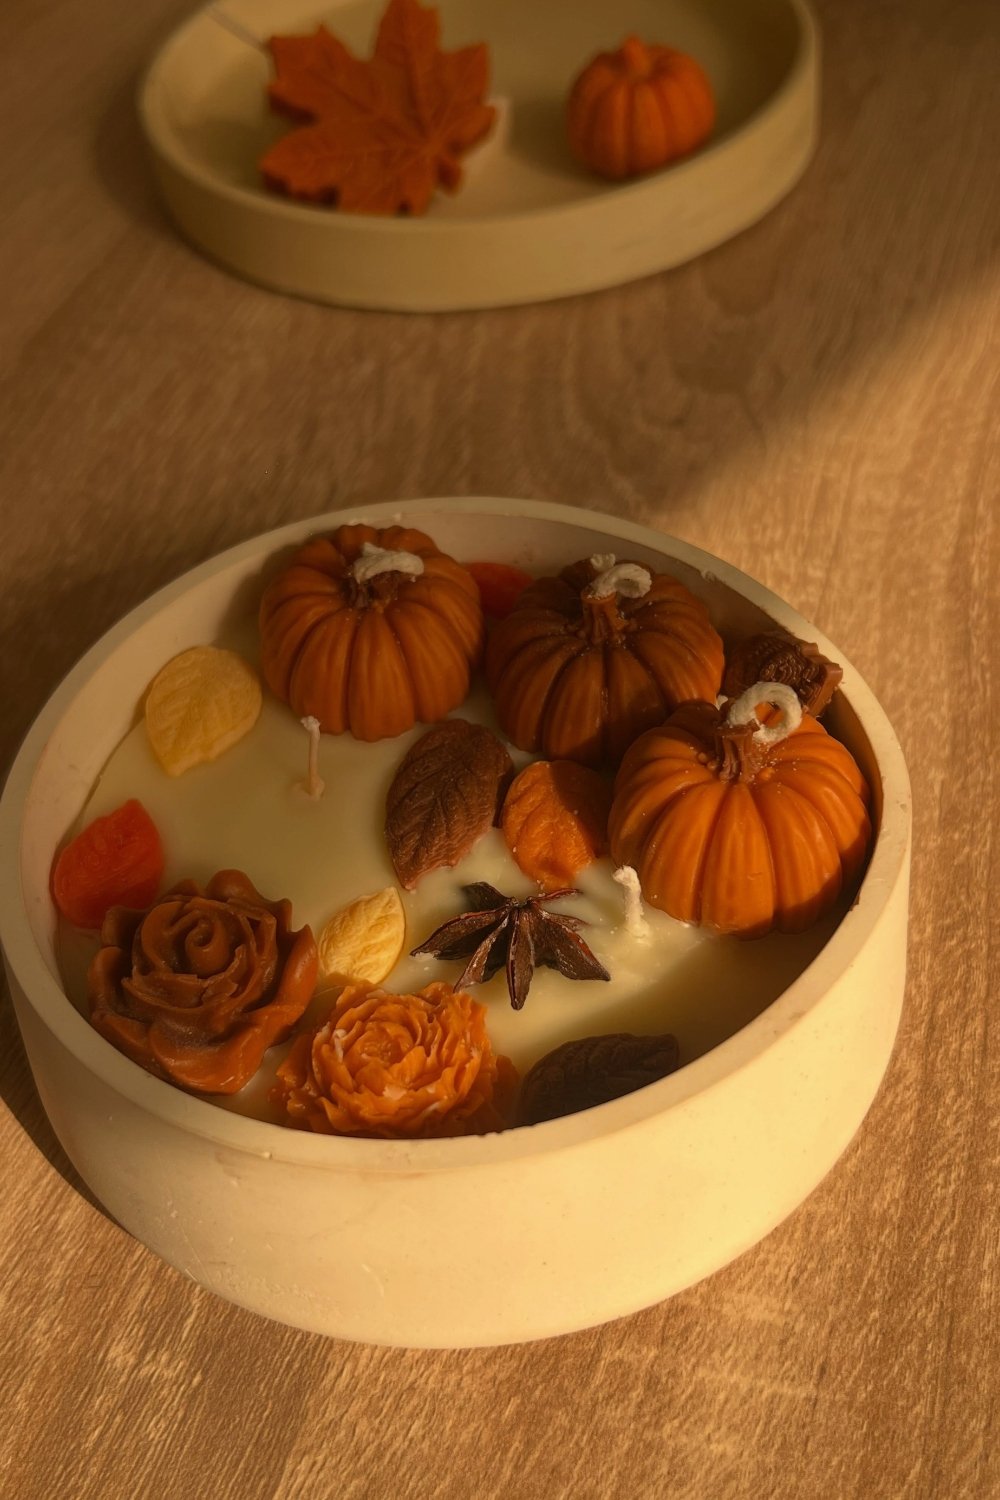
Concrete bowl candle with mini pumpkins
- Makes: one wide bowl candle with three wicks
- Wax: about 300 g (10.5 oz) container soy wax, plus a little pillar wax for the decorations
- Fragrance: cinnamon, orange or pumpkin spice at 6–8%
- Cure: 1–2 weeks
- Make the decorations first: pour pillar wax tinted with orange and brown candle dye into small pumpkin, leaf and rose molds, and let them set.
- Stick three wicks to the bottom of a concrete or ceramic bowl, spaced evenly.
- Pour the scented container wax into the bowl and let it set for about 20 minutes, until a skin forms on top.
- Press the pumpkins and leaves gently into the surface, keeping them away from the wicks. Add a star anise or a cinnamon stick for texture.
Wooden bowl leaf candle
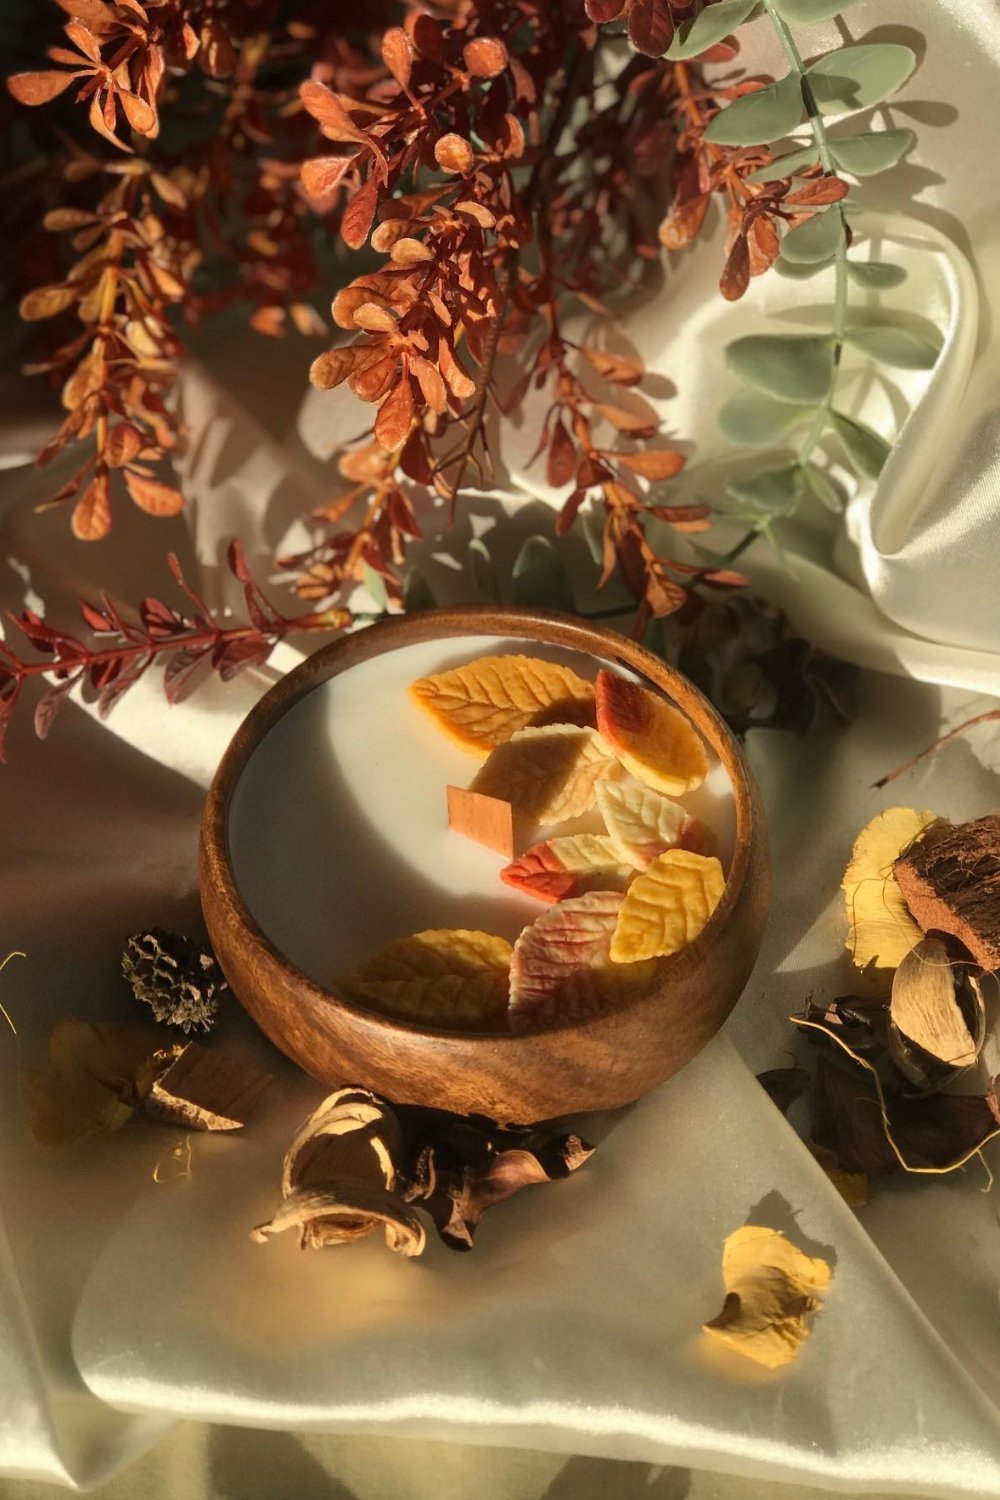
A wooden bowl with a single wooden wick and a scatter of wax leaves on top makes one of the simplest cute candles for fall. Seal the inside of the bowl first with a heat-resistant varnish or line it with a heat-safe insert, since bare wood can scorch as the candle burns low. Stop burning once about half an inch of wax remains. If you’d rather make the vessel yourself, my guide to air-dry clay mugs works for small candle pots too; seal them well before pouring.
Medium: molded shapes
Molded candles take a little more patience, but they’re the candle projects that look most impressive on a shelf. Silicone molds are flexible and release easily, so they’re the best choice for a first molded candle.
Pumpkin mold candles
- Makes: six to eight mini pumpkins
- Wax: about 400 g (14 oz) pillar soy or beeswax
- Fragrance: optional; molded candles look beautiful unscented
- Cure: 2–3 days for pillar wax, longer for soy
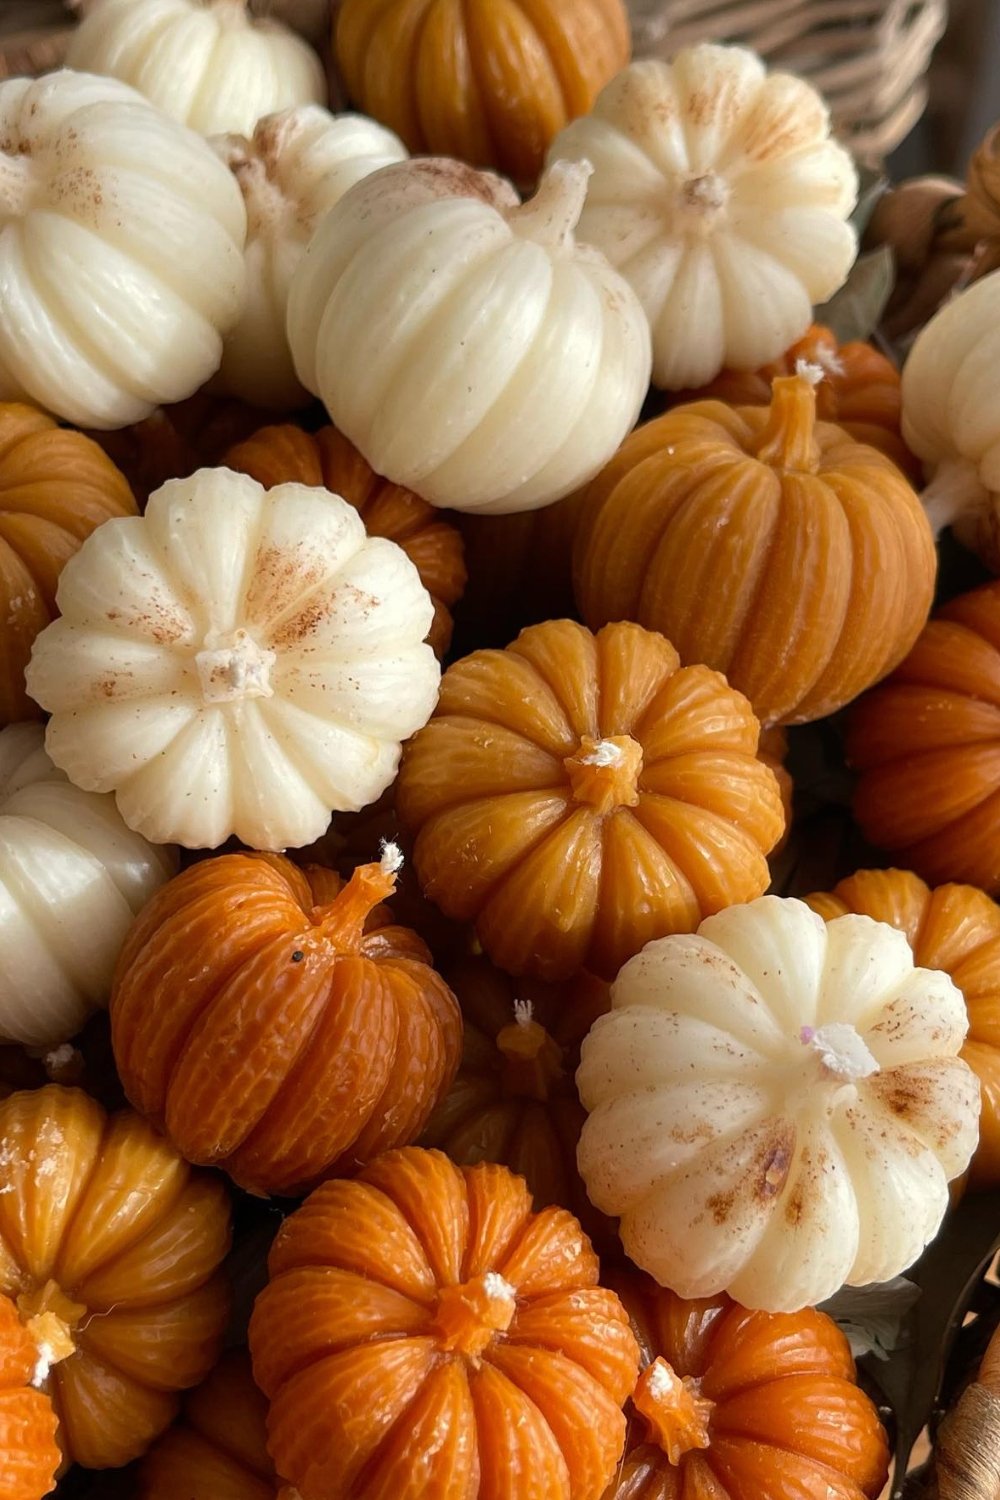
- Thread a pre-waxed wick through the hole at the top of each silicone pumpkin mold, and hold it upright with a wick bar.
- Split the melted wax into two pitchers and tint one with a drop of orange dye. Leave the other white or ivory.
- Pour at the temperature the wax supplier recommends for molds, usually slightly hotter than for containers.
- Let the candles set for several hours, then peel the molds away.
- For a dusted look, brush a tiny amount of cinnamon or bronze mica powder into the ridges.
A bowl of white and orange handmade candles like these looks lovely as is, and they’re the easiest candle decoration ideas to turn into a set.
Walnut shell candles
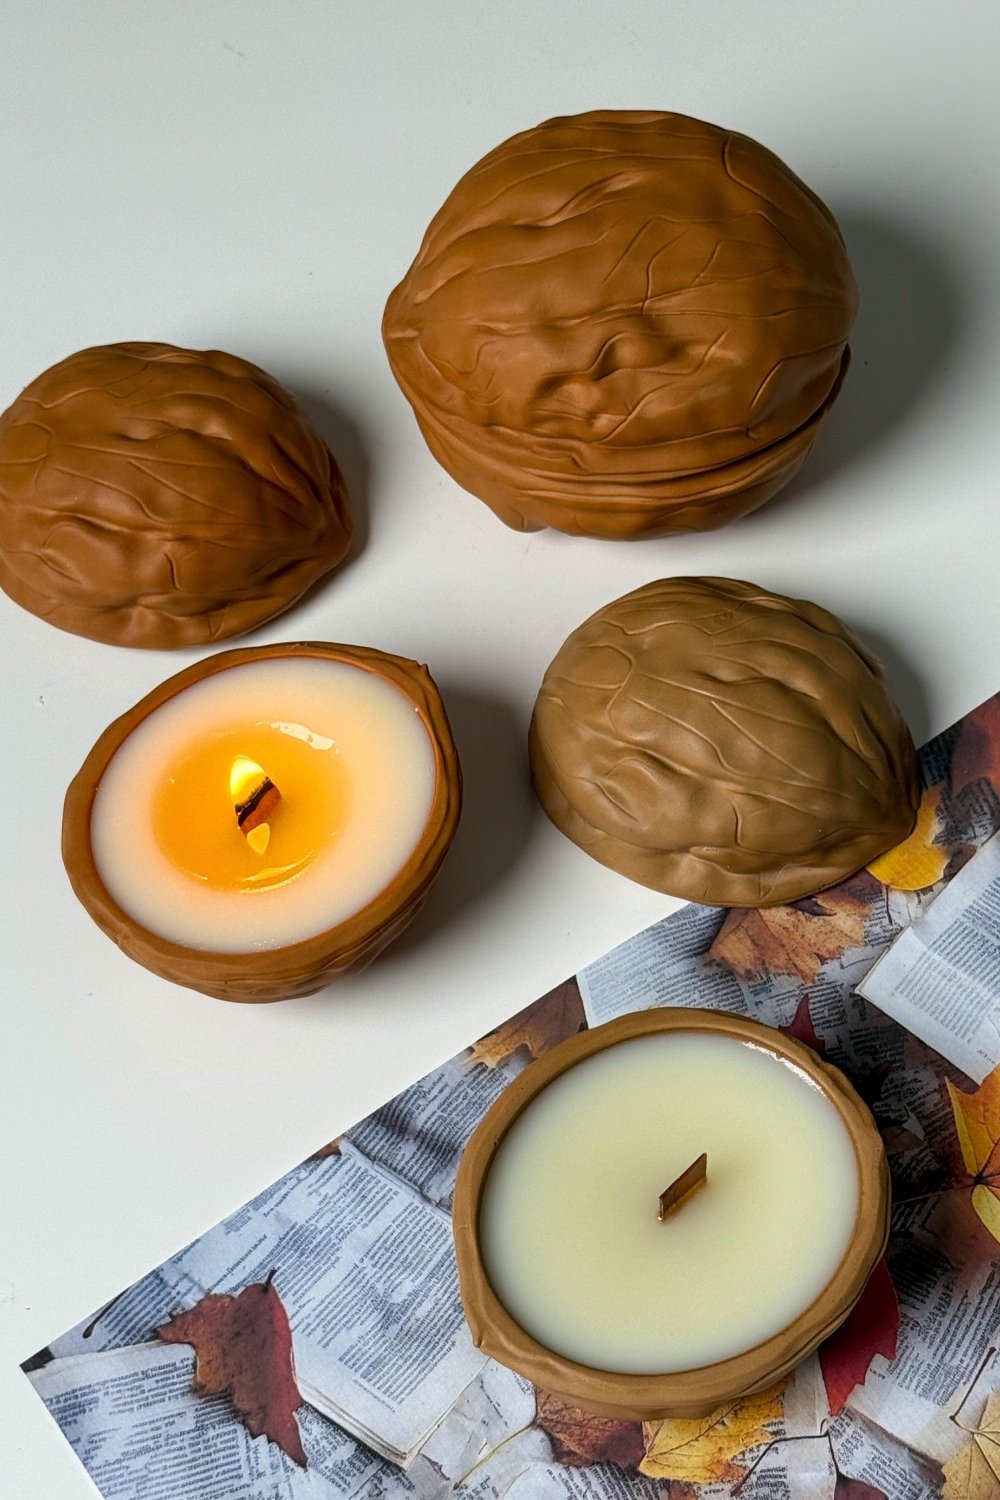
Walnut candles come in two sizes. The larger version uses a walnut-shaped mold for the outer shell: cast the shell in brown-tinted pillar wax or plaster, then fill it with cream container wax and a wooden wick, so it looks like a cracked-open walnut. The mini version uses actual walnut halves. Clean out the halves, glue a tiny wick tab to the bottom of each, and fill them with scented wax. They burn for only 15–20 minutes, but floating a dozen in a bowl of water makes a striking table display and a set of cute candles that’s easy to give as a gift.
Creative: dessert and botanical candles
Once the basics feel easy, these handmade candles are where you can play. They’re the DIY candle ideas I’d save for a free weekend afternoon, since they take a few rounds of pouring.
Dessert candles
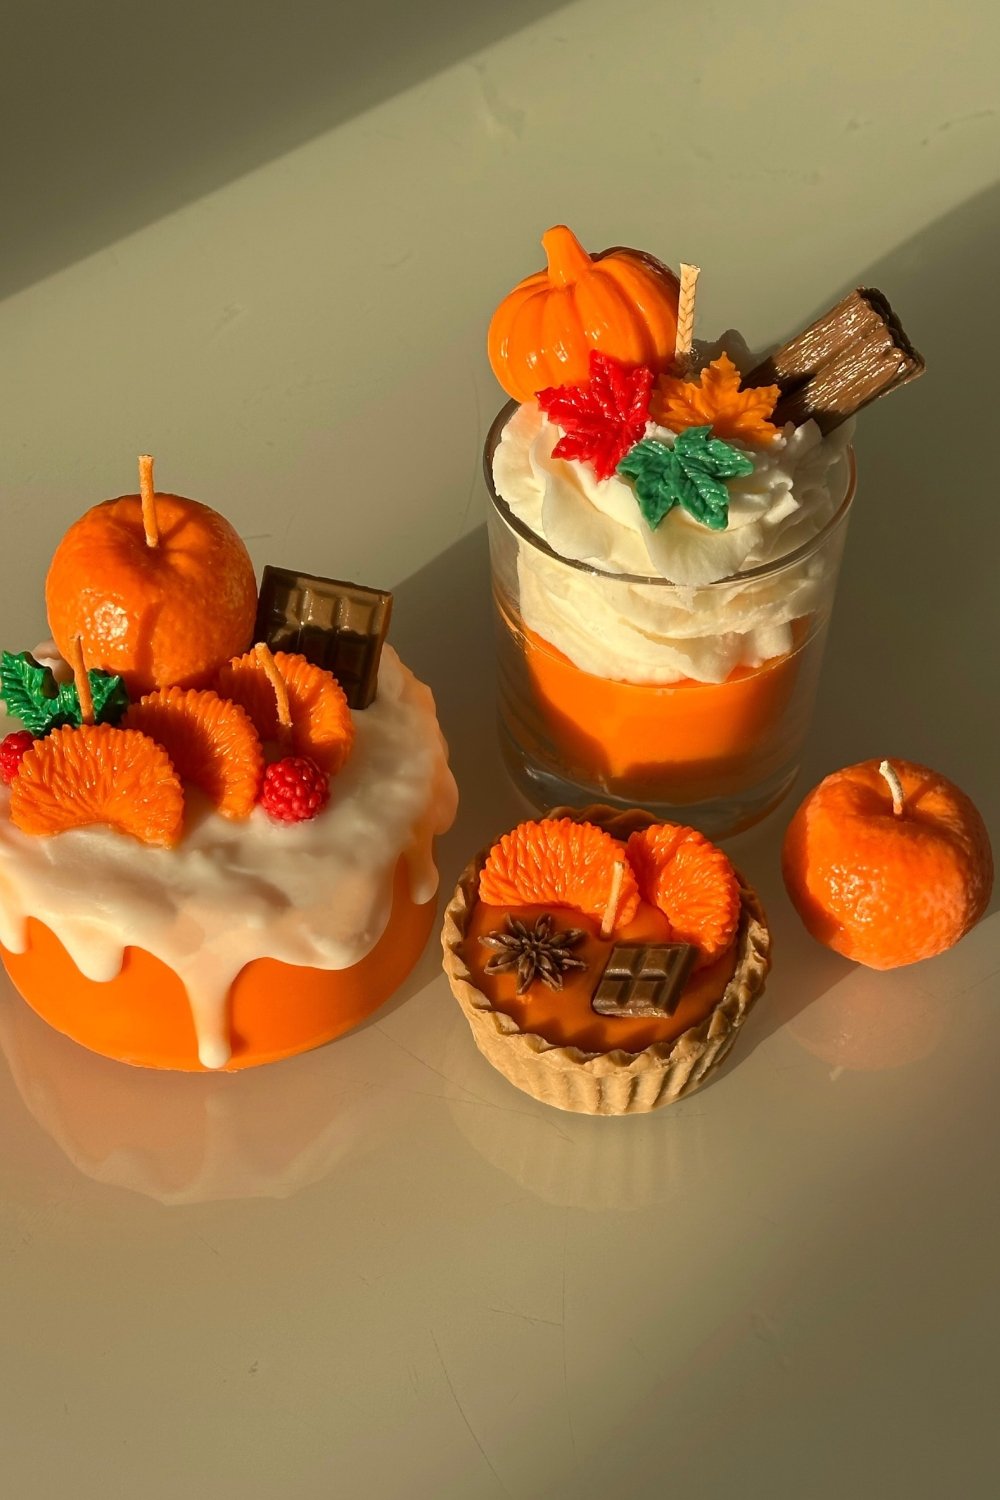
Dessert candles look like slices of cake, tarts or whipped-cream drinks, but they’re made entirely from wax.
- Makes: one glass “drink” candle and one tart candle
- Wax: container soy for the glass, pillar wax for the toppings, and a whipped wax for the cream
- Cure: 1–2 weeks
- Pour an orange layer of scented container wax into a glass and let it set.
- Whip slightly cooled wax with a fork or hand mixer until it turns fluffy and white, then pipe it on top like cream.
- Press in small molded toppings: mini pumpkins, orange slices, maple leaves or a chocolate-bar square made from brown wax.
Keep the toppings small and away from the wick. These are better as decor and gifts than as candles you burn every night.
Botanical candles
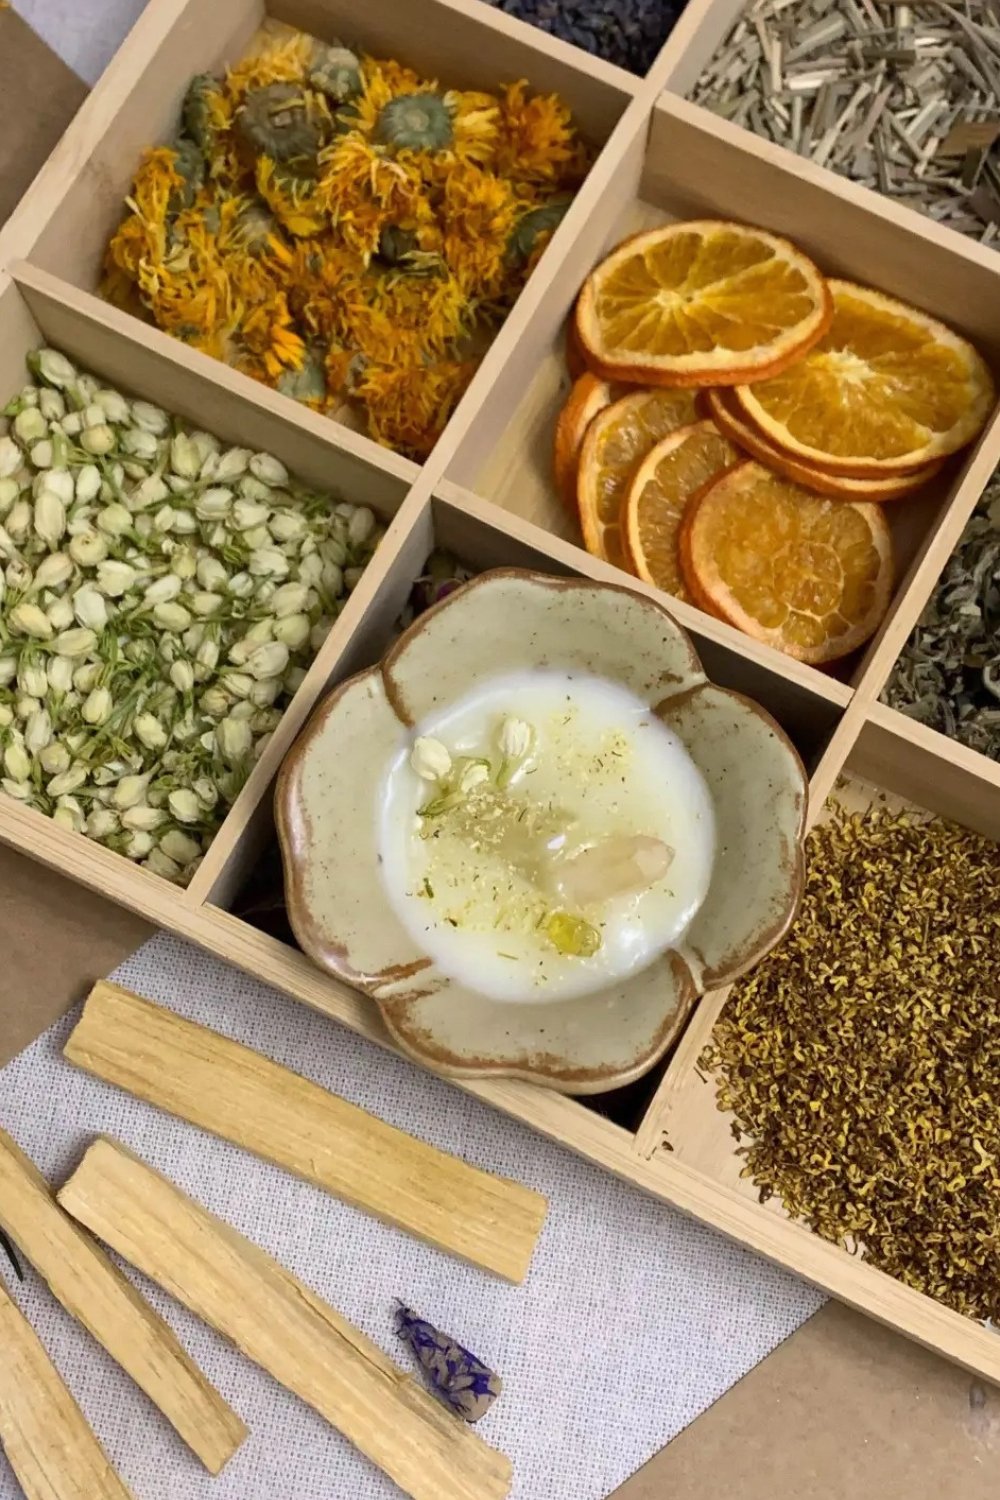
Botanical candle decoration ideas are some of the prettiest for fall. Dried orange slices, calendula, rosebuds and lavender can decorate the outside layer of a candle. Pour the candle as usual, then press the botanicals around the top edge or against the sides while the wax is still soft. Keep them near the edge only. As the candle burns down, remove any botanicals before the flame reaches them.
How to use them
As gifts. Wrap a cured candle in tissue paper, tie it with twine and add a tag with the scent and the burn instructions. A set of three mini pumpkins in a small box makes a sweet hostess gift. For more ways to make a present look considered, my post on gifts that look thoughtful has packaging ideas.
On a shelf. Group molded homemade candles in a few colors, like terracotta, cream, sage and taupe, on a low shelf or a wooden riser. Different heights make the arrangement look collected rather than lined up. A mantel works the same way, and these fireplace mantel decor ideas show how to group them there.
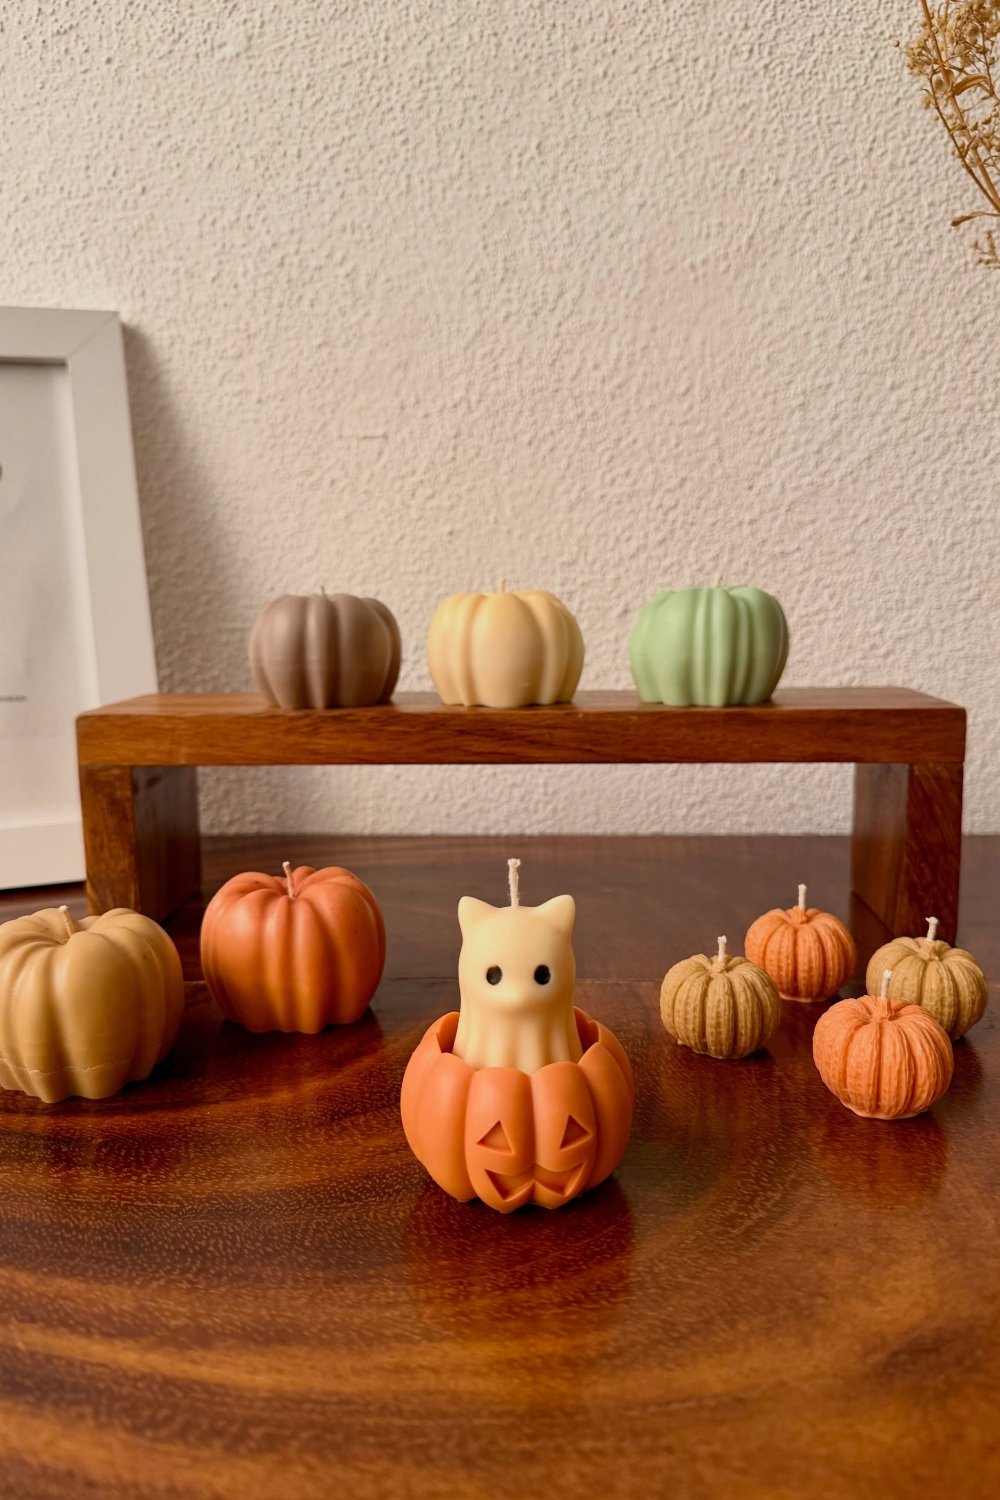
On the Thanksgiving table. A low bowl candle or a row of pumpkins down the center of the table adds warm light without blocking anyone’s view. My Thanksgiving tablescapes have more ideas for building a centerpiece around them.
Fire safety
Hot wax and open flames call for a few simple habits, whichever of these candle making ideas you try first.
- Never leave melting wax unattended, and never heat wax directly on a burner.
- Keep a lid nearby to smother a wax fire; never use water.
- Trim cotton wicks to about a quarter inch before every burn, and wooden wicks to about an eighth of an inch.
- Don’t burn decorative shapes close to dried flowers, dried leaves or garlands.
- Burn candles on a heat-safe surface, away from drafts, children and pets.
Whatever you make first, give it the full curing time before you light it. It’s the easiest step to skip, and it decides how evenly the candle burns and how strongly it smells.


Leave a Reply